When we start a connected home project, one of the most popular devices that most users implement is a smart camera to monitor an area of their home or garden.
There are many solutions on the market, but we’re going to look at one that I find very interesting, namely a smart camera compatible with Tuya Smart Life and incorporating the Onvif protocol. And thanks to this Onvif protocol, we’ll be able to use this type of camera with the Home Assistant home automation hub.

Why use an Onvif camera with Home Assistant?
Home Assistant is currently one of the most popular solutions for creating a smart home.

You have infinite compatibilities with Home Assistant and we’ve already seen in other content how to get started with the Home Assistant Green home automation hub and Zigbee technology to unify our installation with different smart devices that will allow us to control the heating, lights, watering, electric gate, swimming pool and much more.

Let’s now look at how to integrate the cameras.

The Onvif protocol, which stands for Open Network Video Interface Forum, is, as its name suggests, a communication protocol open to different brands and manufacturers, enabling an installation to be unified with the various IP cameras on the market.

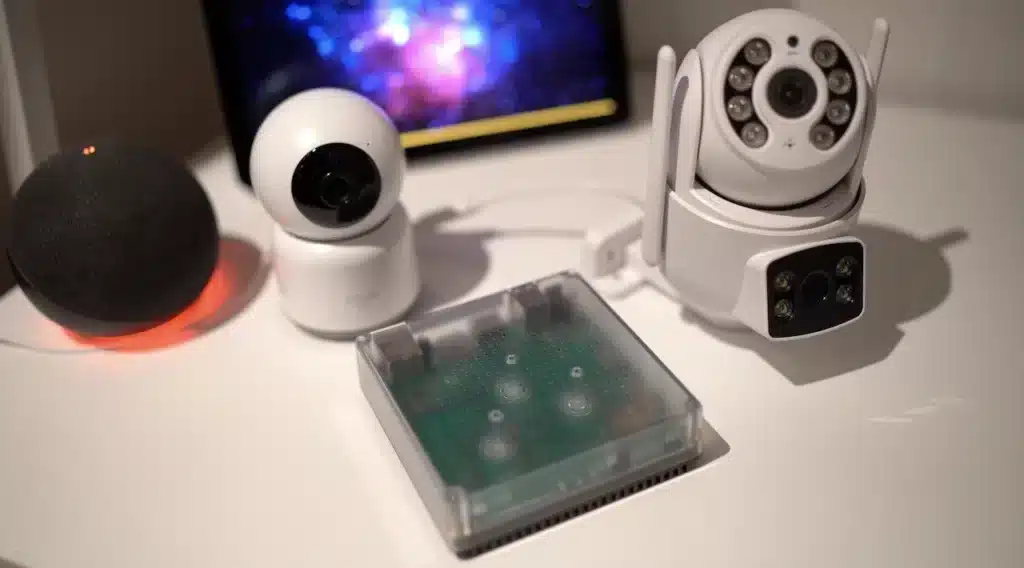
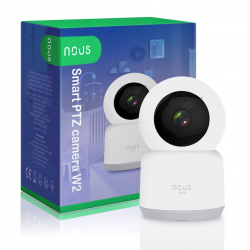
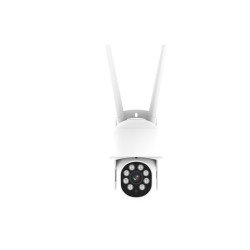
In my example, I’ll be using two smart cameras from the Tuya Smart Life ecosystem, an outdoor camera from Immax and an indoor camera from Nous.

These are very economical smart cameras, and we have access to multiple functions, as we’ll see below.

And although we can use these cameras with the Smart Life application, if we have a smart home with Home Assistant, it’s interesting to be able to bring everything together in a single interface, and to do that we’re going to take advantage of these cameras’ Onvif communication protocol.

Very important: not all cameras incorporate this Onvif protocol.

Before you buy, you need to check that your camera includes Onvif so that you can use it with Home Assistant.

How to integrate an Onvif camera with Home Assistant
Let’s now look at how to integrate each Onvif camera with Home Assistant.

Camera integration with Smart Life
The first thing to do is download the Smart Life application and log in.

Let’s add a new feature.

And look for the type of camera we want to integrate.

First of all, if we want to add our Immax WIFI camera, we need to plug it into the mains.

After a few seconds, we’ll be able to scan the QR code for the Smart Life application in front of our camera.

If you have scanned correctly, your camera should emit an audio message indicating that it has been able to connect, and you will be able to confirm this in your Smart Life application.

Ready, you’ve got your camera connected to the Smart Life app, so you can see the image in real time and, in the case of the Immax outdoor camera, it has a dual lens, one fixed and one rotating, which you can move from the Smart Life app.

This camera has two-way audio, a light that you can activate, a siren and other extra features, making it an attractive option given its value for money.

To use this camera with Home Assistant, go to the settings in the top right-hand corner.

Go to “Onvif”.

And we activate this option.

The process will be similar with every smart camera that incorporates this “Onvif” option, so we’re going to integrate our second camera, in this case an indoor WIFI camera Nous.

We follow the same steps, i.e. from the Smart Life application, we click on “Add a device”.

And we’re looking to add our camera.

We connect this camera to the power supply and wait a few seconds for our camera to start up.

And scan the QR code.

Ready, after a few seconds, we have our Tuya Nous camera integrated into our Smart Life app and we have access to various settings such as two-way audio so we can talk to the camera from our phone and listen to what’s going on around our camera.

This camera can also be rotated and has additional functions.

Go to your settings to activate the Onvif protocol.

And when we do, we have to enter a password and, of course, I recommend a secure password.

Integration of every Onvif camera with Home Assistant
Now that we have our smart cameras with the Onvif option enabled, we’ll be able to integrate each Onvif camera with Home Assistant.

But first, let’s access our Internet router’s interface. In my case, I have the French operator Bouygues Telecom and I searched the Internet to find out how to access its interface, so I invite you to do the same.

In this interface, we will see the configurations of our cameras, such as their IP addresses.

I recommend that you fix these IP addresses so that they don’t change over time.

We can also take the opportunity to identify them with a more specific name.

One detail I’ve already mentioned in other content is that, as you’ve seen, these smart cameras are connected to the 2.4 GHz WIFI network, so you need to have this network activated to be able to use these devices.

We now move on to the local Home Assistant interface.

Go to “Settings”, “Devices and services”.

“Add an integration”.

And search for “Onvif”. Another quicker way is to add this integration from the official Home Assistant website, by clicking on “Add integration to my Home Assistant”.

A pop-up window appears to search for Onvif cameras and click on “Send”.

In our case, we’ll need to fill in the information about our cameras manually.

We start with the Immax outdoor camera.

We enter a name and its IP address, which we have found in our router’s interface.

The manufacturer has told me that the port for this camera is 8899, that the user name is admin and that there is no password.
I recommend that you contact the manufacturer if you require this information and it is not included in the instruction manual.

We click on “Send” and a message appears indicating that the camera has been successfully integrated. We can place it in an area of our home and that’s it, we’ve got our camera integrated with Home Assistant.

Now go back to “Onvif” and click on “Add an entry”.

We followed the same steps to integrate our second camera, the Nous indoor camera.

This time it was recognised automatically.

So we’ve already entered its IP address and port, which in this case is 10,000.

We can change its default name and we need to fill in the user name, which is admin, and the password that we previously configured in your camera’s Onvif settings from the Smart Life application.

The camera is now integrated into Home Assistant.

We can now see the images from our cameras from Home Assistant, even if they are different brands, because they use the Onvif protocol.

We can open the camera window to see the images in full size and, as you can see with the Immax camera, as it is a dual camera, we have 2 images.

There’s a 4 to 5 second delay between what’s happening in front of your camera and what you’ll see on your Home Assistant interface.
The actions of these cameras are very limited in Home Assistant; if you want to use the siren, light, rotate the camera and any other settings, you need to access the Smart Life application, as these settings are not available with Onvif communication.

But there’s an interesting option called ‘Picture in Picture’, which allows us to have a window floating above other windows so that we can keep an eye on one area of our home and, at the same time, be able to carry out other tasks on our computer.

We can move this window at any time and continue to browse other pages on our computer.

And another very interesting detail about this solution is that in the event of an Internet outage, as I’m going to simulate the disconnection of the red Ethernet cable that corresponds to the WAN connection in my router, even if I don’t have Internet access and I don’t have access to my cameras from the Smart Life application, as I have Home Assistant running locally and my cameras via Onvif, I still have control of these cameras locally.

And of course, as well as connecting your entire installation to Home Assistant so that your smart home can function even if you don’t have an Internet connection, you can also take advantage of the opportunity to carry out different automations where several smart devices interact together.


