
Replacing traditional thermostatic valves with smart thermostatic valves is one of the most effective measures for making energy savings by being able to program and adjust precisely, from anywhere in the world, the temperature of each room in our home and today we are going to discover the TV01-ZB smart thermostatic valve from the company Moes.
Advantages and disadvantages of the Moes thermostatic valve
Advantages
- Zigbee 3.0technology: If you want to have a unified home automation installation, Zigbee technology is a good choice with different brands on the market.
- Compatibilities: This Moes thermostatic valve is compatible with Home Assistant, Jeedom, Zigbee2MQTT and the Tuya Smart Life ecosystem.
- Price: This Moes thermostatic valve has an excellent price/performance ratio.
- Child Lock: You can block the use of the physical buttons so that nobody can manipulate the temperature.
- Internal programming: You can program temperatures according to schedules internally in the Moes thermostatic valve.
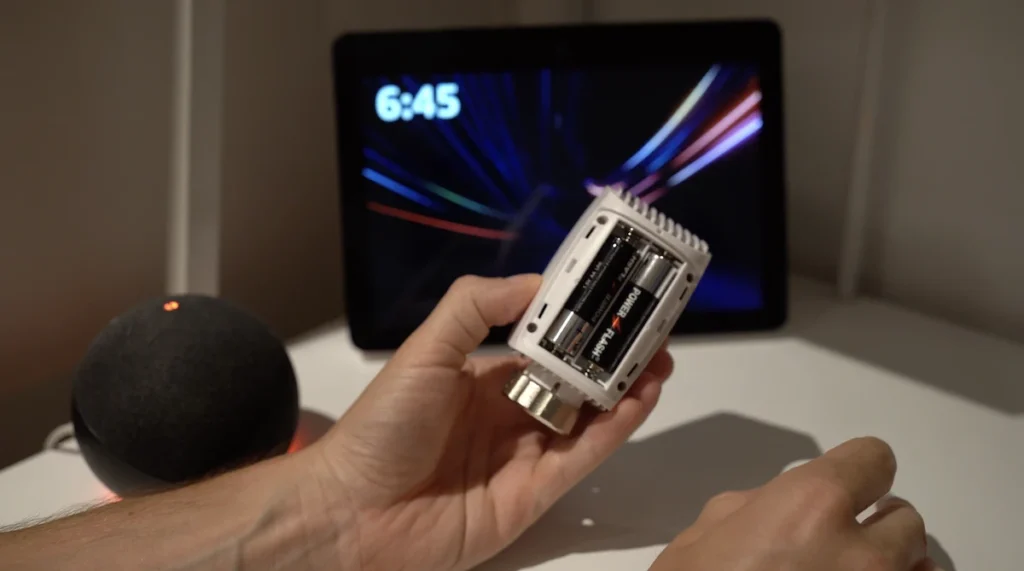
- Easy maintenance: Just remove the cover to access the batteries without having to disassemble the device.
- Local control: It is possible to change the heating temperature directly on the Moes thermostatic valve thanks to its physical buttons.
Disadvantages
- No manual control of the valve opening percentage: We cannot decide to have our own external heating control logic.
- Design: It is not the most attractive device on the market but it may not be a decisive criterion in your purchase.
Tutorial on the use of the thermostatic valve TV01-ZB
We are going to see all the functions of this thermostatic valve, its installation and configuration.

General characteristics of Moes ZTRV-ZX-TV01-MS
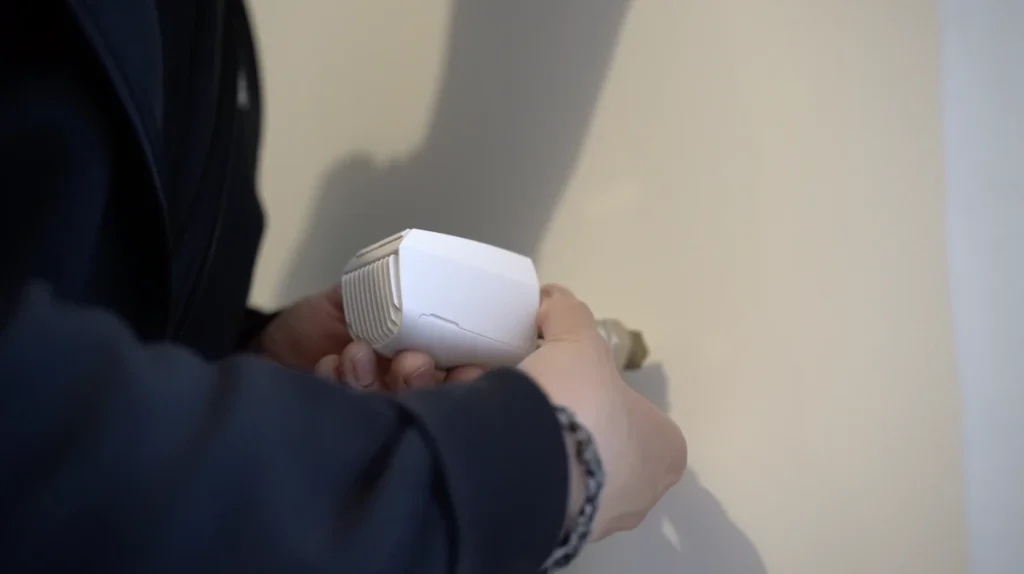
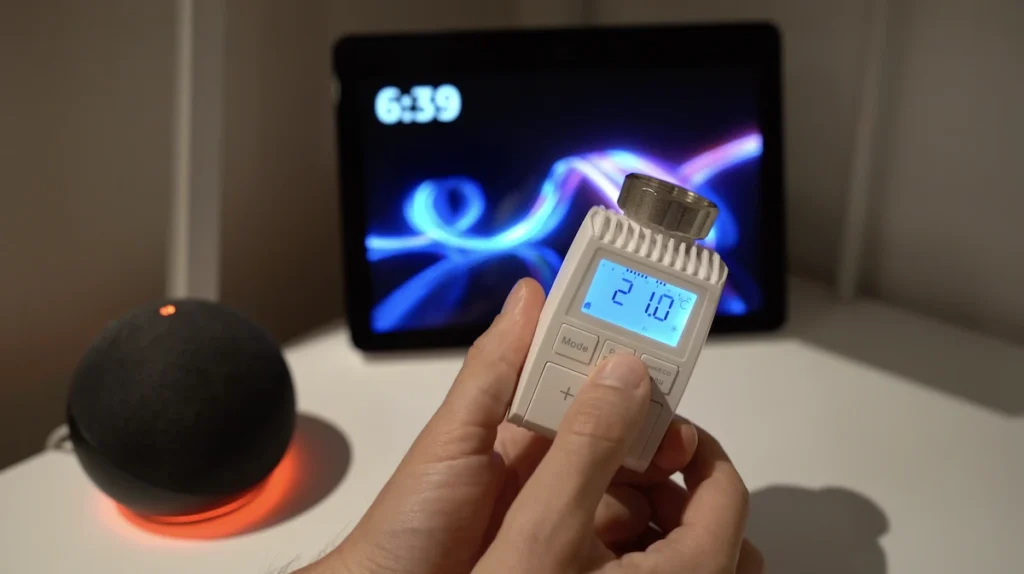
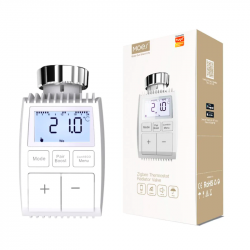
If we open the packaging, we discover the Moes thermostatic valve.

In terms of design, it is not the most attractive device, but sometimes this is not a fundamental criterion for our choice, knowing that it is also one of the most complete devices in terms of functionalities and has one of the most competitive prices on the market, as we will see below.
It is white in colour with dimensions of 55,3 × 54 × 98,3 mm.
We have 2 AA batteries which are included.

The manufacturer indicates a battery life of 1.5 years.
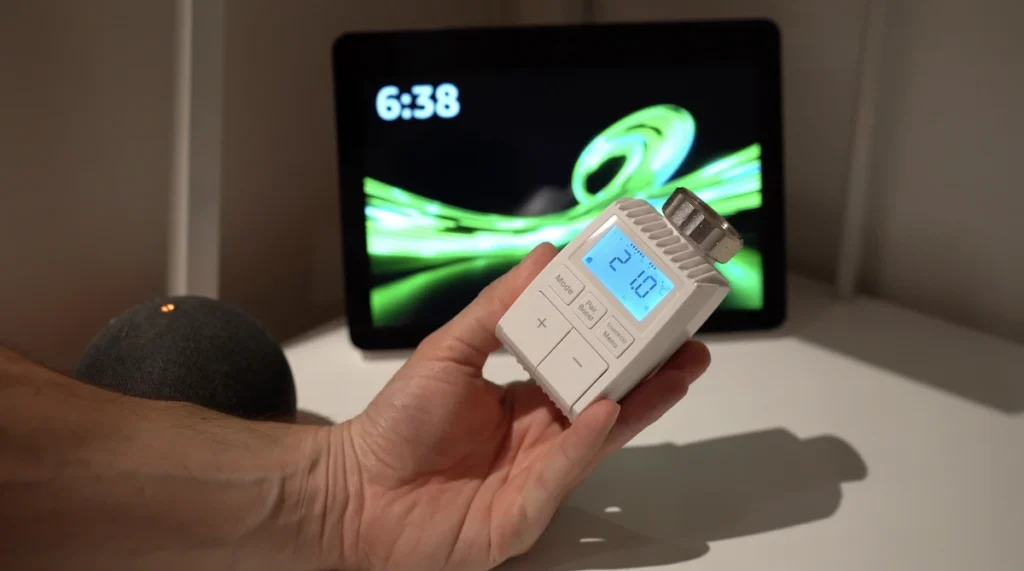
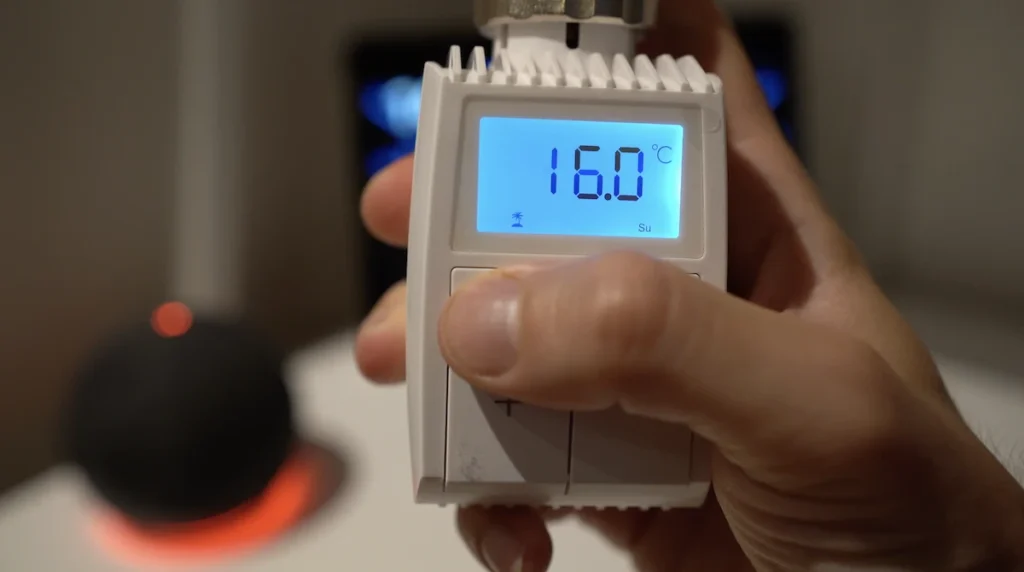
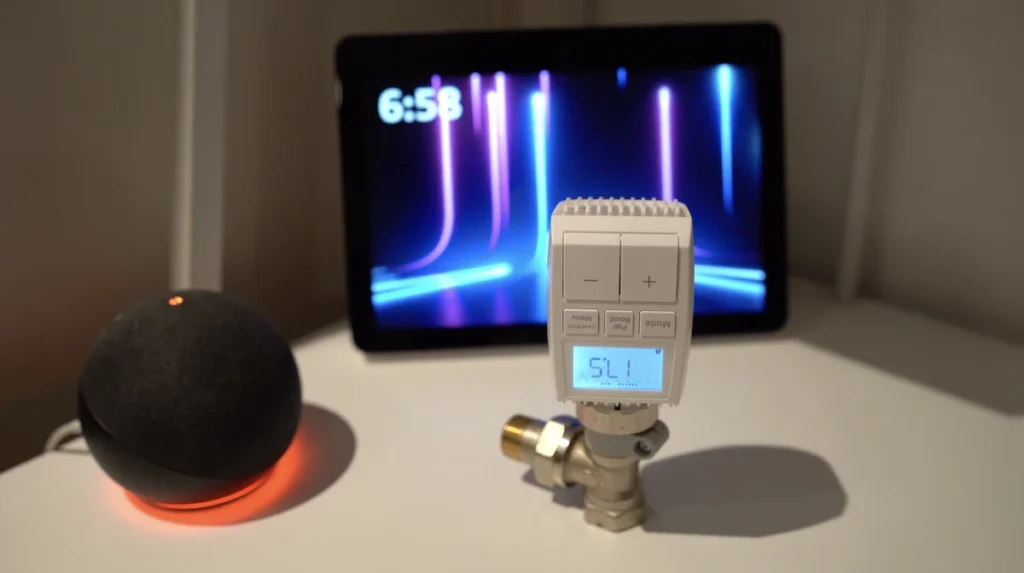
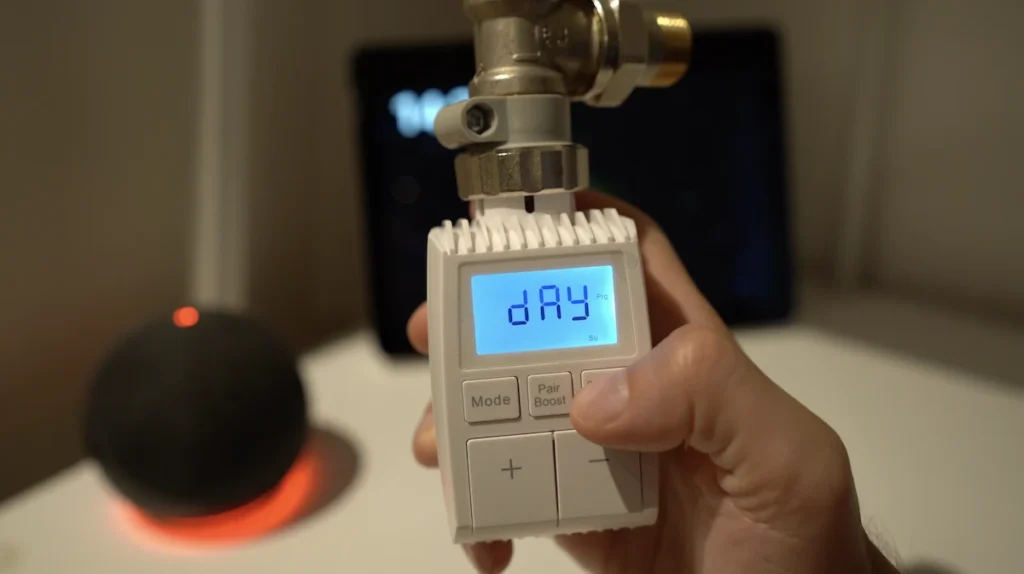
At the top, there is an LCD display with LEDs that allows you to see different information such as:
- The currently set temperature or the current date.
- The current mode, either “Auto”, “Manual” or “Holiday”.
- The “Boost” mode which is when we want to heat our room quickly.
- The Zigbee signal.
- Days of the week.
- An offset temperature.
- Indicator icon in the programming stage of the week.
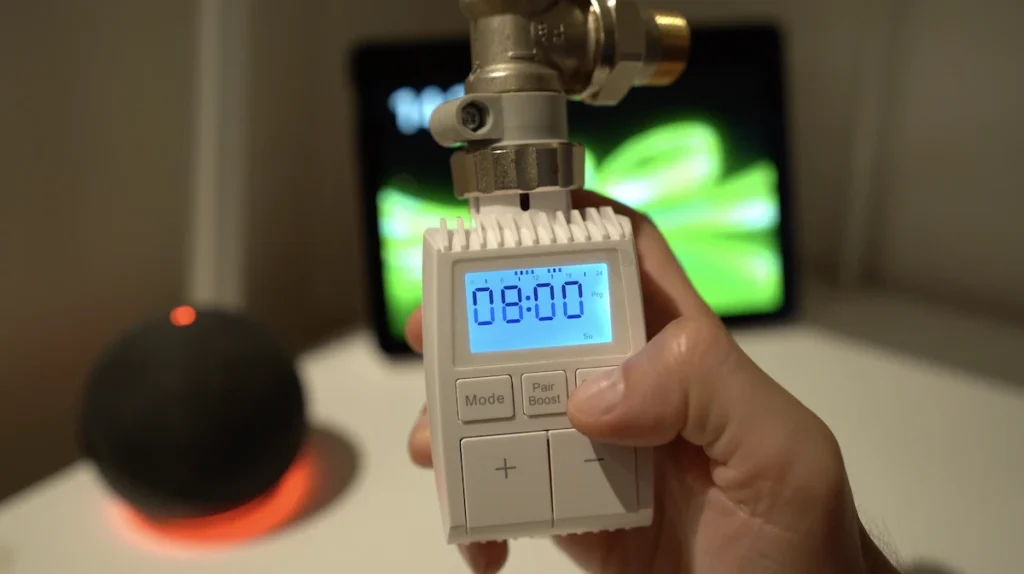
- Set a date and time.
- A window or door currently open.
- Comfort temperature.
- Economic temperature.
- Low battery status.
- Programming.
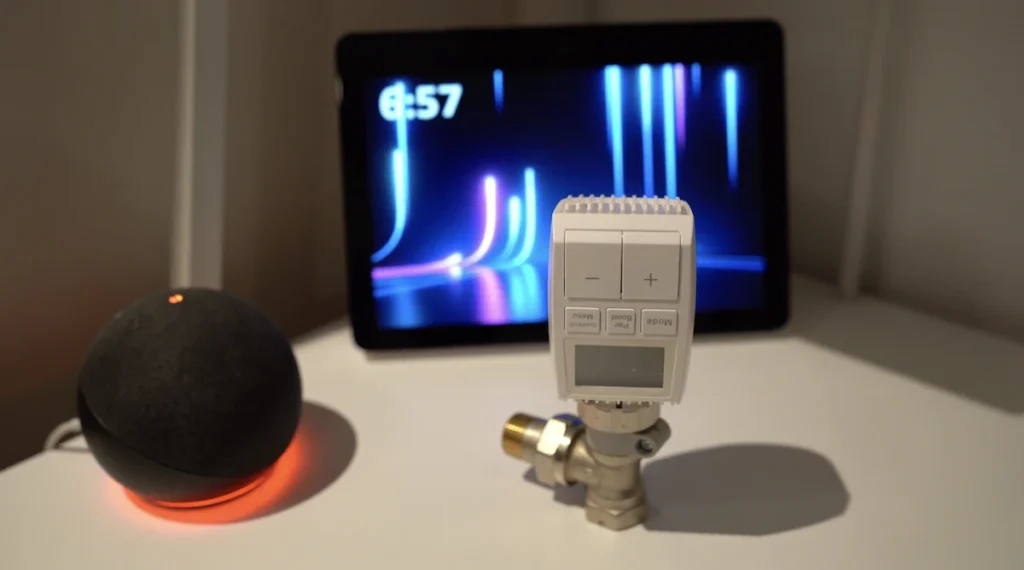
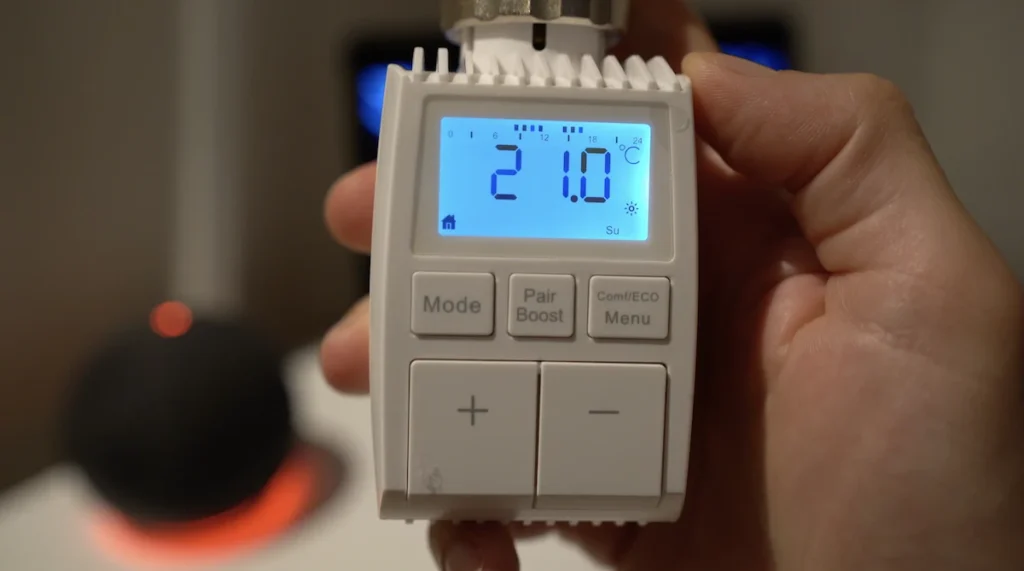
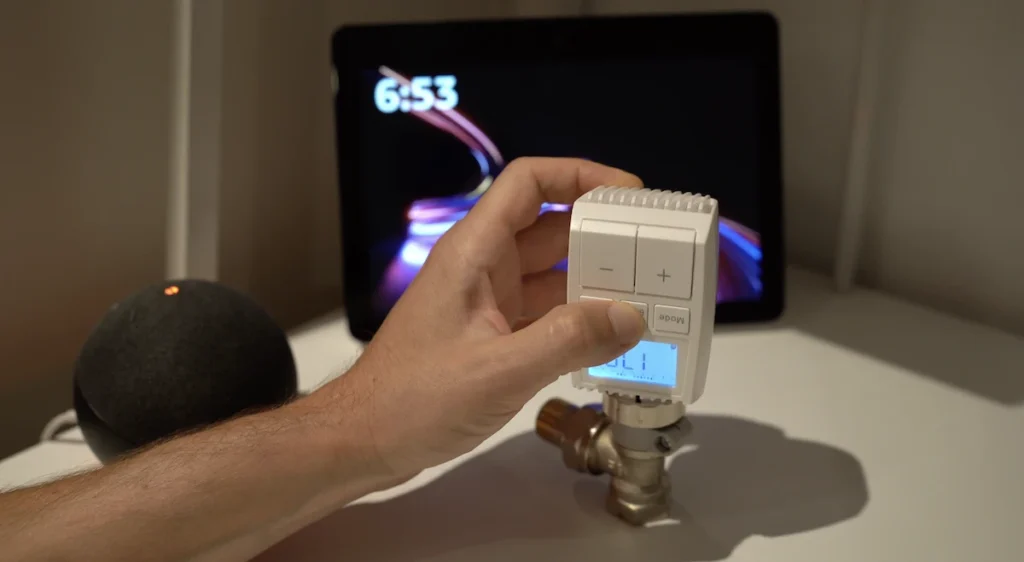
And we have 5 physical buttons:
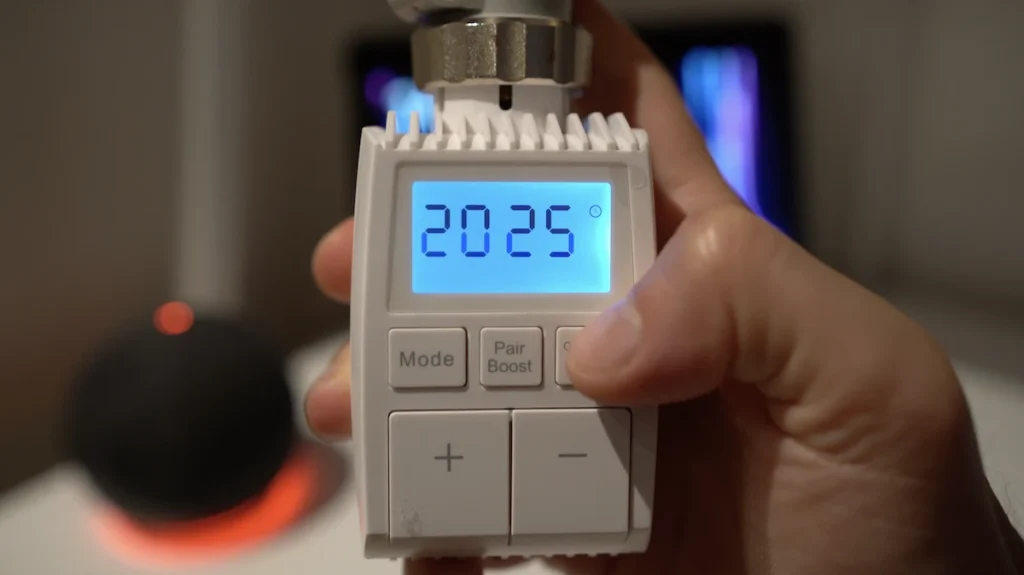
- “Mode” to choose a heating “Mode”.
- “Pair/Boost” to link the thermostatic valve to a home automation hub and also serves for a quick room heating mode.
- The “Comfort/Eco Menu” button is used to switch from comfort mode to economy mode or vice versa with a single press, and if you press and hold this button, you can access a menu for configuring the thermostatic valve.
- The “+” and “-” buttons are used to raise or lower the temperature by about 0.5 °C with each press.

The operating temperature of this thermostatic valve is -10 °C to 40 °C.
By default, this valve has a thread of M30 × 1.5 mm and is one of the most commonly used default formats for radiators.

But this device includes different adapters for other radiators like M28x1.5, Caleffi, Giacomini, Danfoss (RA, RAV, RAVL).

It communicates with Zigbee technology and a great advantage of this thermostatic valve is that it is compatible with the Tuya Smart Life ecosystem.
And also with more complete systems such as Home Assistant or Jeedom with the Zigbee2Mqtt platform.
In other words, if you want to control your heating with a very simple solution, you can buy a Zigbee hub with the Tuya logo, whatever the brand, and use the famous Smart Life application, which is free and very easy to use.

And if you want a more powerful solution, you can use Home Assistant or Jeedom and this thermostatic valve.
So we have this flexibility with this device.
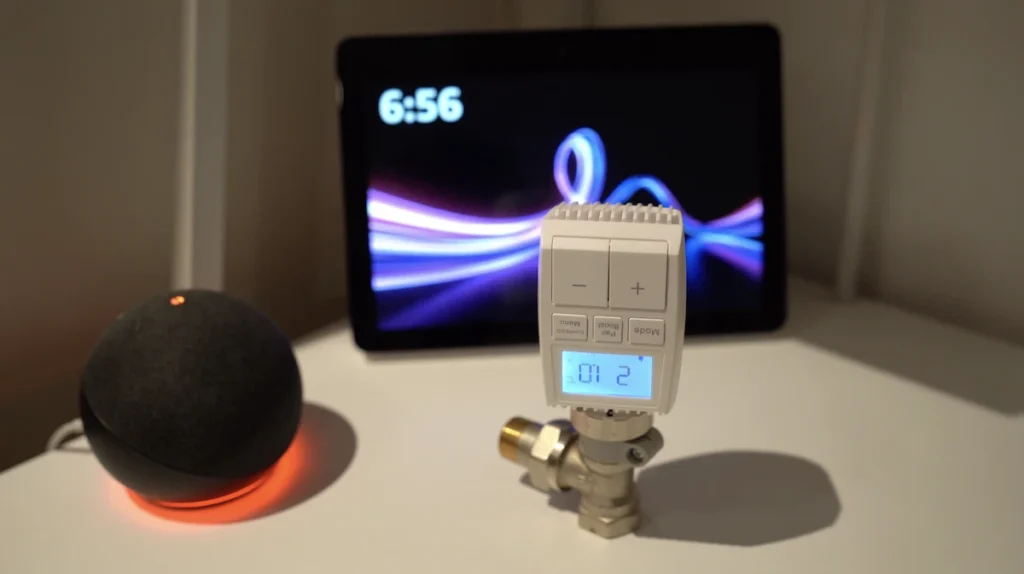
It is also compatible with Amazon voice assistants and Google Home for voice control of the thermostatic valve if you have previously linked it to a home automation hub.
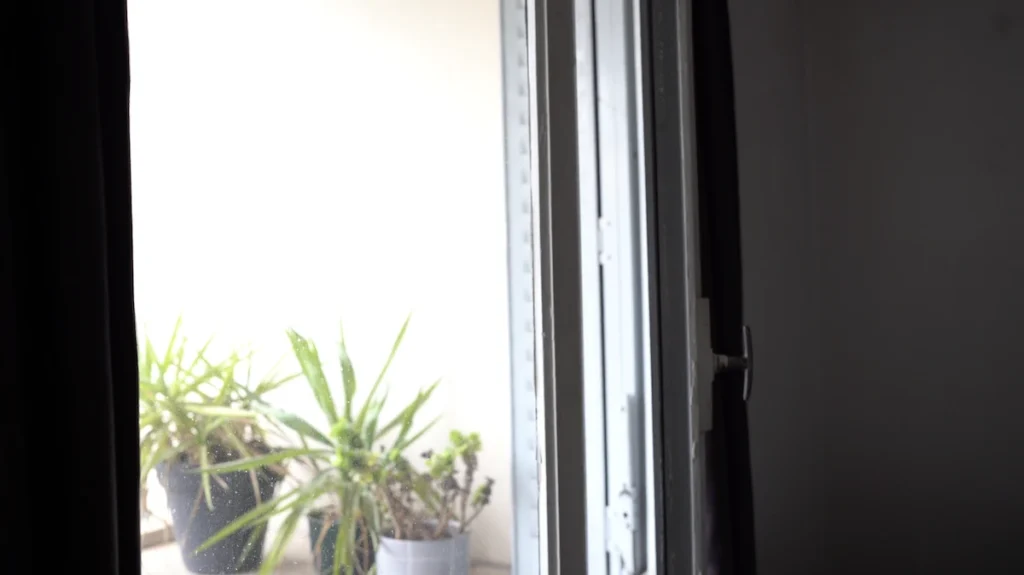
It detects the opening of doors and windows, which is interesting if you have a window or door open, allowing you to turn off the heating at that moment.
And it has an anti-freeze mode that can be activated automatically to avoid the risk of pipes freezing.
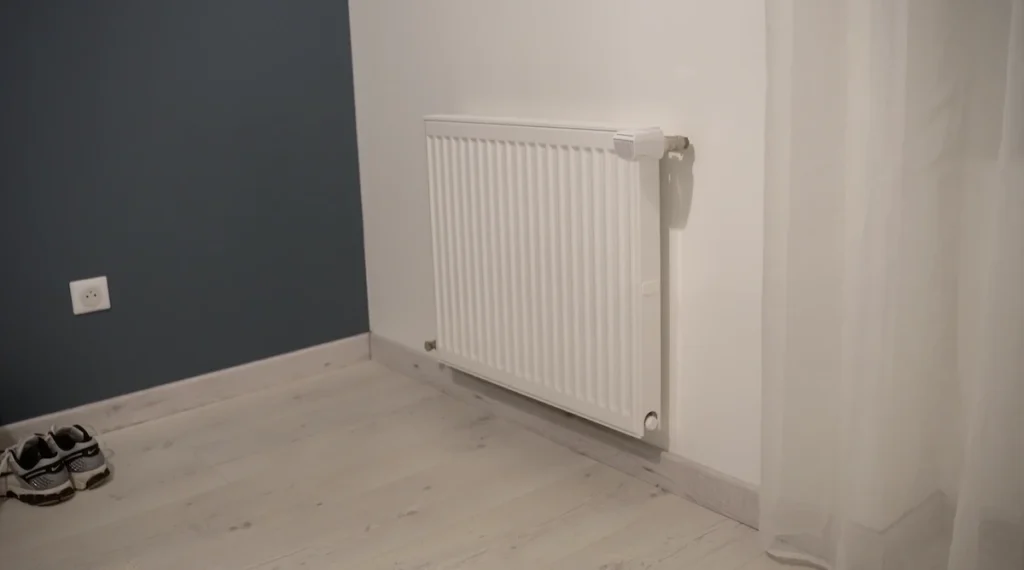
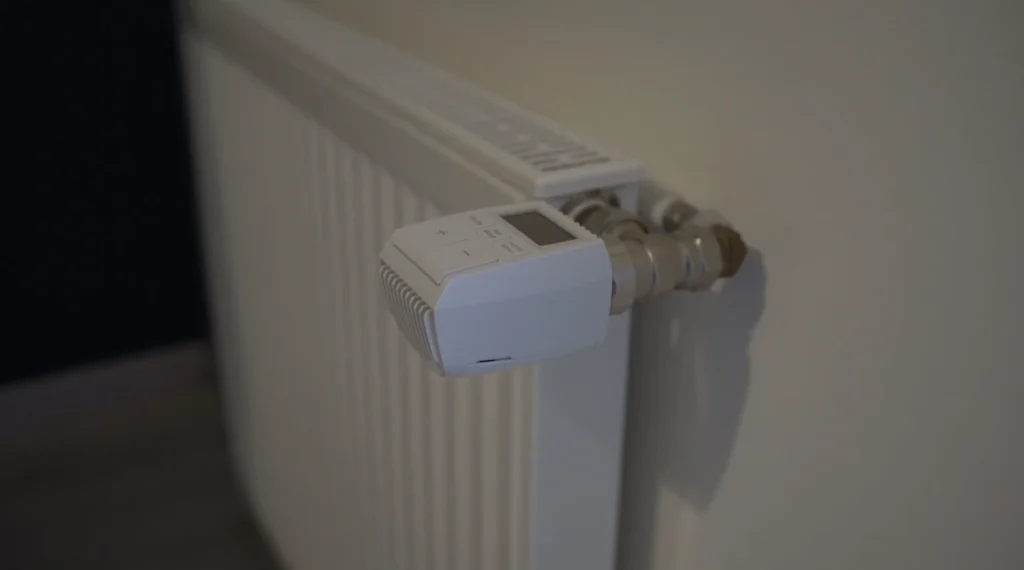
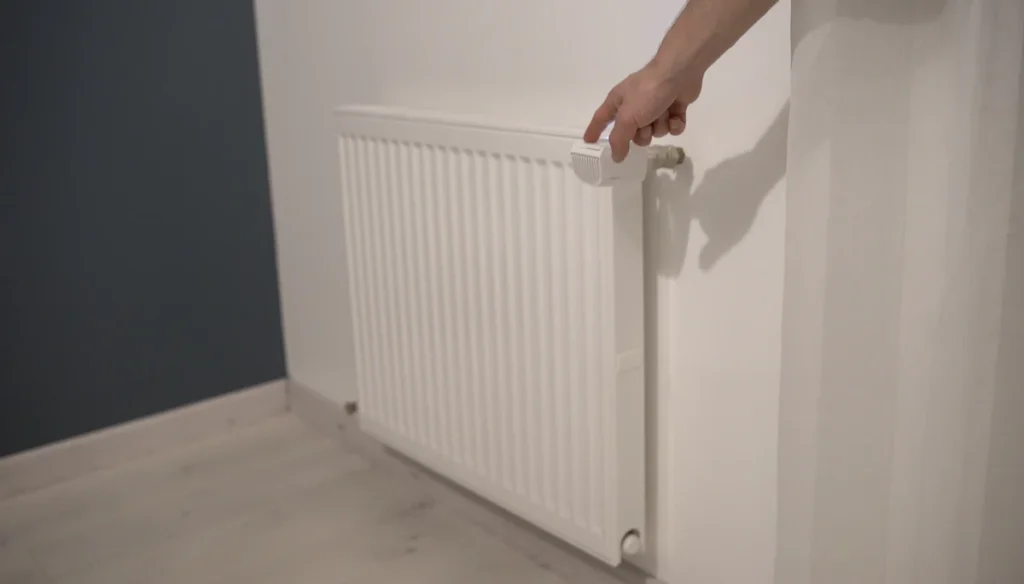
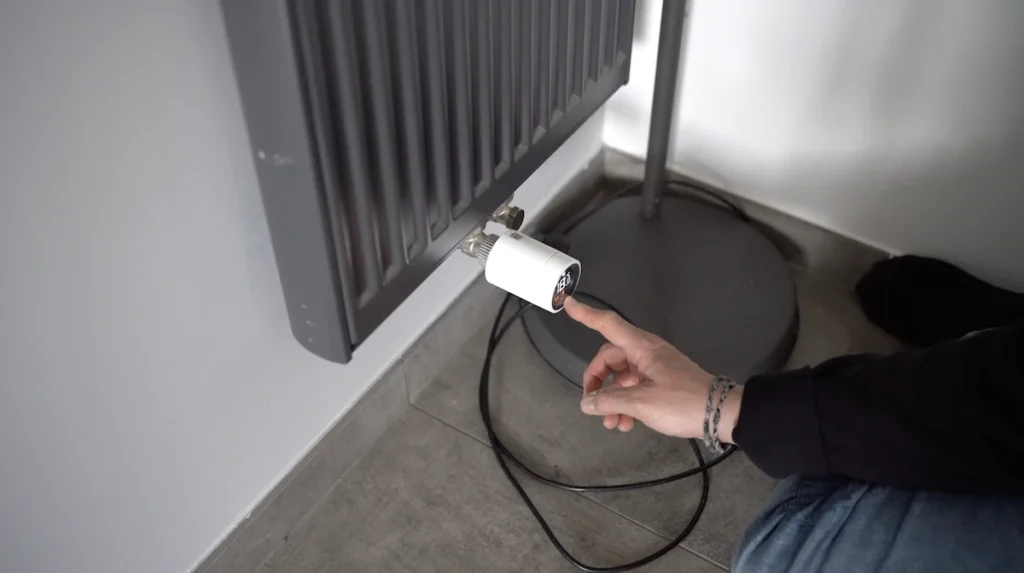
How to install the Moes thermostatic valve on the radiator
Now let’s see how to install the Moes thermostatic valve.

You must insert the batteries into the thermostatic valve by opening its plate.
Now, from the thermostatic valve display, you can set the year, month, day, hour and minutes with the +/- button, and confirm with the Menu button.

The ‘InS’ indication with a rotating symbol shows that the engine is being configured.

And when ‘AdA’ appears on the display, the radiator thermostat can be installed on the valve.

You must disassemble your traditional thermostatic valve by turning it counterclockwise.
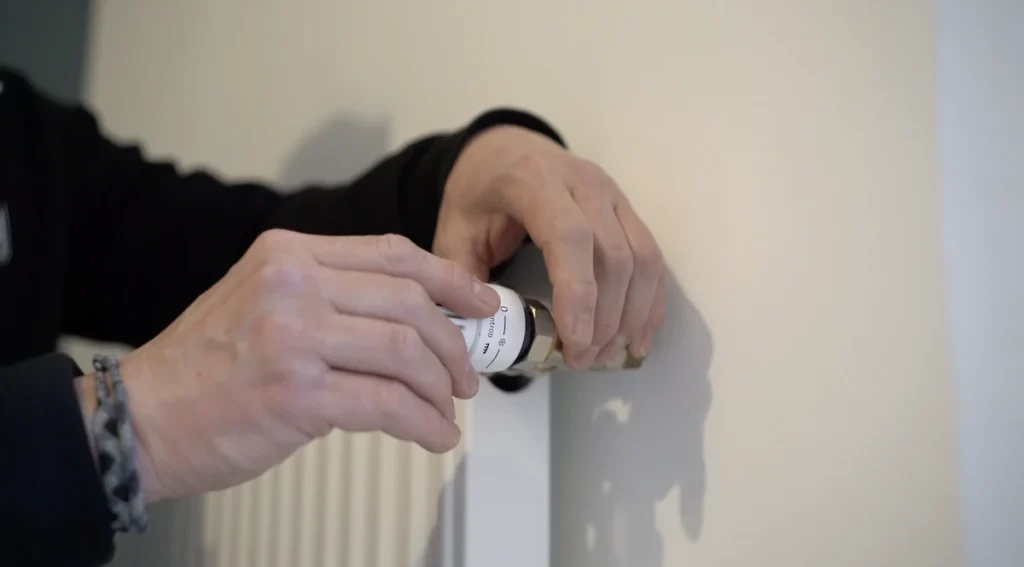
Now, you can install your Moes thermostatic valve directly on your radiator without an adapter or with an adapter if necessary.
After installation, you must click once on the “Boost” button and you will see ‘AdA’ marked on the display with a rotating symbol showing that an adaptation run is performed to correctly set the thermostatic valve on the radiator.
And now you will have local control of the heating temperature with the physical buttons on your Moes thermostatic valve and let’s see how to link it to a compatible Zigbee hub.
How to match the Moes thermostatic valve
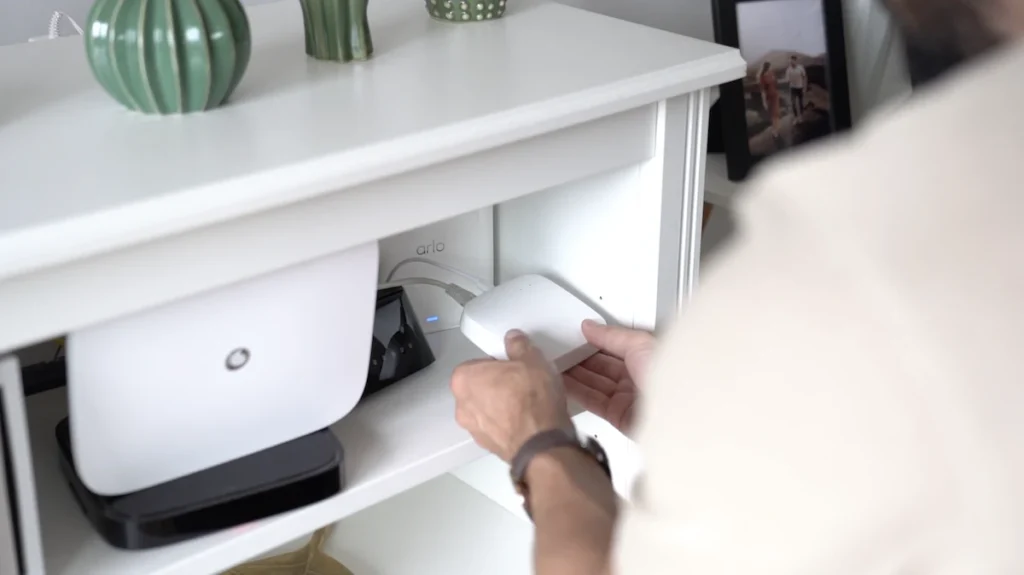
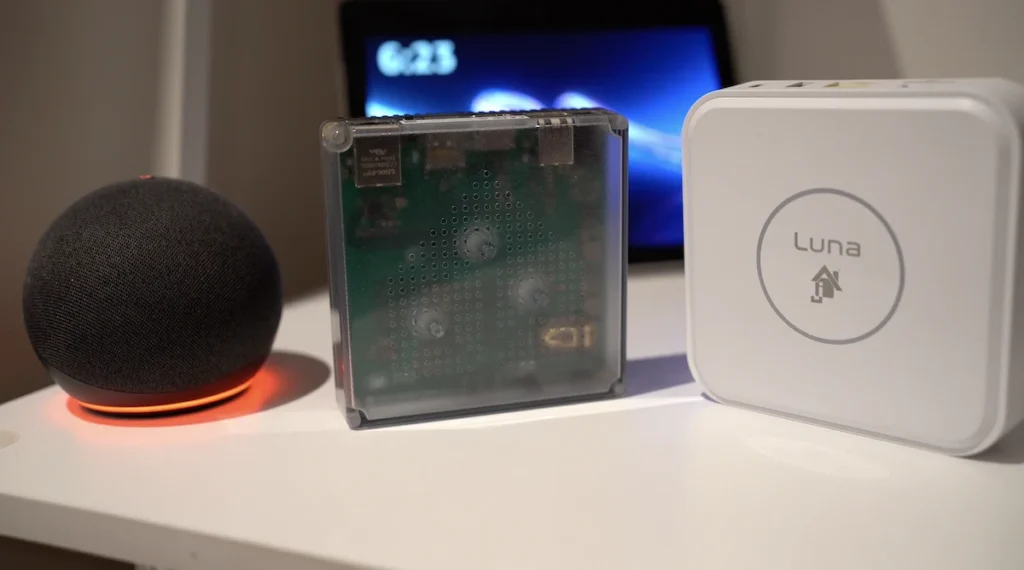
As we have seen in other content on this channel, a smart home user has the Jeedom Luna home automation hub and the Zigbee2mqtt platform which is also available in Home Assistant so the process is similar.

And you can also use a Tuya hub that I recommend for users who want a very simple solution.

You must launch the inclusion mode of your home automation hub.

At this point, you must press the “Pair” button on the thermostatic valve for 5 seconds until the ZigBee signal icon flashes, meaning that the device has entered pairing mode.
That’s it, now we have our smart thermostatic valve displayed on our home automation hub interface so we will have control from anywhere in the world on our phone.

Functions of the Moes thermostatic valve
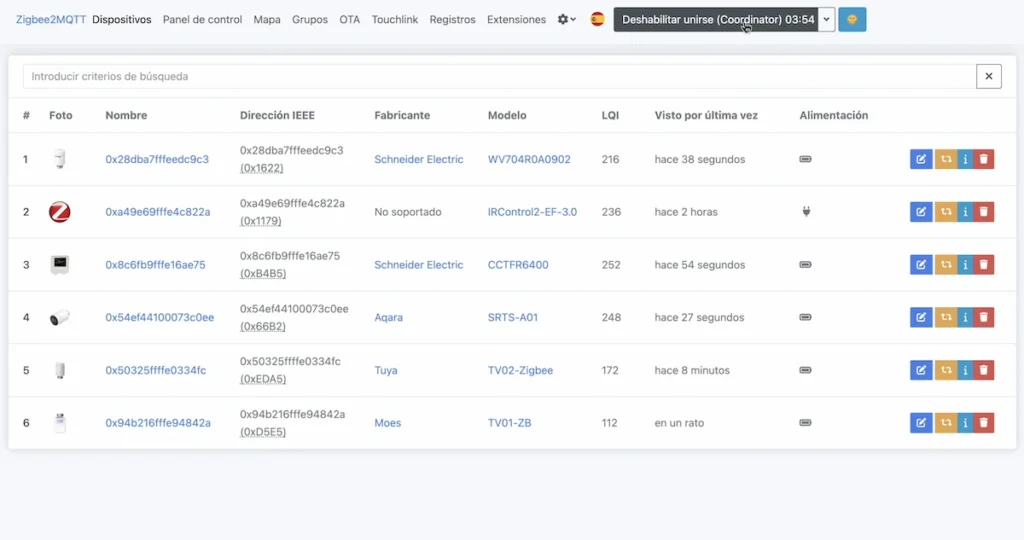
Let’s discover all the functions available in our home automation hub. From the Zigbee2mqtt interface available in Home Assistant or Jeedom, we can see and control different functions:
- “Battery low”: indicates whether the battery is almost empty or not, with “False” when this is not the case and “True” when you need to replace this battery.

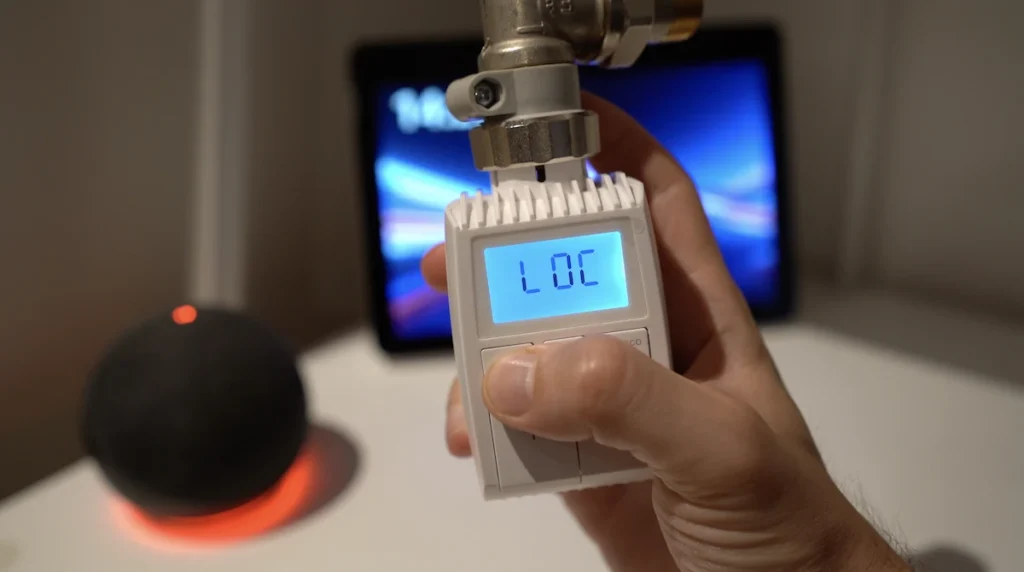
- “Child Lock”, as the name suggests, allows to block or not the physical manipulation of the thermostatic valve.
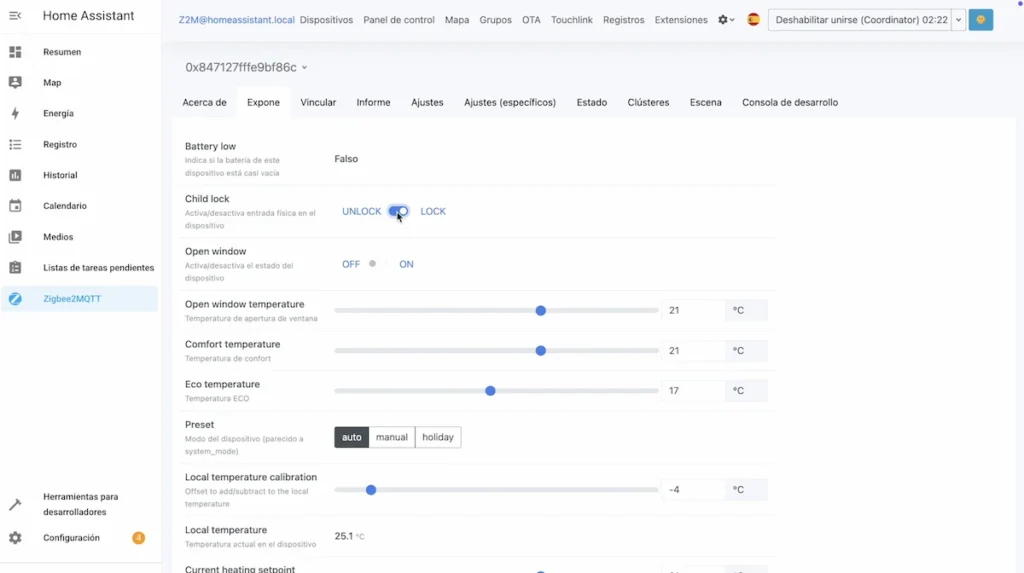
It is also possible to activate this protection against tampering by pressing the “Mode” button for 5 seconds. And again 5 seconds on the “Mode” button to unlock this protection.
- “Open Window” allows you to enable or disable open window detection.
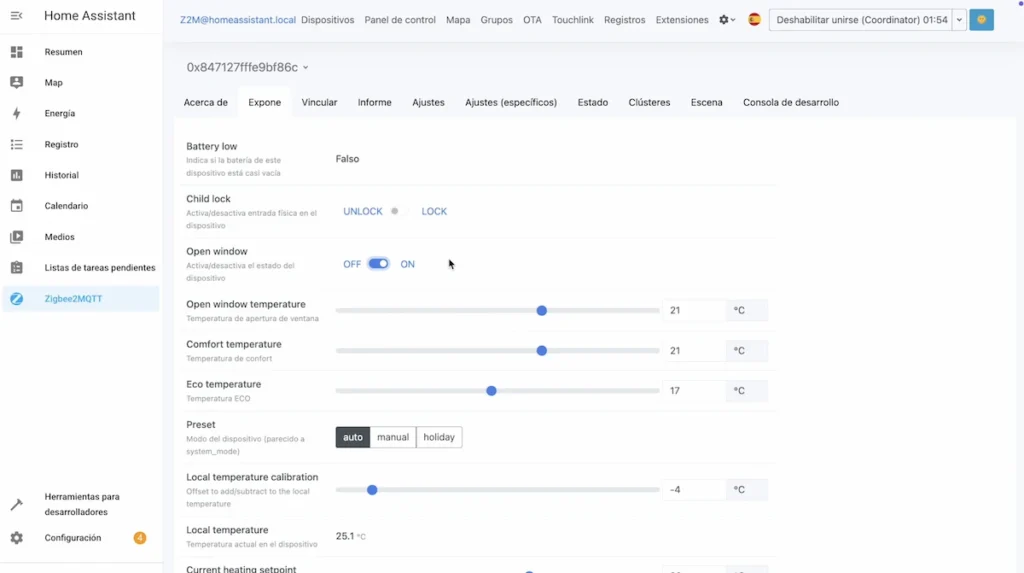
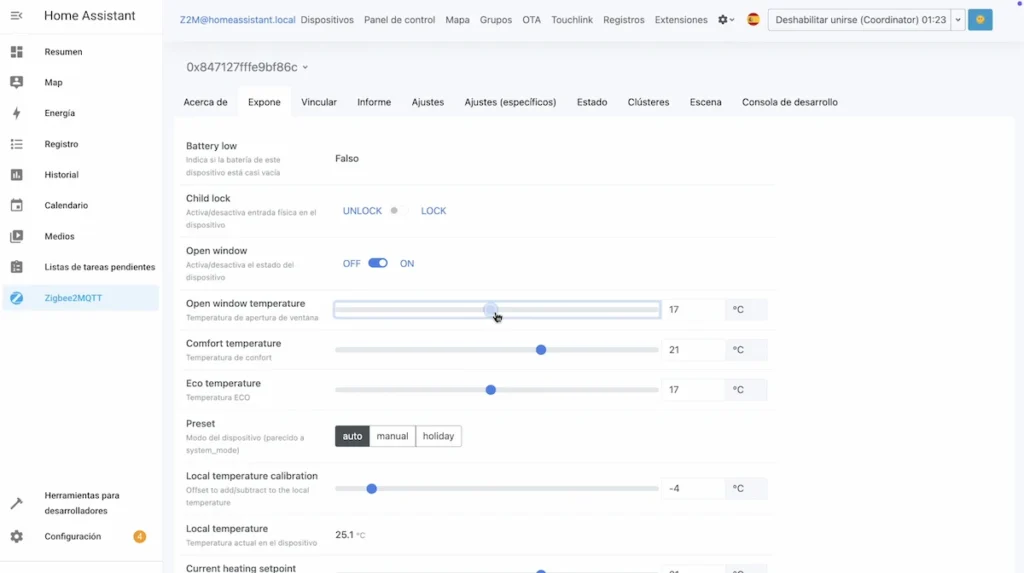
- “Open Window Temperature” allows you to set a temperature that will automatically be adjusted when there is precisely one detection of an open window.
- “Comfort temperature”, allows you to set a temperature for the “Comfort” mode, i.e. when you choose this “Comfort” mode, it will automatically adjust to the temperature that you have previously set.
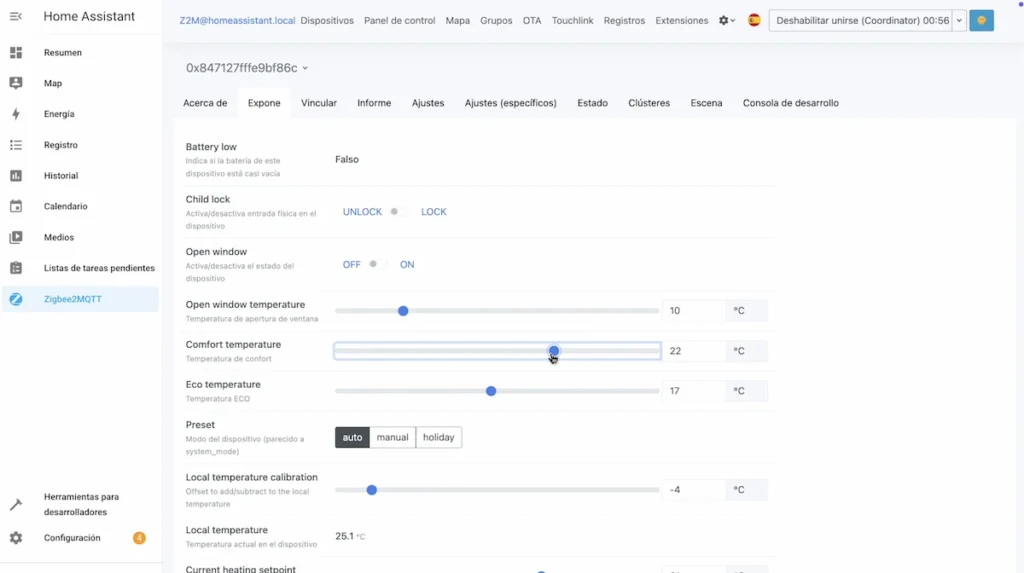
- “Eco temperature” is the same function but this time for the “Economy” mode.
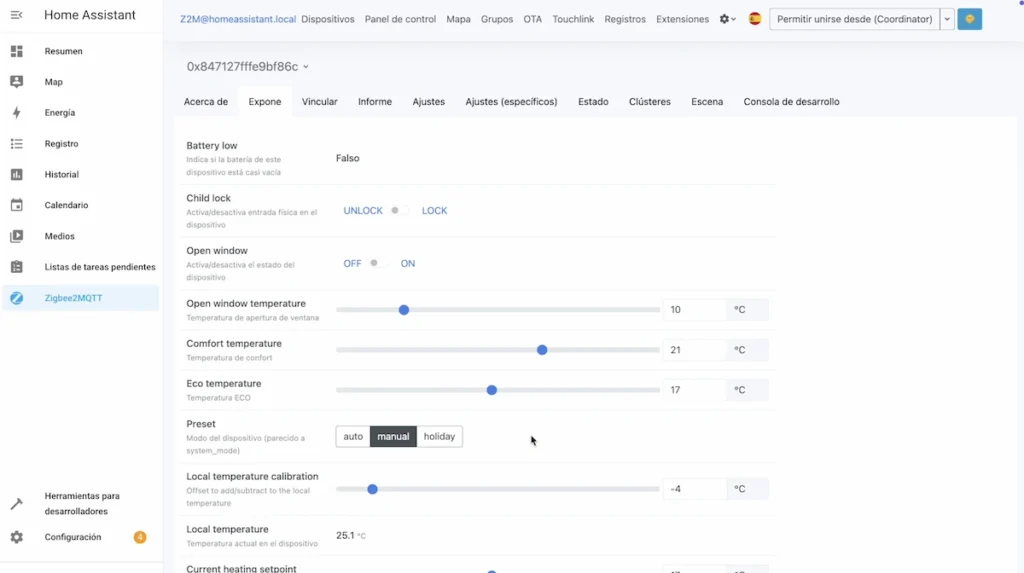
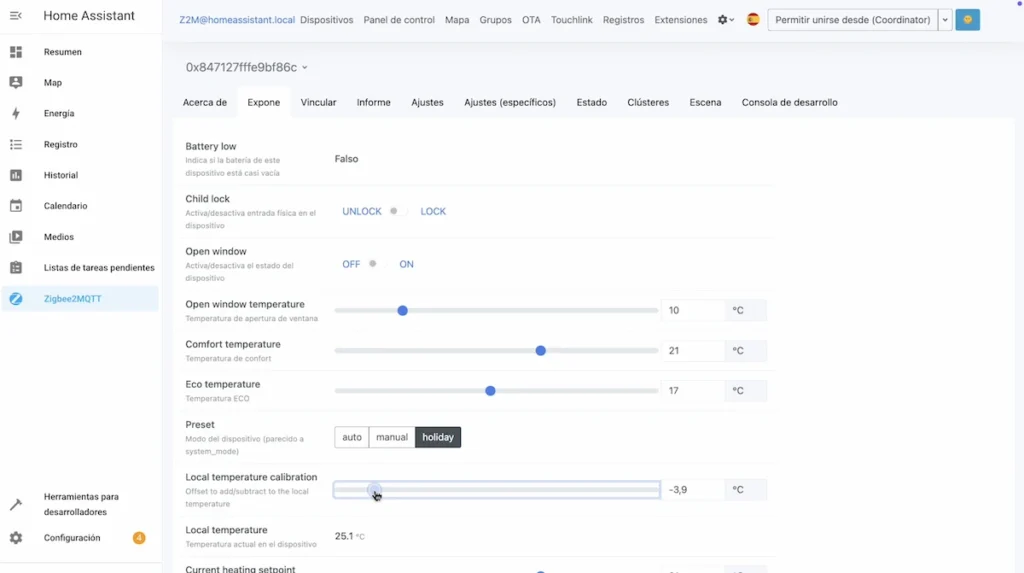
- “Preset” allows you to choose a mode, either “Auto” which adjusts the heating according to our settings, “Manual” for a manual adjustment with the physical buttons or “Holiday” for a heating adjustment according to a holiday mode we have configured.

As we have seen, we can also change this mode directly by pressing the “Mode” button on the thermostatic valve.

- “Local temperature calibration” allows you to modify the measured temperature, which is very practical as the temperature sensor is built into the Moes thermostatic valve near the radiator, so you may have an inaccurate temperature measurement and you can adjust this measurement with this setting.
- “Local temperature” is precisely the temperature measured by the thermostatic valve in real time.
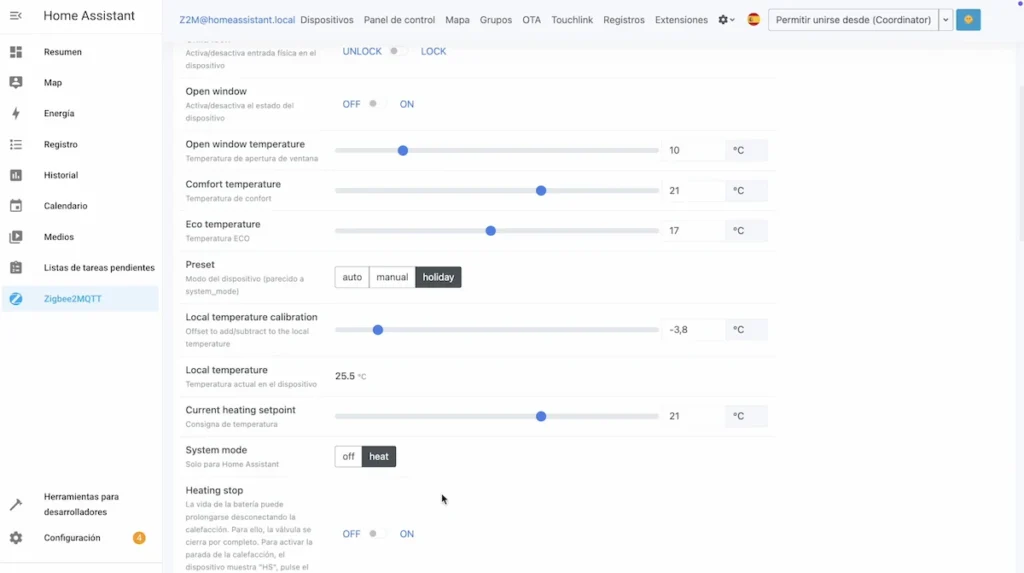
- “Current heating setpoint” is the setting of the temperature you want with your thermostatic valve, being one of the main functions of the device.

For example, if you want 20°C in your room, you can simply set it to 20°C and the thermostatic valve will act to reach this temperature.

- “System mode” allows you to switch the thermostatic valve on or off.
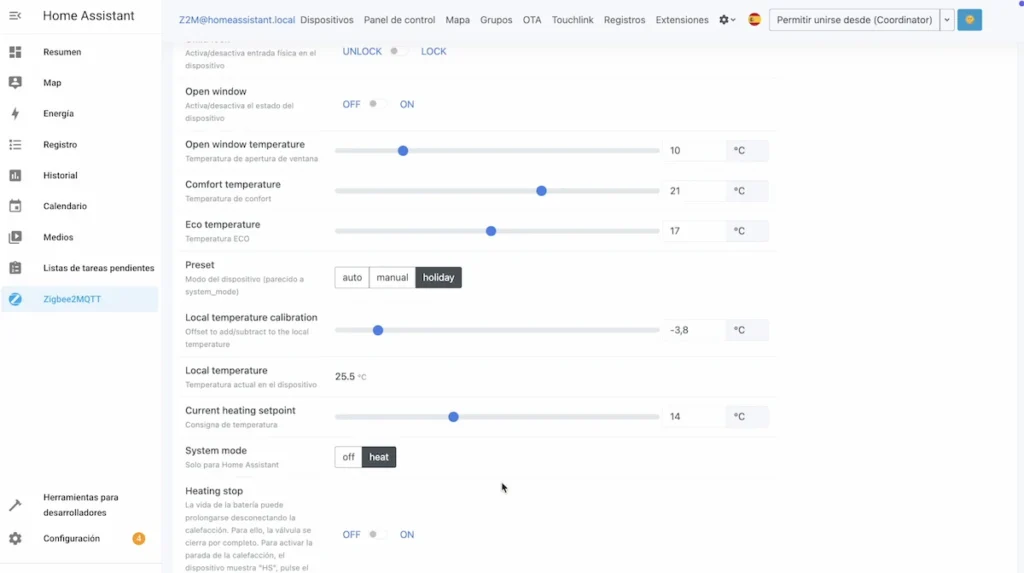
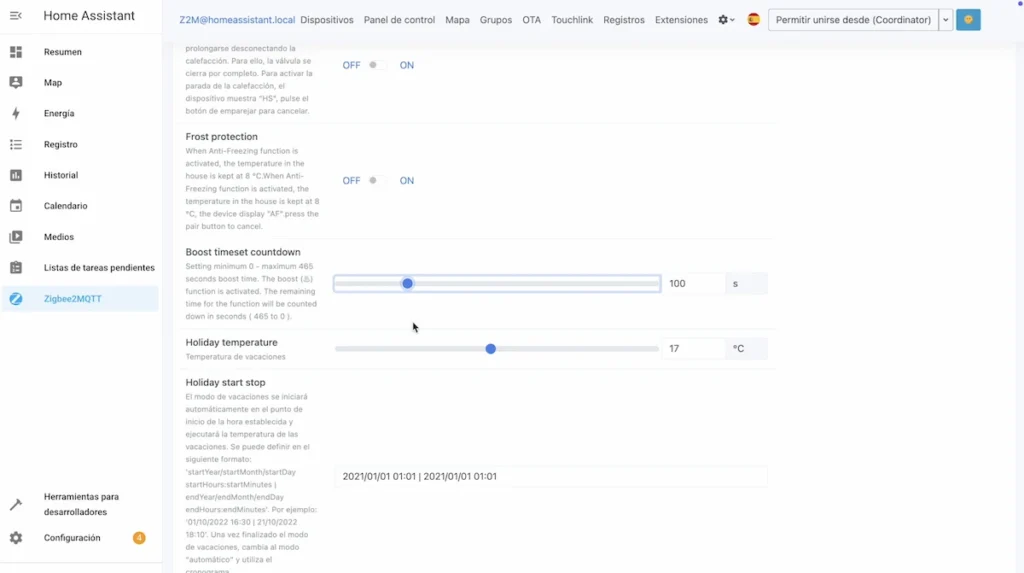
- “Heating stop” allows the heating to be switched off or not.
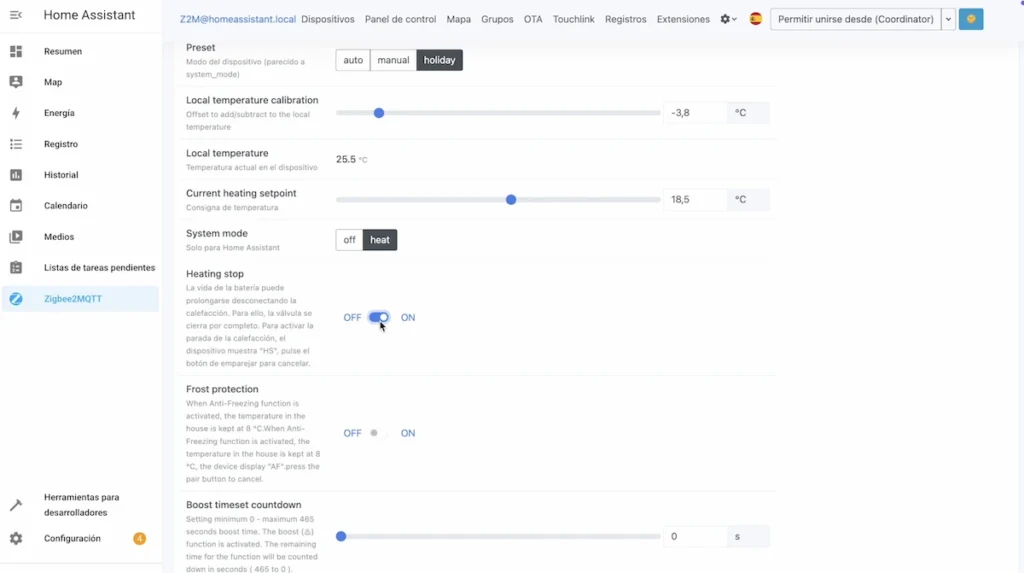
- “Frost protection” allows you to activate or not the frost protection and when you have this function activated, the thermostatic valve will heat up to 8 °C to avoid frost in pipes.
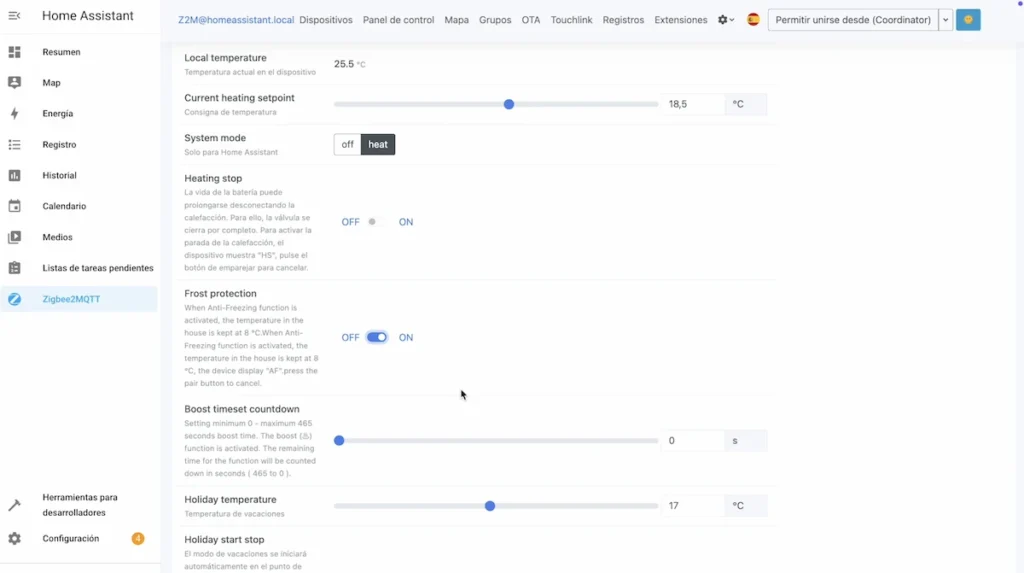
- “Boost timeset countdown” is a function that allows you to set a period in seconds of heating in “Boost” mode to heat the room faster.
We can also activate this “Boost” mode from the physical button on the thermostatic valve.
- “Holiday temperature” is a temperature that you can set and choose when you press the “Holidays” mode.
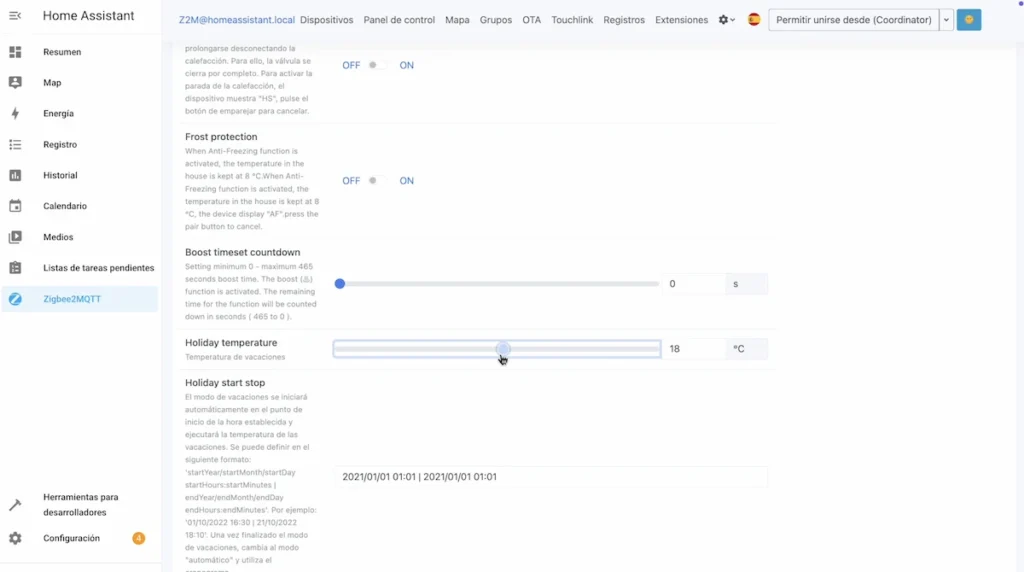
- “Holiday start stop” allows you to define the period for the holiday mode to start automatically at the set day and time and run the holiday temperature.
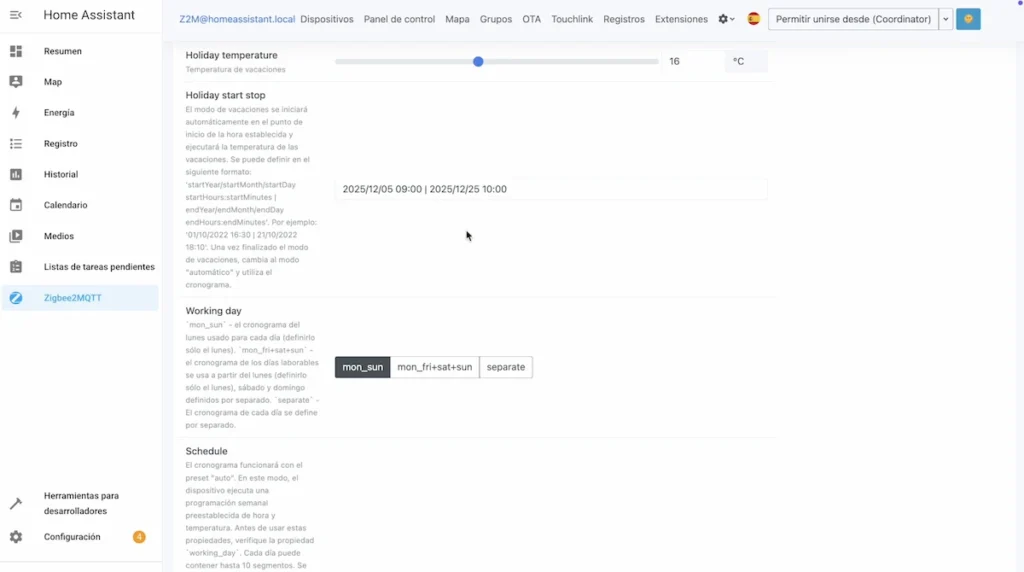
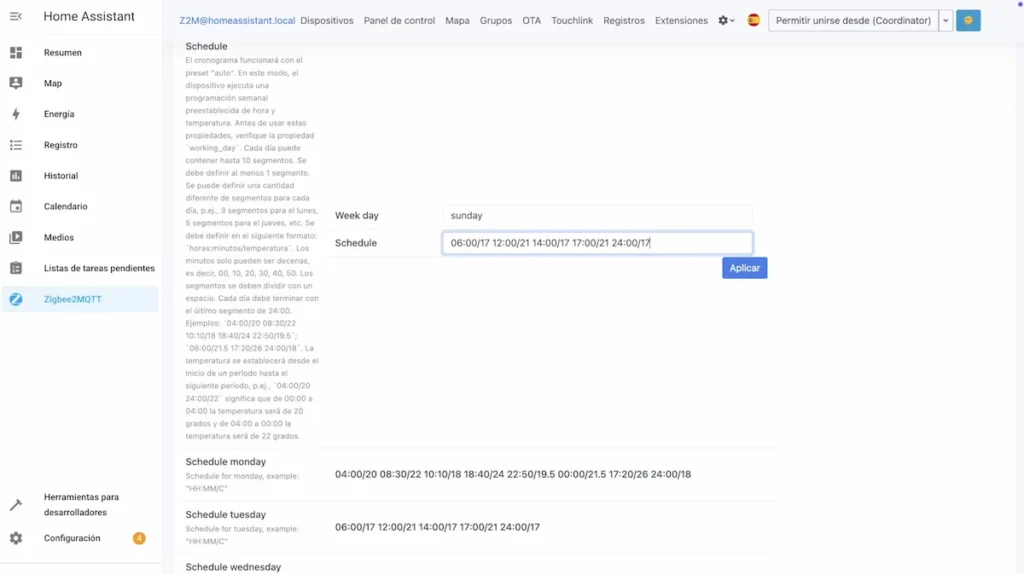
- “Working day” allows us to choose days for our heating calendar. We can choose to heat with the same calendar from Monday to Sunday, Monday to Friday and Saturday and Sunday or all separately, i.e. we set a different heating programme for each day.
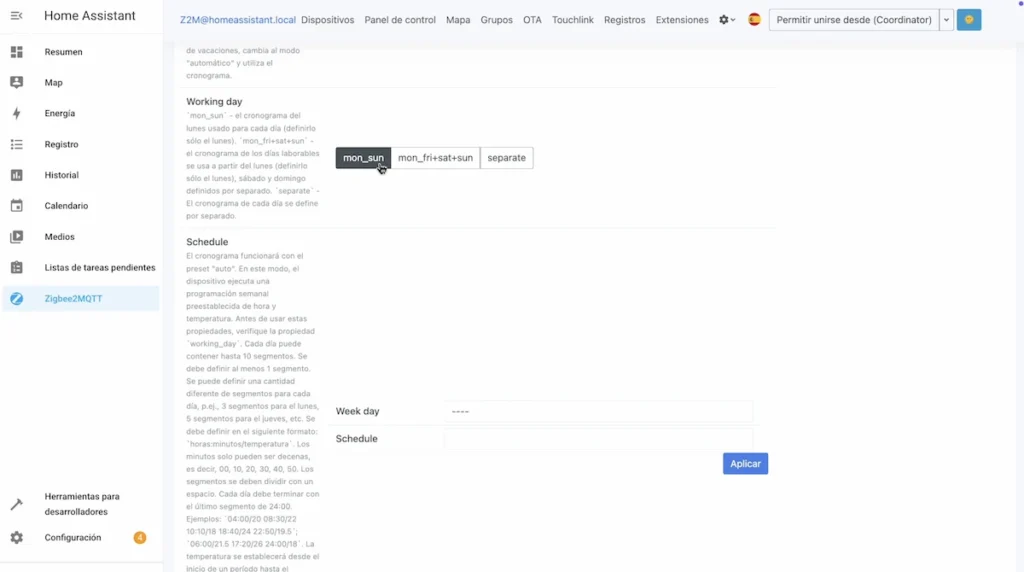
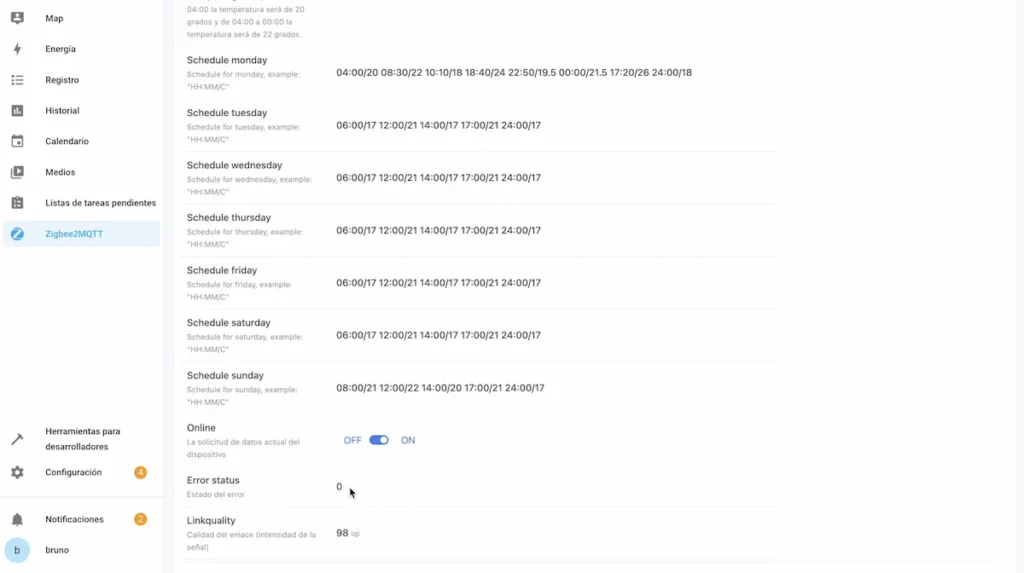
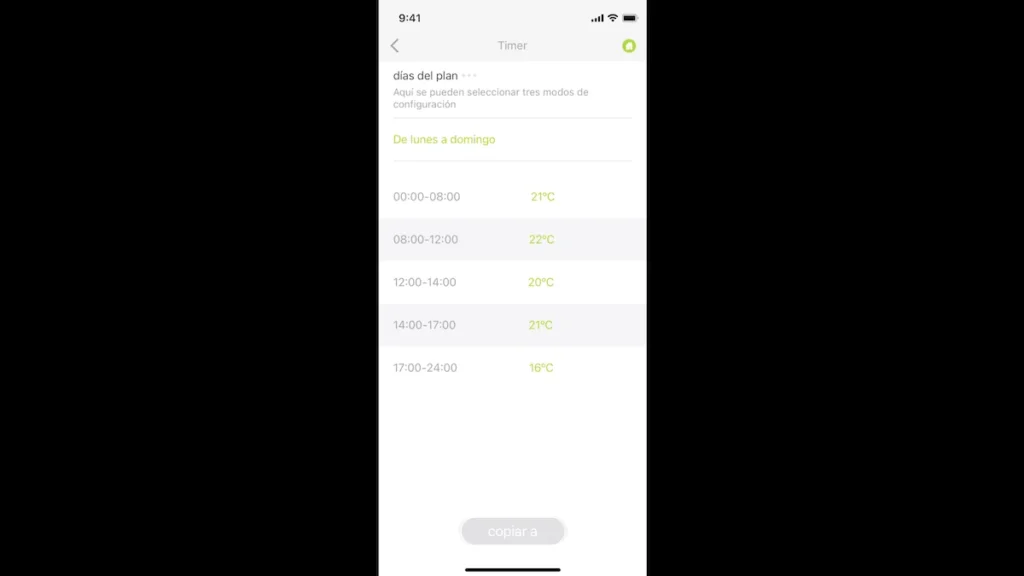
- “Schedule” allows us to program different temperatures at different times for different days of the week and once we have configured temperatures with times on a specific day, we can hit “Apply” and so for each day we want to customise and below, we can read all the settings we have customised being another very practical detail.
You can also configure a heating programme directly with the physical buttons of the thermostatic valve by pressing the “Menu” button for more than 5 seconds and then the “Prg” option, although the configuration process is more convenient from the interface of a home automation hub.
- “Online” allows to activate or not the current data request of the device.
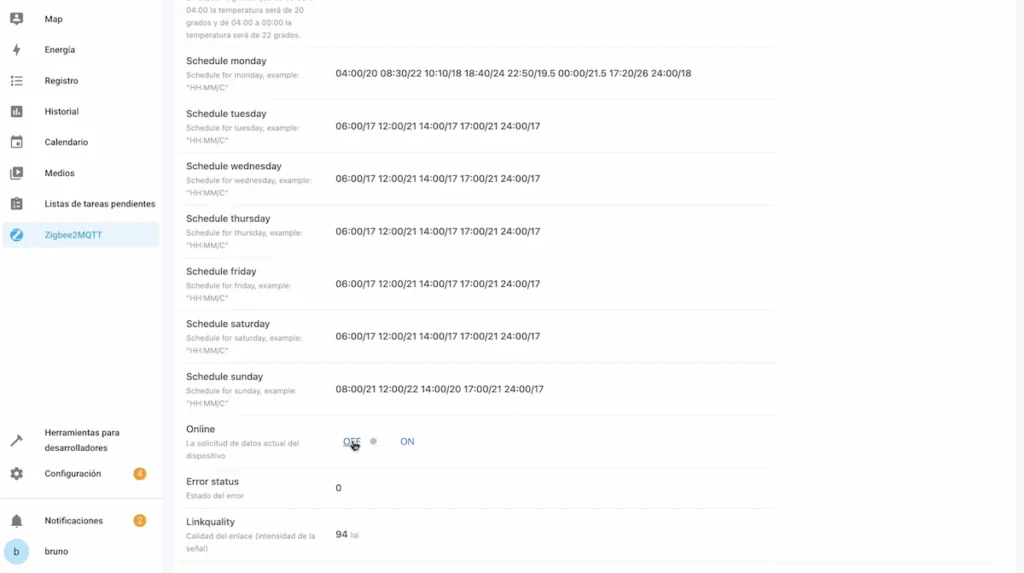
- “Error status” allows to know if there is an error detected or not.
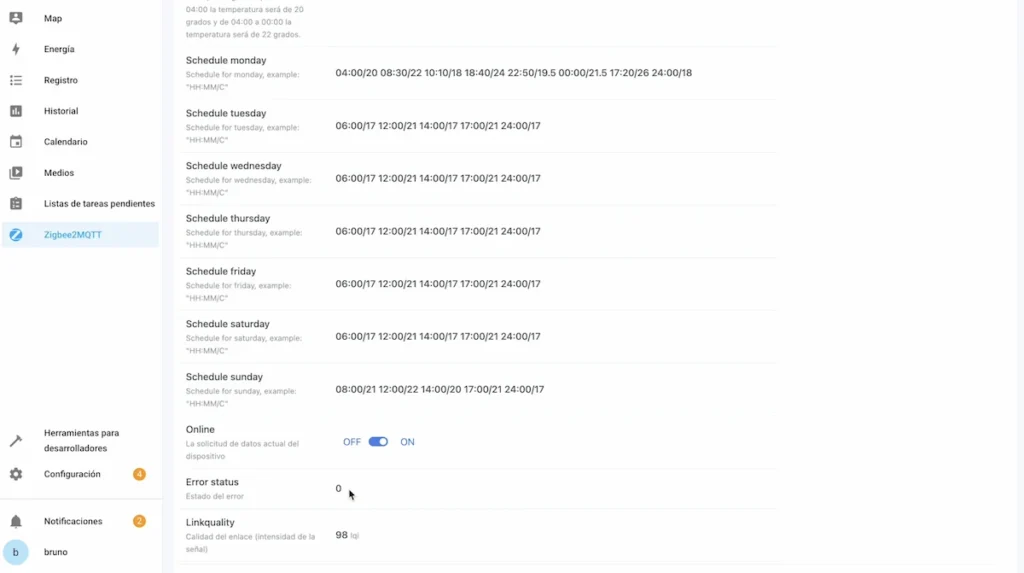
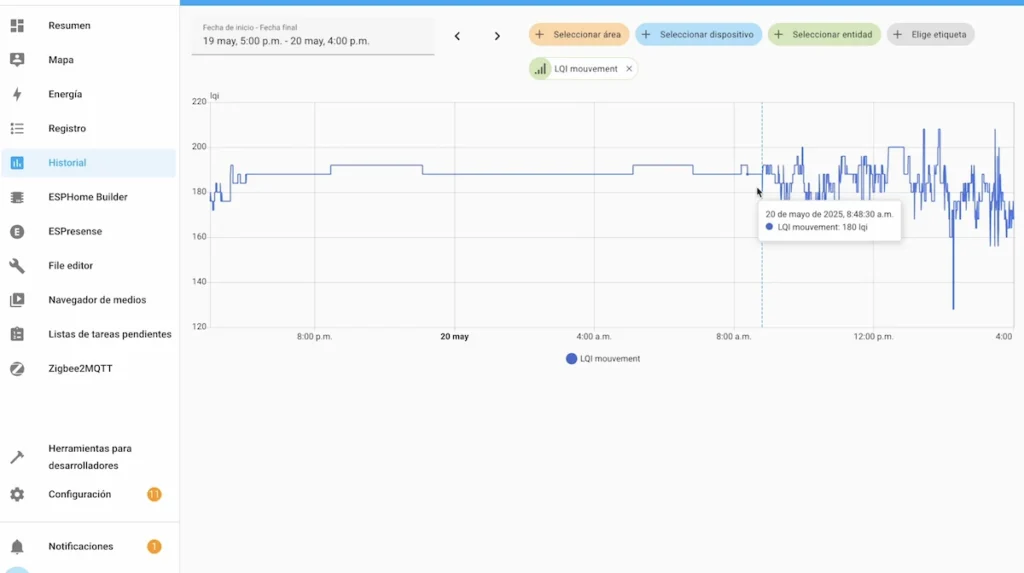
- “Link quality” is the quality of the link allowing us to know if our device has a good range or not to communicate with our home automation hub.
It should be noted that we have already seen in detail in other content how to analyse and improve this Link Quality.
In the Smart Life app, we also have access to all these functions.
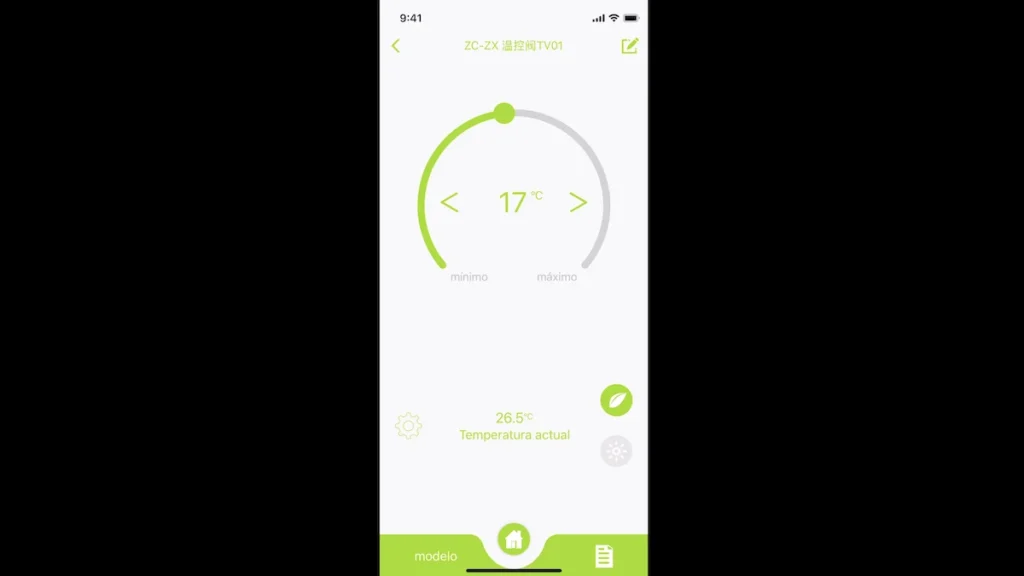
With a very simple and user-friendly interface.
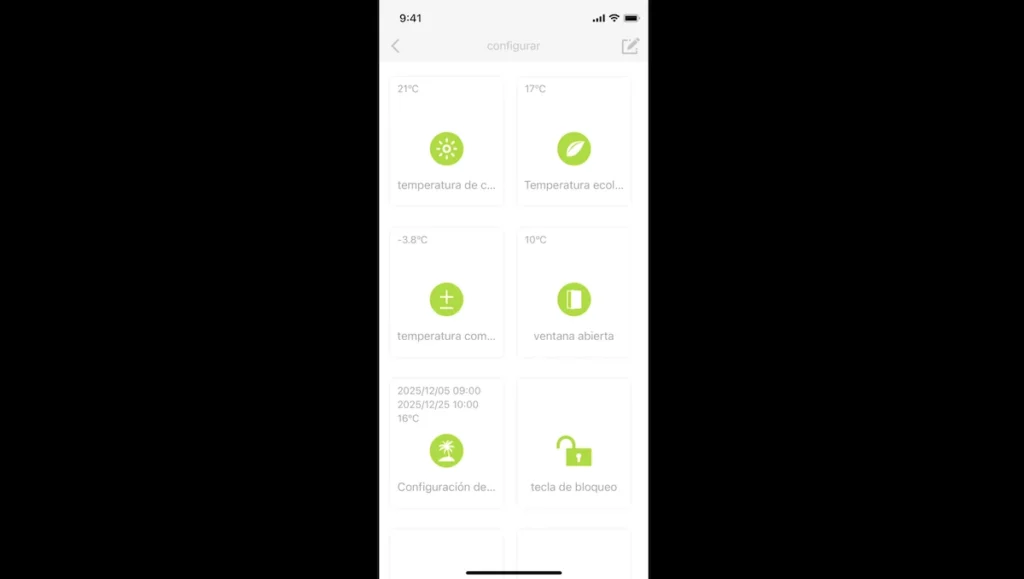
So you can decide whether you want to start with a Tuya hub or not.
Example of smart home integration
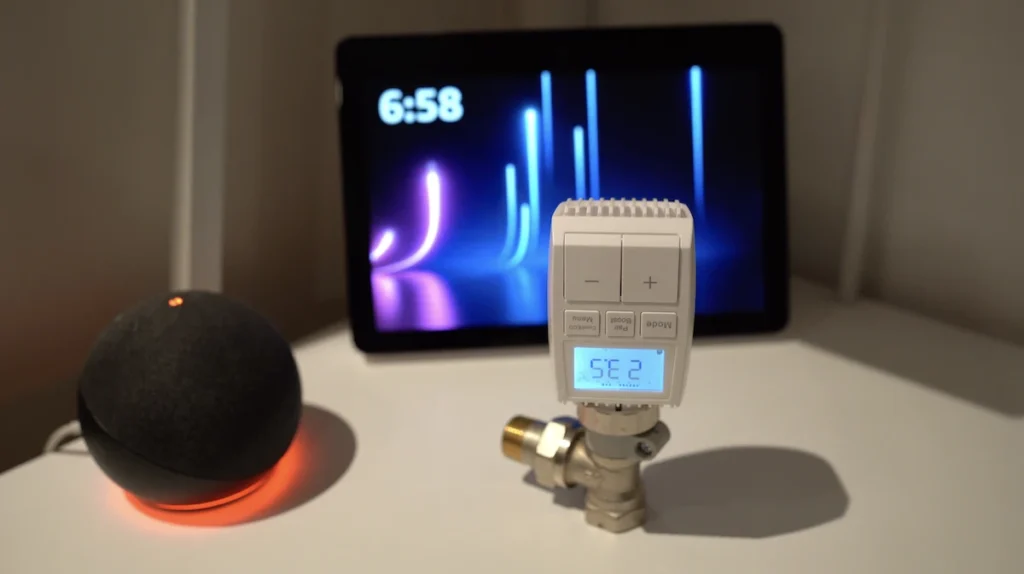
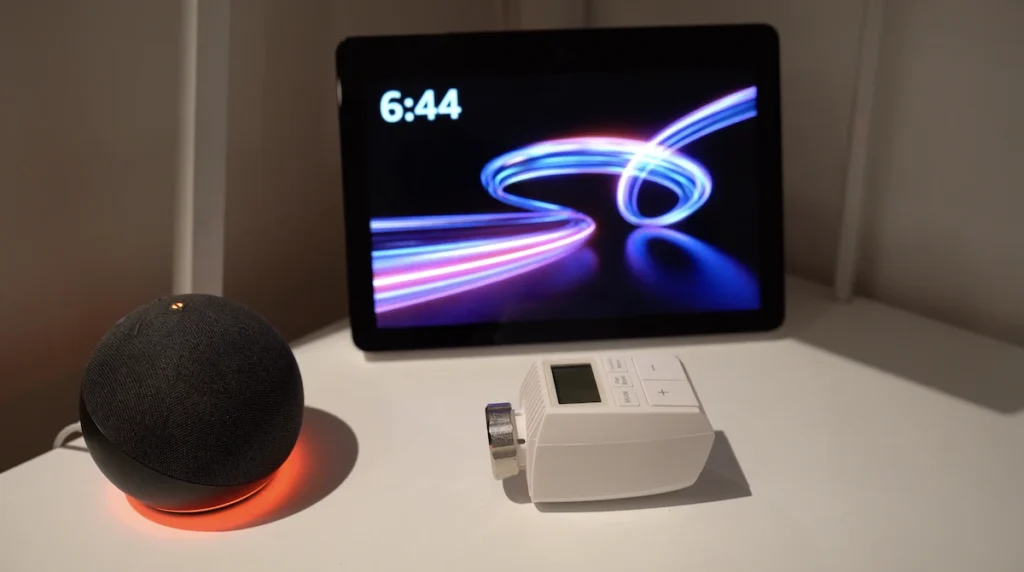
Although this device offers great personalisation without the need to use other smart devices, for a more complete smart home experience, it can be interesting to additionally use other devices and criteria.

For example, in the user’s case, he has different Zigbee thermostatic valves from different brands, all brought together with the Zigbee2Mqtt platform with his Jeedom Luna home automation hub.
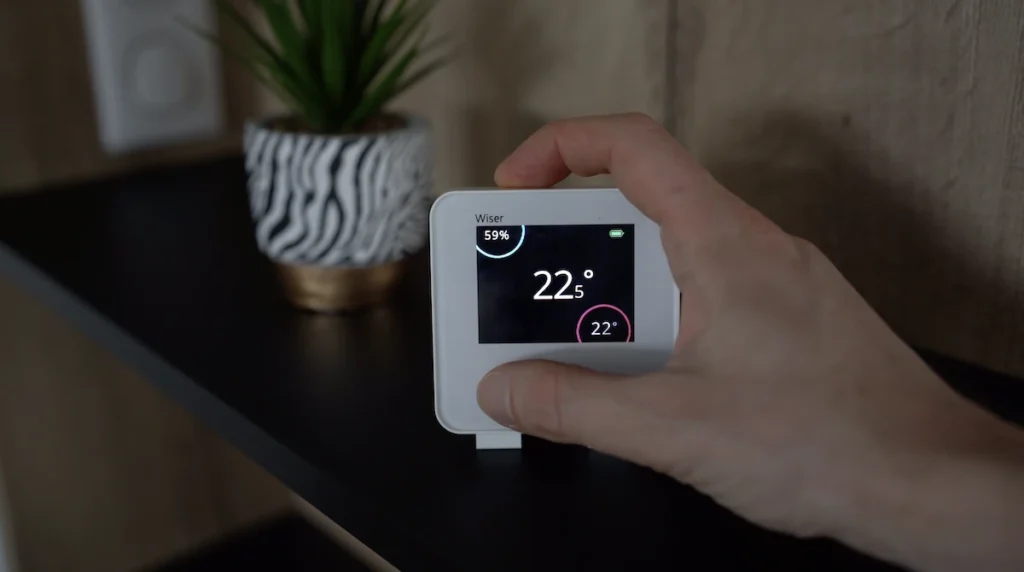
And additionally it has a battery operated Zigbee thermostat that allows you to have a practical heating adjustment of various thermostatic valves from your display, without having to take out your phone, when you want to manually adjust a temperature at home.
Of course, you can also imagine other automations such as automatic heating adjustment according to your geolocation and much more.

In short, Moes is a brand that offers a long list of intelligent devices, very complete and generally at very affordable prices, and this thermostatic valve has an excellent price/performance ratio in my opinion.
Generally purchased together

Buy your Zigbee thermostatic valve TV01-ZB
Graduated with a Higher Technician’s Certificate in Home Automation, a Professional Bachelor’s degree in E-commerce and Digital Marketing, and a Master’s degree in SEO, I have been working since 2013 in a home automation e-commerce company called Domadoo, where I have the opportunity to test a large number of the popular Smart Home products on the market.