
Would you like to have a smart shutter that you can control from your phone, by voice, or also create automations so that this shutter can be opened and closed according to defined criteria such as a schedule or weather conditions?
Let’s find out how to turn your roller shutter into a smart shutter in a few minutes.
And you must stay until the end of this content to discover an extra tip that will surely be very useful.
What do we need to have a smart blind?
To begin with, a prerequisite for a smart blind is that the blind must be motorised.
So if you don’t have a motor on your roller shutter, I would like to share a recommendation which would be to have a motorised roller shutter without any wireless technology built in.
Basically because to give intelligence to a motorised roller shutter, we can simply use an intelligent module of different brands.
If your shutter does not incorporate intelligence, you will have the flexibility to choose your favourite shutter module such as one from Shelly if you want to have a WIFI module without using a home automation hub, one from NodOn if you are interested in having Zigbee technology in your home, one from FIBARO if you are interested in Z-Wave technology or any other module according to your needs.


In case you already have a smart shutter, you will most probably NOT be able to follow this tutorial as this home automation shutter already integrates its intelligence.

So, if you are interested in being able to integrate your smart shutter into your home automation ecosystem, for example with Home Assistant or Jeedom, you should check that your shutter can be integrated into your ecosystem, with a very practical device called Airsend, which is compatible with shutters with Somfy RTS, Somfy IO, Deltadore, Velux technologies and much more.

So if you are locked into a manufacturer’s technology, you can check the compatibility of your smart shutter with this type of solution.
How to integrate Domotics into a motorised roller shutter?
As I mentioned, you should use a smart shutter module.
There are different models on the market and most of them are connected in the same way.
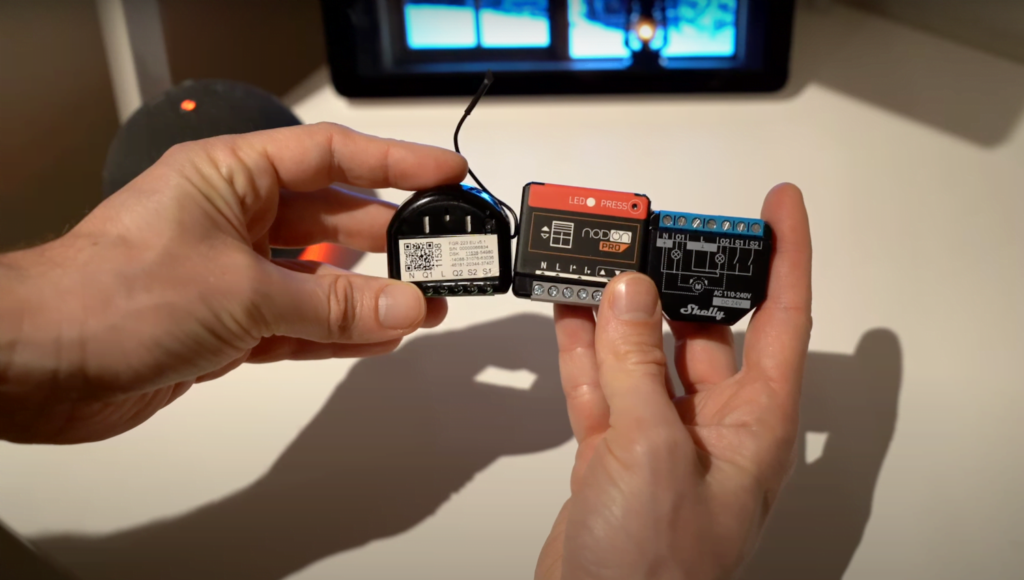
In my example, I will test 3 smart modules:
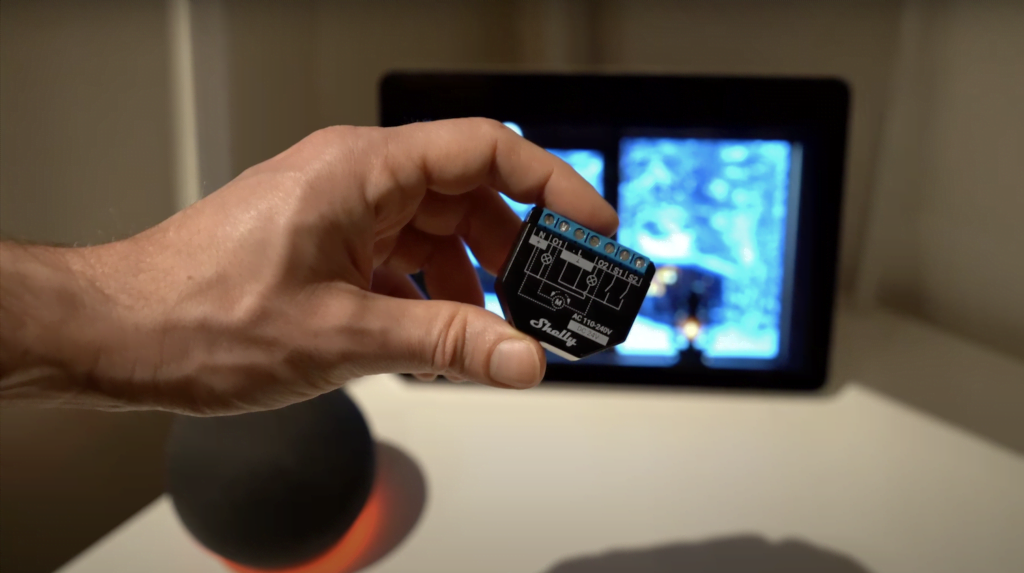
- ShellyPlus2PM WIFI shutter module from Shelly.
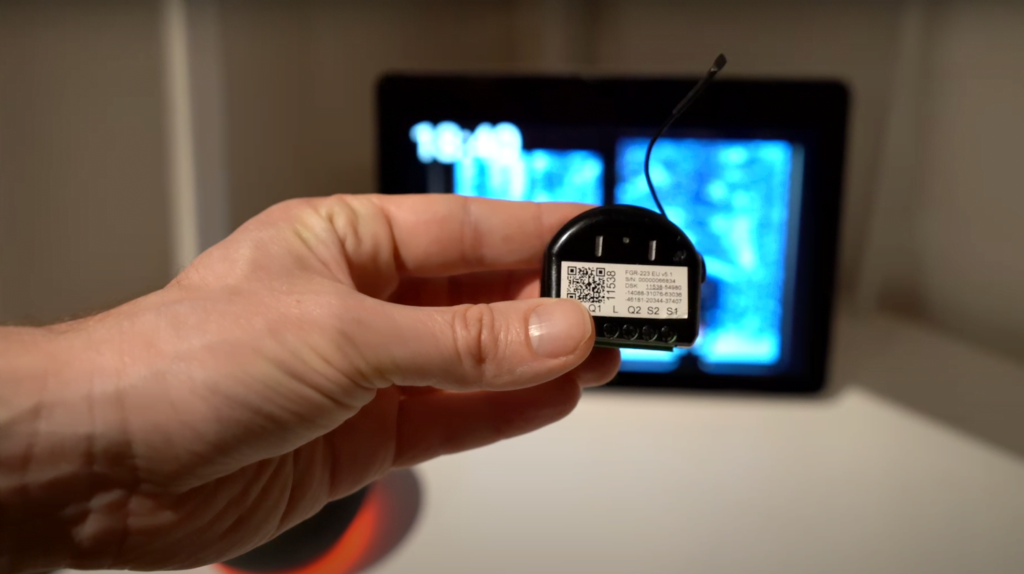
- FIBARO FGR-223 Z-Wave roller shutter module.
- NodOn’s SIN-4-RS-20 Zigbee shutter module.
Very important, to connect your roller shutter module to the power supply, you must switch off the power, check that there is no power supply and lock the circuit breaker so that no one can accidentally switch the power on again, have adequate protection and an electrical rating.
Electricity is not to be trifled with. If you do not have all these requirements, to avoid any electrical failure or risk to your health, you should contact a professional.
Having said that, I will now explain how to connect a smart shutter module.

By default, if you open the switch that controls your roller shutter, you will have 4 wires, usually red for the phase wire, blue for the neutral wire and black and brown for the up and down wires of your roller shutter.
This is a general example but perhaps in your case, you may have different colours and different wiring.
What you should do, if of course you have the power cut and all the above mentioned requirements, is to retrieve the motor up and down cables that were connected to the switch, usually black and brown, and connect them directly to the intelligent module of your roller shutter, making sure to connect them to the good connectors of the module that correspond to the up and down control of the roller shutter.
- In the case of NodOn, you must connect them to the up-arrow and down-arrow connectors.

- In the case of Shelly you must connect them to connectors O1 and O2.
- And in the case of FIBARO, you must connect them to connectors Q1 and Q2.
Now, you must add two wires to the connectors of the module corresponding to the up and down controls of the shutter and these wires must be connected to the switch.
- In the case of NodOn, you must connect them to the connectors with the letters I for switch and up arrow and down arrow.
- In the case of Shelly, these are connectors S1 and S2.
- And in the case of FIBARO, it is also the S1 and S2 connectors.
Once these cables are in place, you must connect them to your switch corresponding to the up and down of the blind.
If you have reversed the raising and lowering of your shutter, i.e. when you press up, the shutter goes down and the other way round, simply reverse the wires, of course, you should always carry out manipulations with the power cut off.
You must connect one red wire to the L connector of your NodOn module or FIBARO module or two red wires to the two L connectors of your Shelly module and connect them to the L connector of your switch where you should already have a current phase wire connected by default.
Finally, you must connect a blue wire to the N connector of your NodOn, FIBARO or Shelly module and this wire must be connected to the neutral of your power supply.
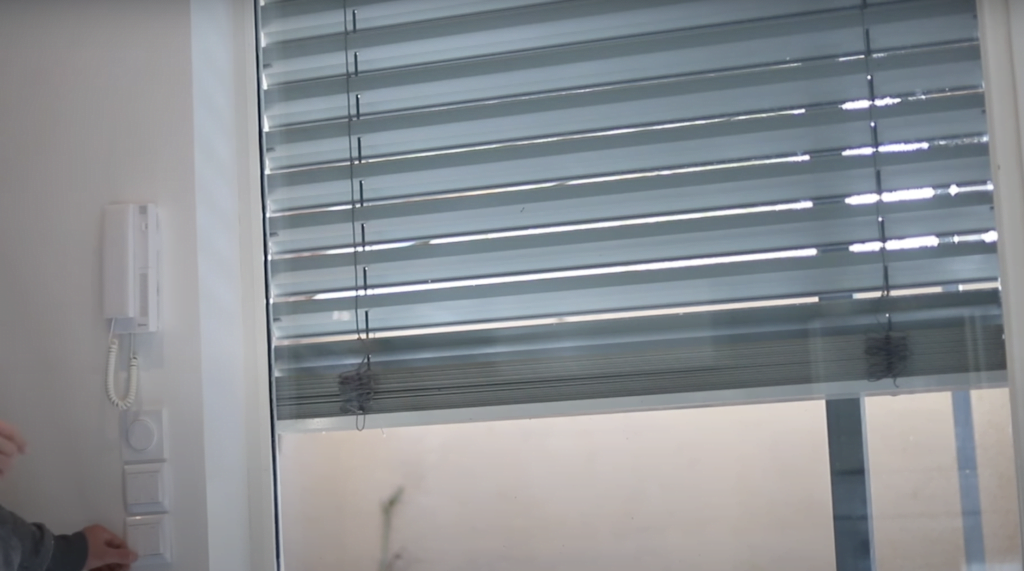
That’s it, you now have a smart blind thanks to the use of a smart module behind the switch.

The advantage of this type of solution is that in addition to being able to control your smart shutter from your phone anywhere in the world and also automate the opening and closing of the shutter according to different criteria such as a schedule, brightness and outside temperature, you will also continue to have control of this shutter from your traditional switch.
Because home automation should be an additional layer to your traditional installation.
In my example I show 3 smart modules, one from Shelly, one from FIBARO and one from NodOn as they are 3 different and very interesting philosophies to have a smart blind.
The Shelly module works with WIFI technology so you don’t need to buy an additional hub, simply connect this module to your WIFI network with your free Shelly app and that’s it, you will have control of this smart shutter from your phone remotely and also locally in your home being able to open, close or pause the opening or closing of the shutter.
The NodOn module uses the famous Zigbee technology that I often recommend.

This Zigbee technology has several advantages such as not saturating your WIFI network as it is a separate technology specifically designed for your smart home.

And the FIBARO module uses Z-Wave technology, which has been the market leader in recent years with similar characteristics to Zigbee technology.

Although you will need a Zigbee or Z-Wave home automation hub that is compatible with your NodOn or FIBARO smart module, in this case, you can use a Home Assistant or Jeedom home automation hub and a platform such as Zigbee2Mqtt if you use a Zigbee module and Zwave JS if you use a Z-Wave module.
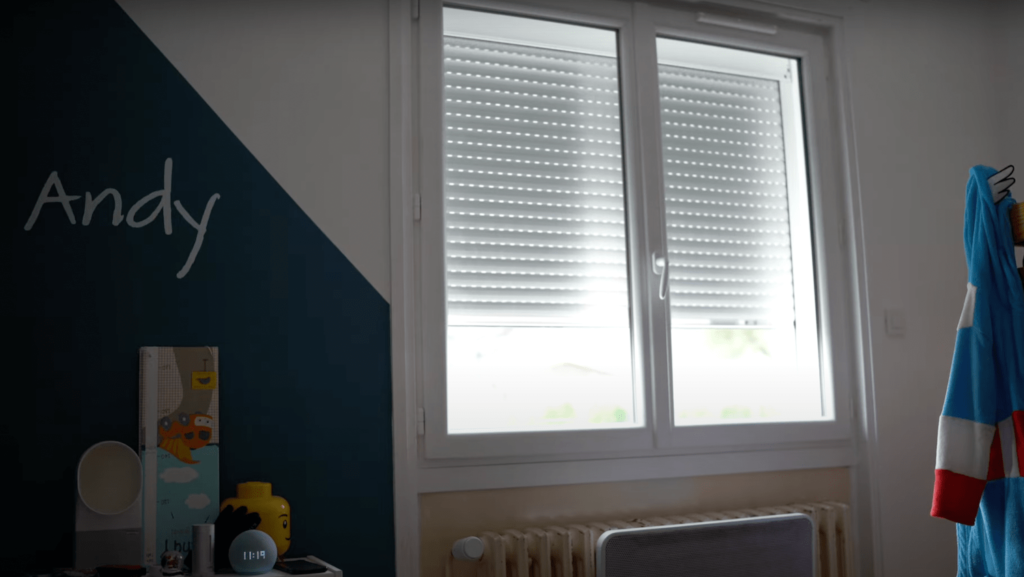
This is the case of a home user who has FIBARO modules in Z-Wave and NodOn modules in Zigbee for his blinds.
And it is worth noting that the NodOn module also uses Bluetooth technology so you will be able to update this module over time, if necessary, directly with your phone using the NodOn connect application.
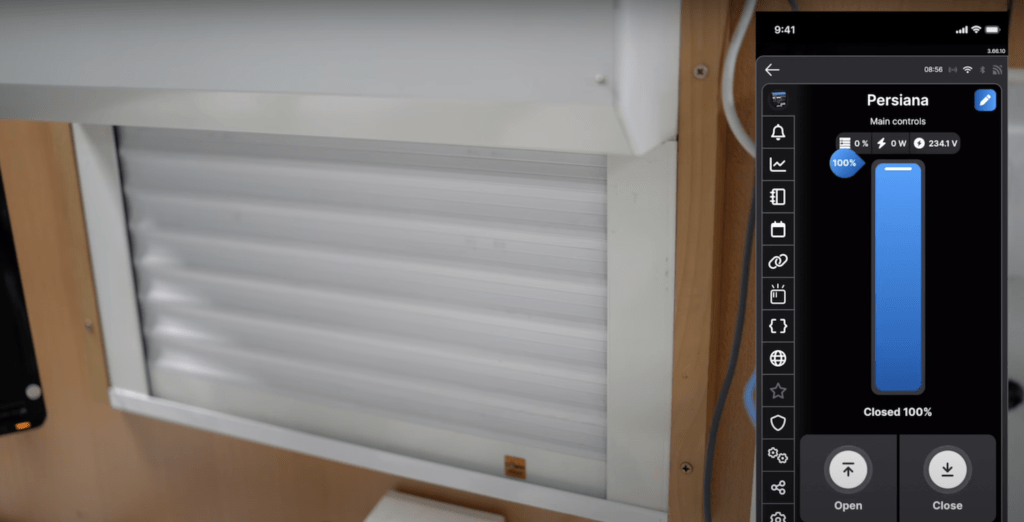
Now you will be able to control your smart module remotely from your phone anywhere in the world by opening, closing or pausing the opening or closing of the smart shutter.
And of course, if you have your home automation hub linked to Google Home or Alexa voice assistants, you will be able to control these blinds by voice.
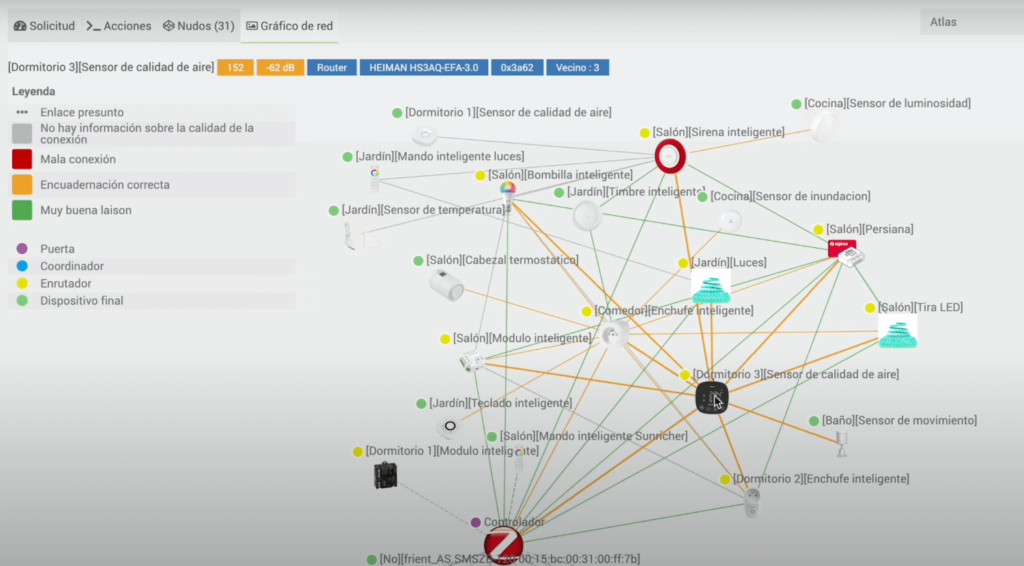
Also, when using this Zigbee or Z-Wave technology, a mesh network is created with other Zigbee or Z-Wave devices, so it is an interesting function to make the communications of your home automation installation more reliable since this type of device connected to the current will automatically repeat the signal.
And of course, the interest of a smart home is to be able to automate tasks according to defined criteria.
For example, to further protect your home against intruders, you can create a time scene to simulate presence by opening and closing the blinds during your absence, and to avoid having exactly the same schedule every day, you can create scenes for opening and closing the blinds according to the rise and fall of the sun.
Another example is in terms of thermal comfort and energy savings, you can define to automatically open or close the blinds according to the temperature and brightness.
In winter, when the sun goes down, the blinds are automatically closed to further insulate the house from the cold and thus reduce heating consumption as much as possible with this additional insulation.
These blinds are opened during the day to take advantage of the sun and a free energy supply.
On the other hand, in summer, in order to protect from the heat, these blinds are automatically closed at times when temperatures are higher, so that the house does not get too hot.
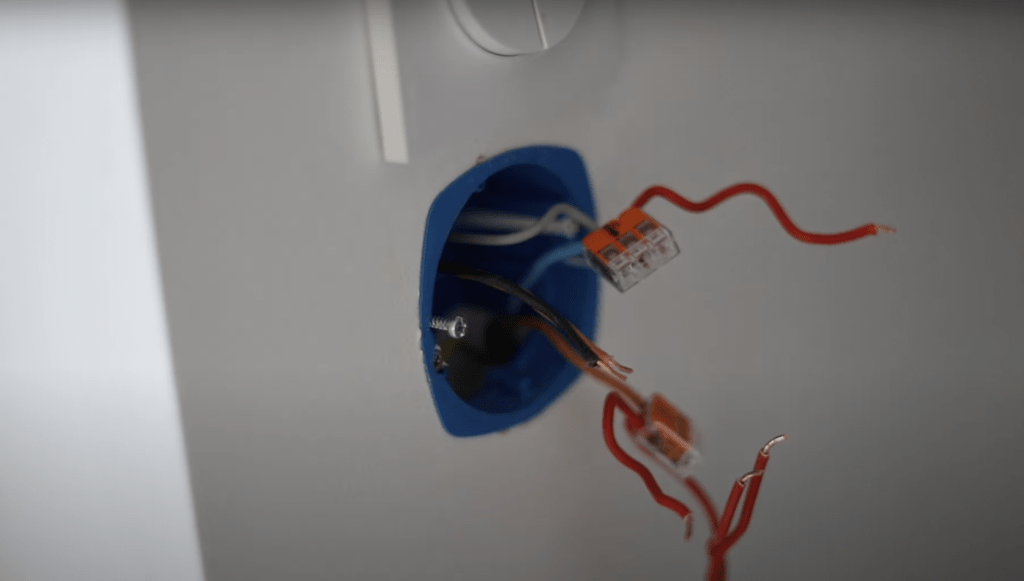
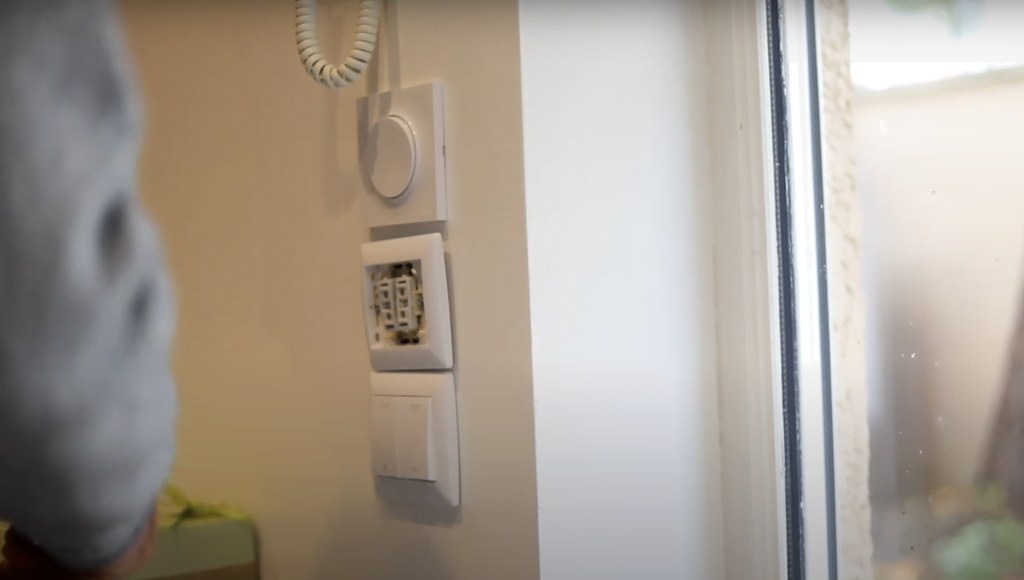
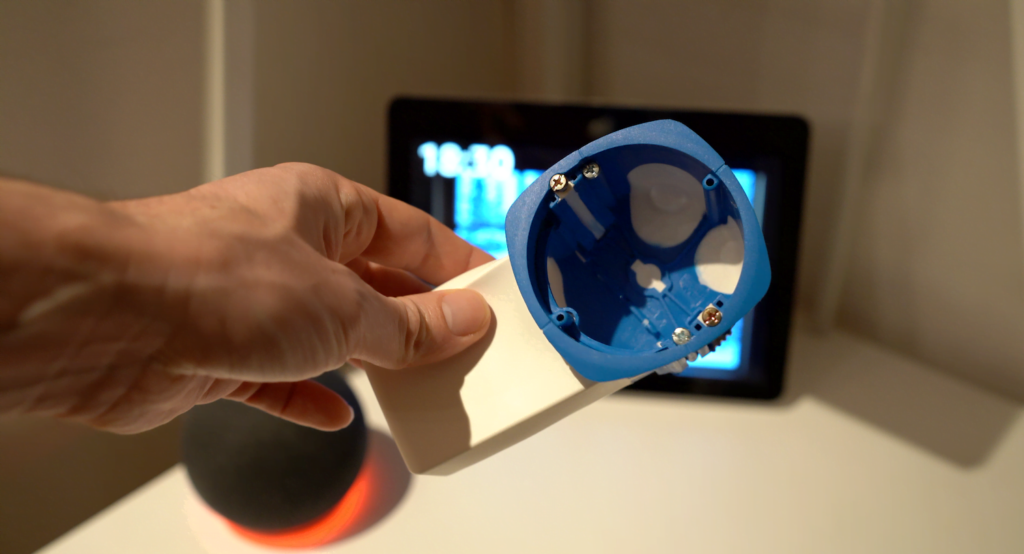
And the extra tip I wanted to tell you about is that in the walls, we usually have recessed boxes of this type and we may lack space to place our smart module.
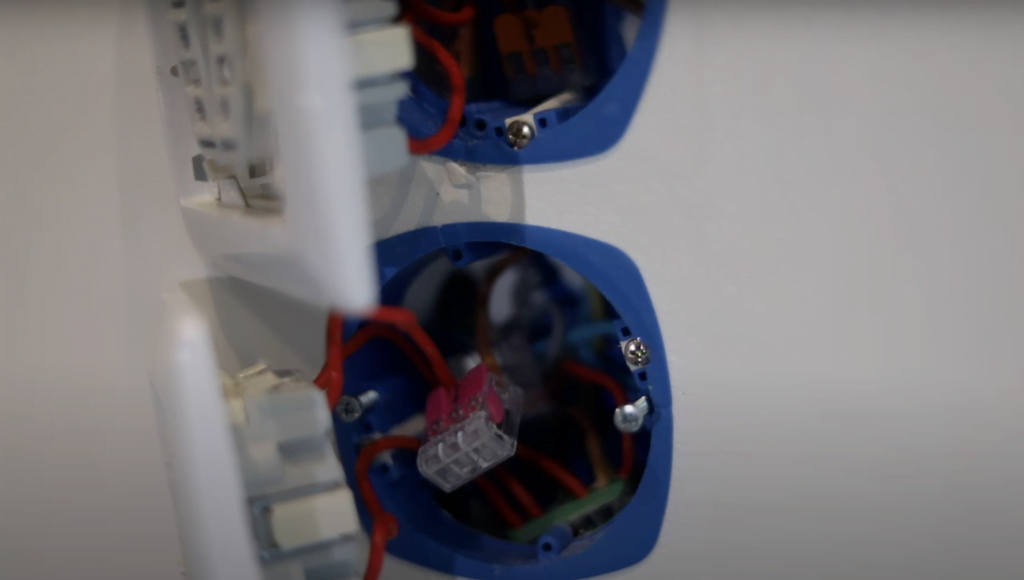
You should know that there is a BLM flush-mounted box that will give you more installation flexibility as it has an integrated pocket that will be of great help to place the module and thus be able to close your wall switch more easily.

Graduated with a Higher Technician’s Certificate in Home Automation, a Professional Bachelor’s degree in E-commerce and Digital Marketing, and a Master’s degree in SEO, I have been working since 2013 in a home automation e-commerce company called Domadoo, where I have the opportunity to test a large number of the popular Smart Home products on the market.