Homey PRO is a home automation hub from Dutch company Athom that will act as the brain of your smart home, and if you are looking for an easy, powerful solution with a quality interface, it could be the one for you.
Why is Homey PRO Early 2023 priced like this?
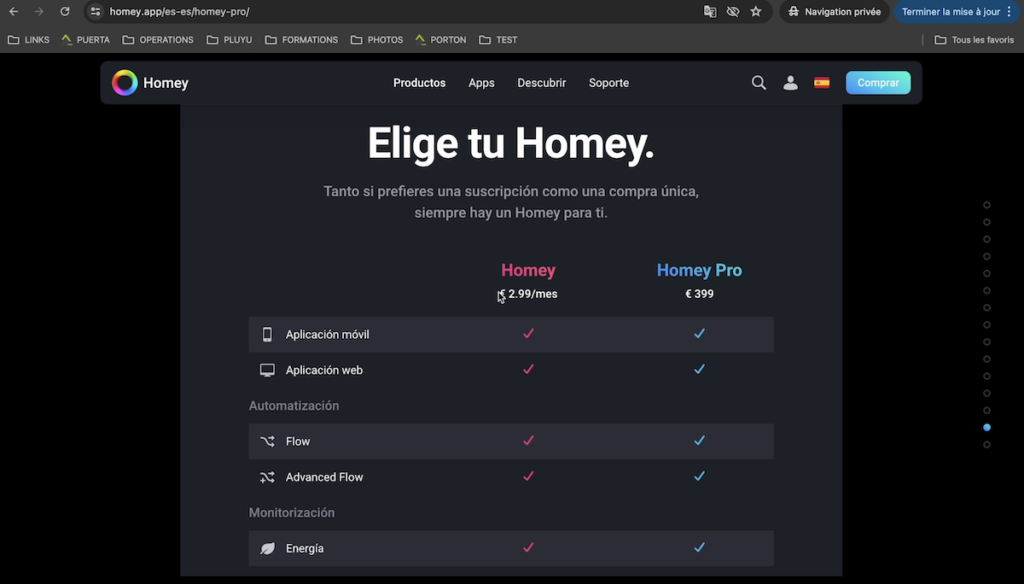
The official price of Homey PRO is 399 euros. It is a home automation hub with a high price compared to other models on the market, but it is justified with a local use of your home automation installation, 7 built-in technologies and subscription-free services such as remote access and integration with voice assistants among the most outstanding functions.
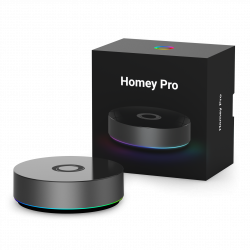

Advantages and Disadvantages of Homey PRO 3
Advantages
- 7 technologies: If you have doubts when choosing a technology for your home automation installation, Homey PRO is the perfect solution: Zigbee 3.0, Z-Wave Plus 700, Thread (Matter), 433 MHz, infrared, WIFI and Bluetooth Low Energy 5.0.
- Local use: Homey PRO works locally, which is a very interesting factor for a smart home, as it allows you to keep control of your installation without internet.
- Friendly interface: Homey has a very attractive and easy to use web and mobile interface that is pleasant for any user.
- No subscription: You don’t have to pay monthly subscription to enjoy Homey’s services.
- Compatibilities: Homey PRO has a wide variety of smart device compatibilities, allowing you to customise with a lot of flexibility, your smart home.
Disadvantages
- Price: The price of Homey PRO is high compared to other home automation hubs on the market, but it is justified with its different built-in functions.
- No USB port: If you need to add extensions for any reason, it is not possible with Homey PRO as it does not have a built-in USB port.
Homey PRO 3 Home Controller Tutorial
Let’s discover some very interesting details about this hub. To begin with, the first impression, in my opinion, aesthetically, Homey is an attractively designed hub.
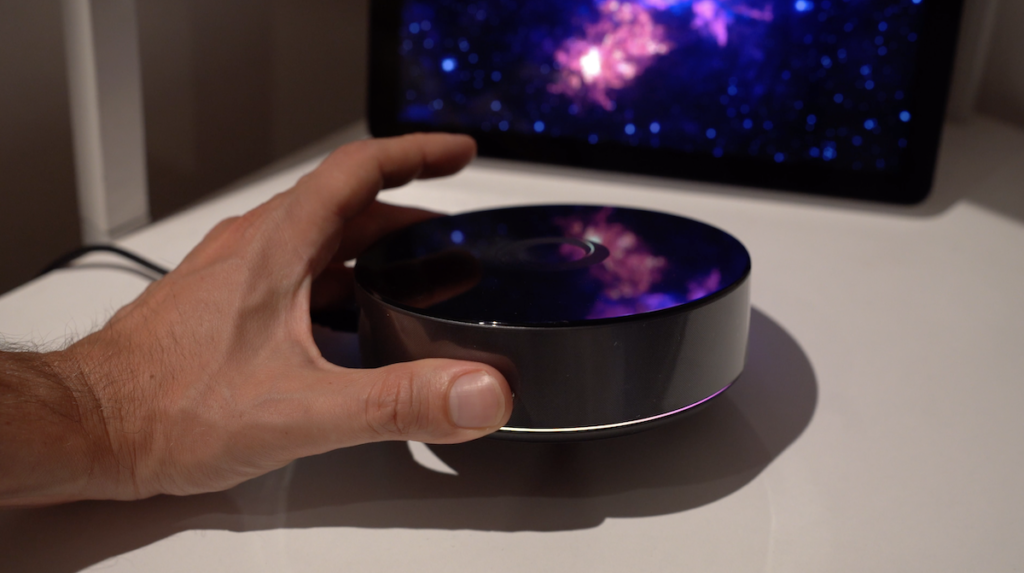
It does not have a USB port, so you will not be able to add more wireless technologies as you can with other home automation hubs that allow you to do so.
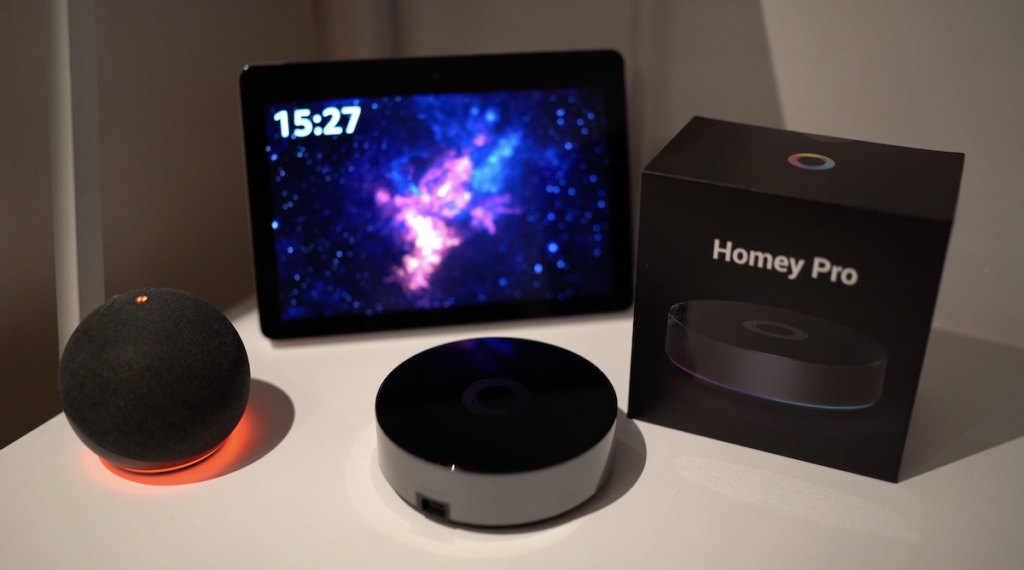
But the ones integrated in this hub are, in principle, more than enough and it is something never seen before.
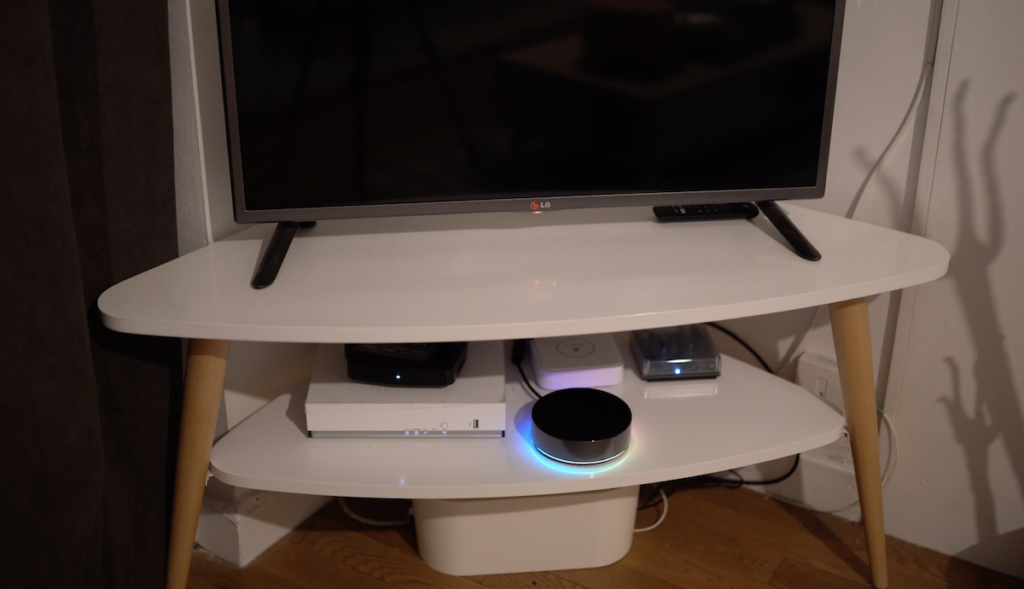
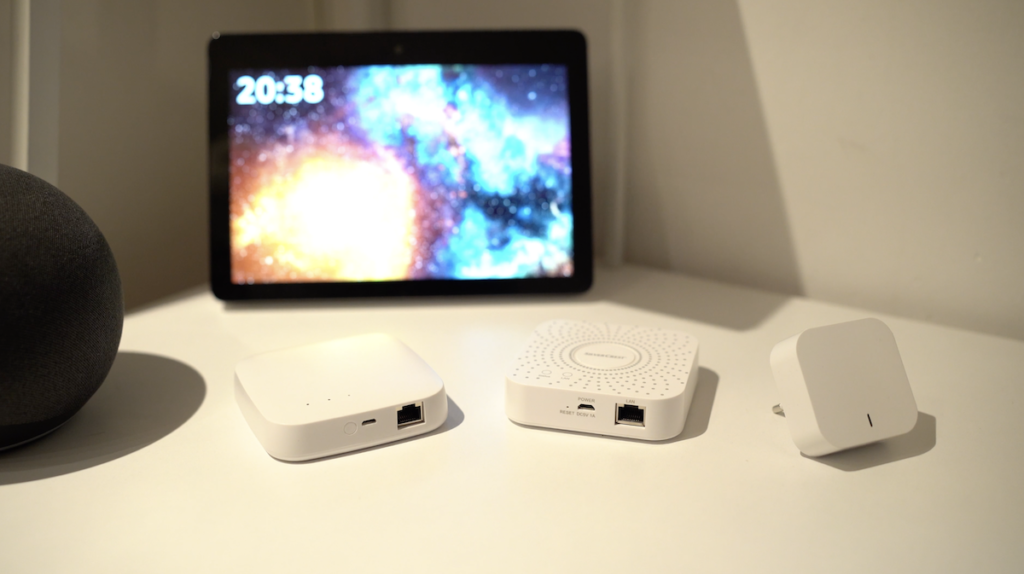
Many home automation hubs only integrate one home automation technology, and lately, in most cases, it is usually Zigbee technology.
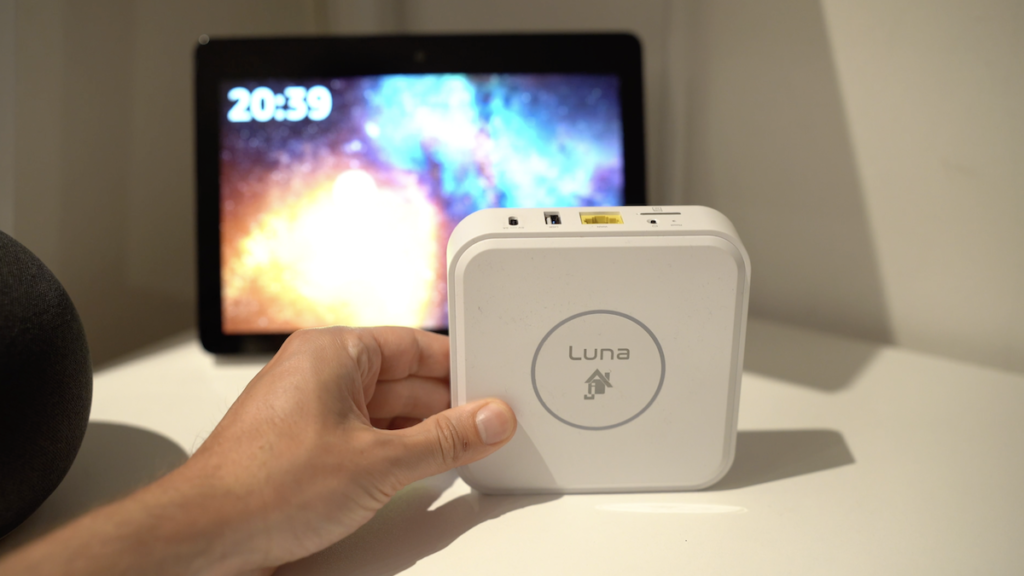
However, there is also the case of the Jeedom Luna home automation hub, which integrates Zigbee and Z-Wave, two very powerful technologies to create your smart home.
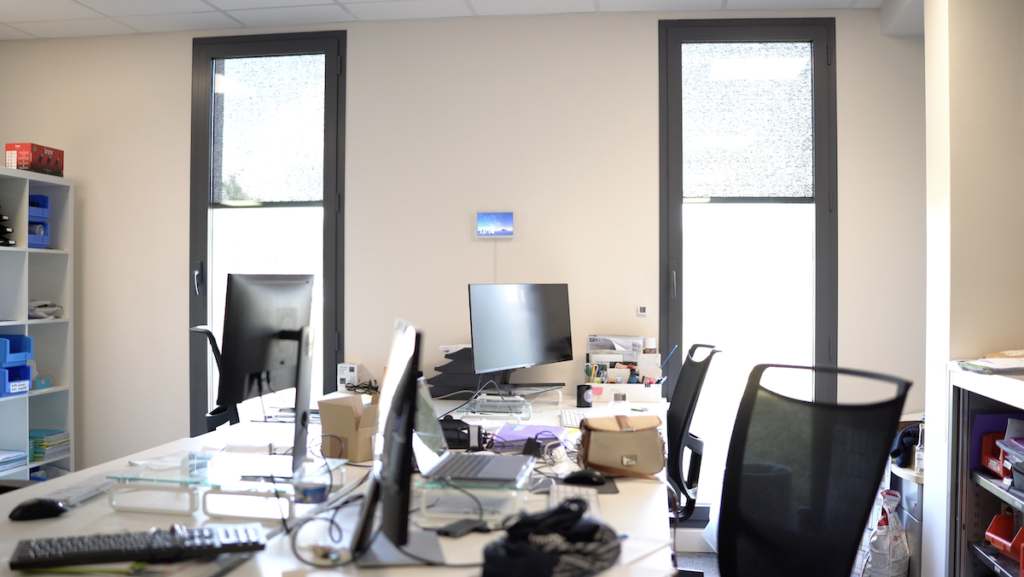
But sometimes we encounter some problems, for example, if you already have blinds from brands such as Somfy that are controlled with a radio frequency remote control thanks to the Somfy RTS technology.
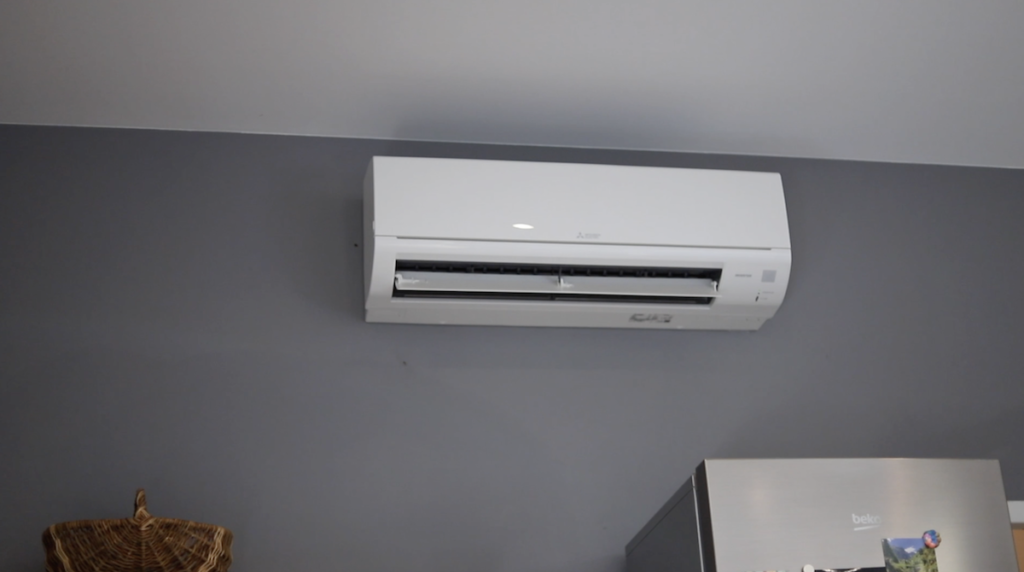
You also have air conditioning controlled by an infrared remote control.
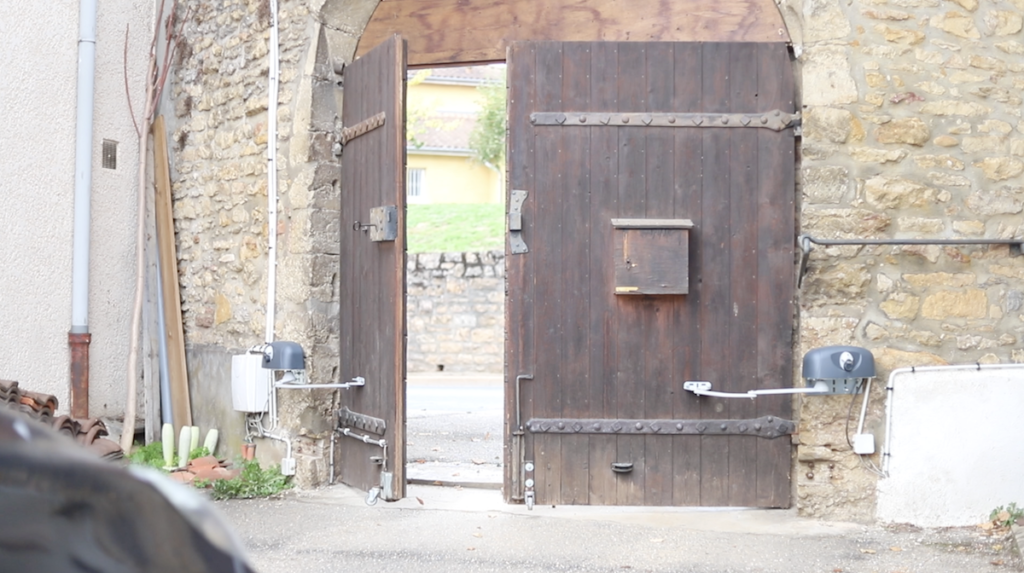
Another example would be an electric gate controlled with a 433 MHz frequency remote control.
And you have a Zigbee-enabled device in your home.
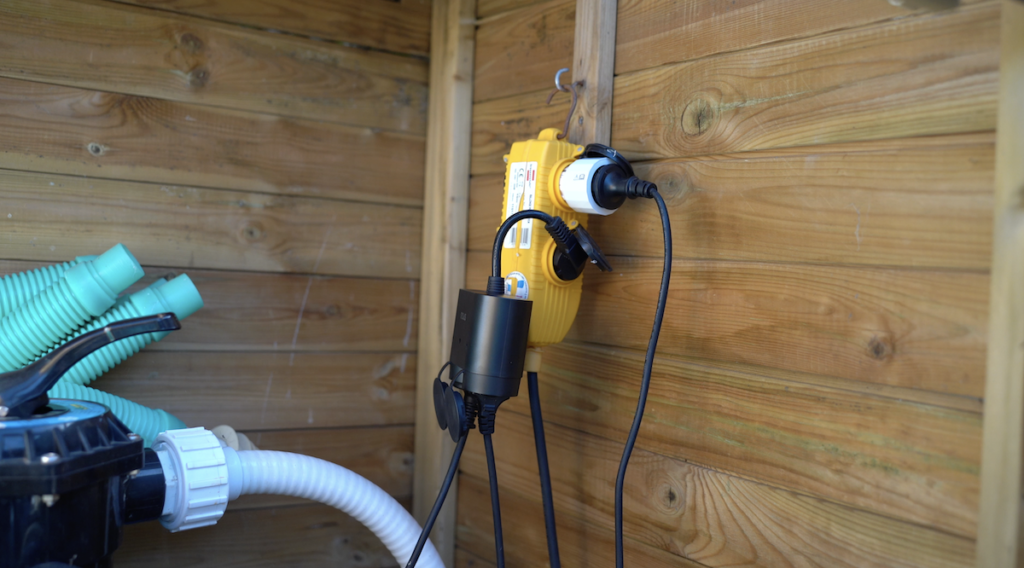
If you want to unify everything with a single interface and, at the same time, be able to create automations with all these devices, it can be a puzzle, since you are going to have to find a solution to unify your installation, and sometimes it is necessary to add different extensions, which are usually USB Zigbee dongle, Z-Wave or any other technology, to your home automation hub, in order to enjoy these different technologies.

BUT Homey brings together seven technologies in a single home automation hub. And this is very interesting to have the greatest flexibility when choosing different smart devices for your home.
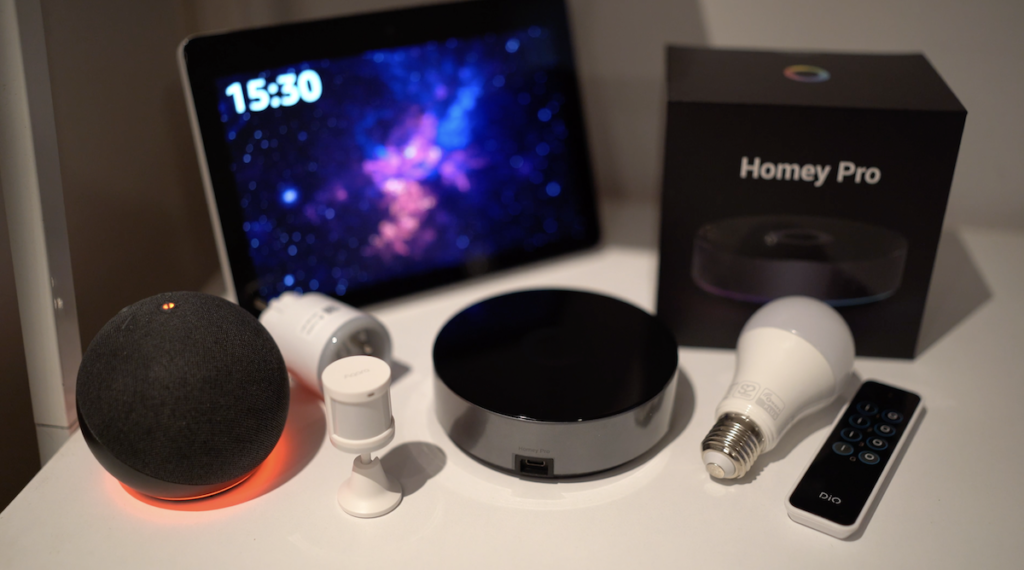
These seven technologies are:
- WiFi
- Z-Wave Plus 700
- Bluetooth Low Energy 5.0
- 433 MHz
- Zigbee 3.0
- Infrared
- Thread for Matter
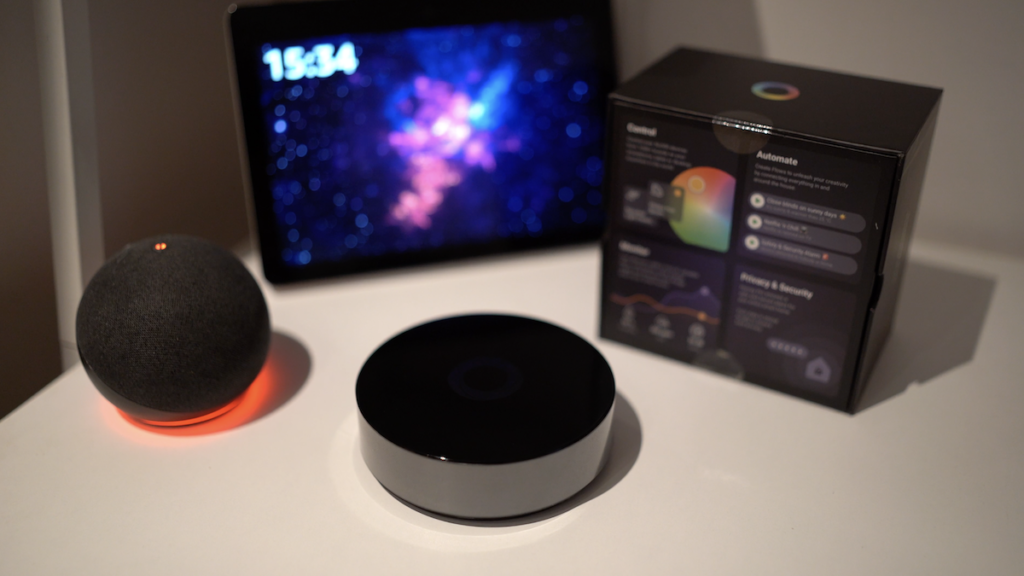
We will now look at how to take advantage of the different technologies in this hub.

This new version of Homey PRO is much more powerful than the old one, thanks to a processor speed of 1.8 GHz, a RAM memory of 2 GB and an EMMC storage space of 8 GB.
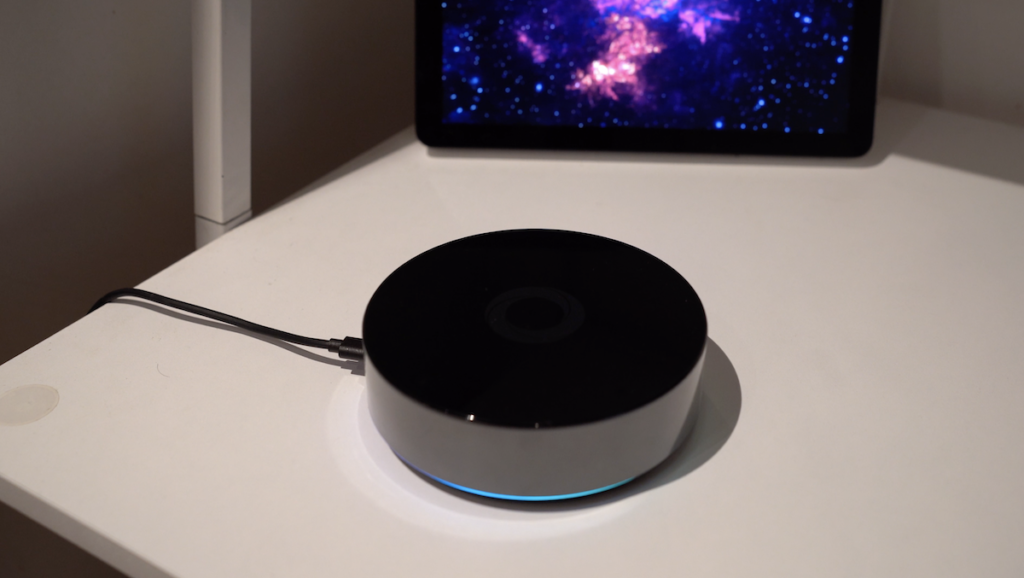
Another very interesting pillar that Homey PRO fulfils is that it works locally, without relying on the internet.
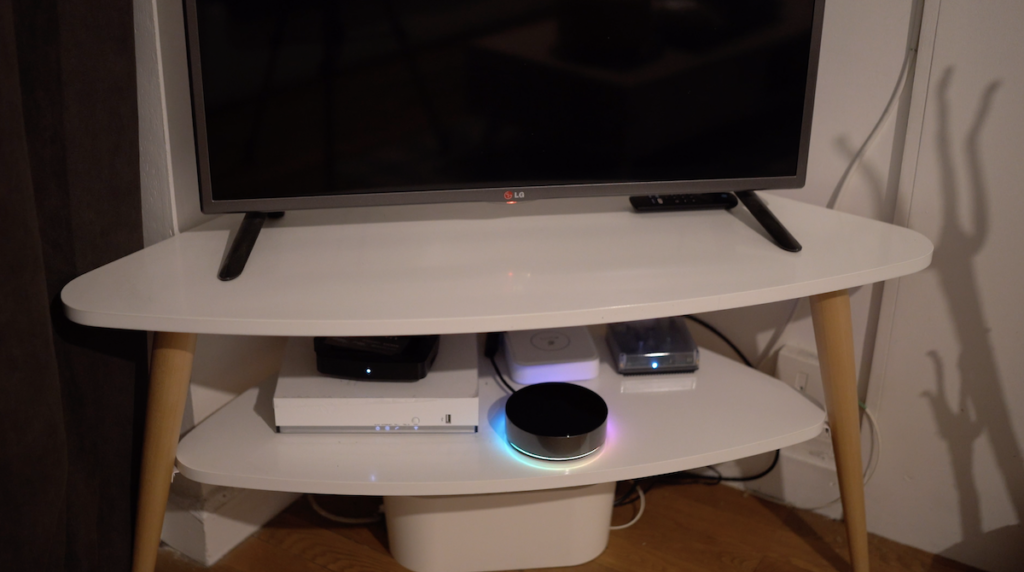
This is VERY interesting in order to be able to keep control of your smart home and also to keep the routines you have set up running.
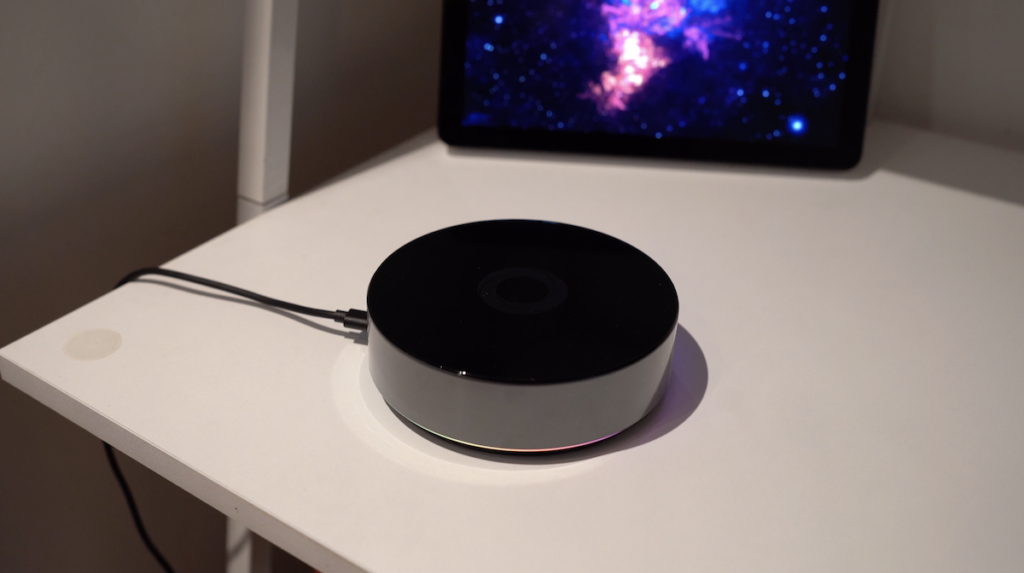
How to install Homey PRO?
By default, you can connect your home automation hub via WiFi to your router, as there is no built-in Ethernet port.

However, you have the option to purchase an additional Ethernet adapter to connect your Homey PRO hub via Ethernet to your router and get the best reliability.
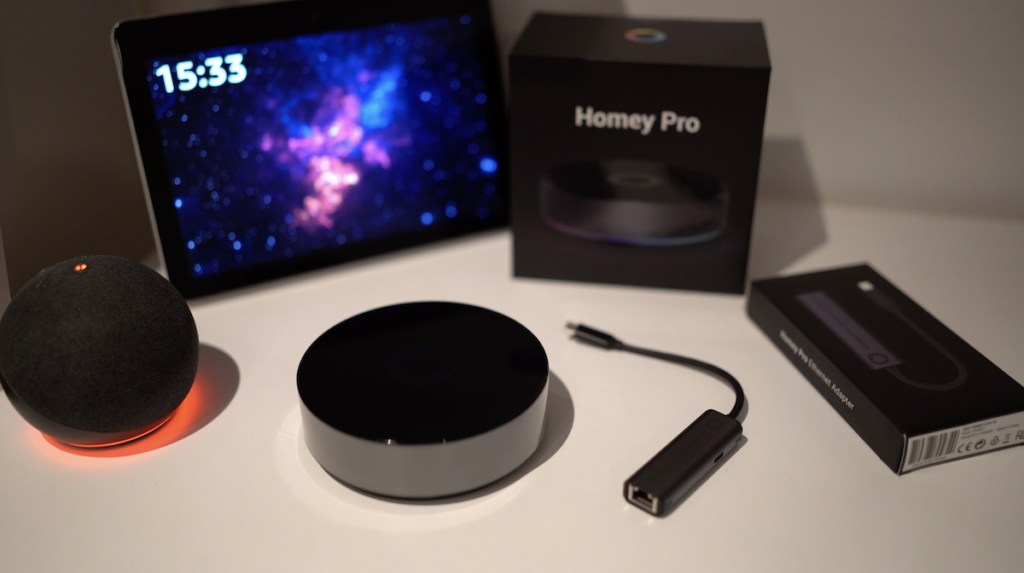
To do this, you simply connect the USB-C of the adapter to the USB-C port of the Homey hub.
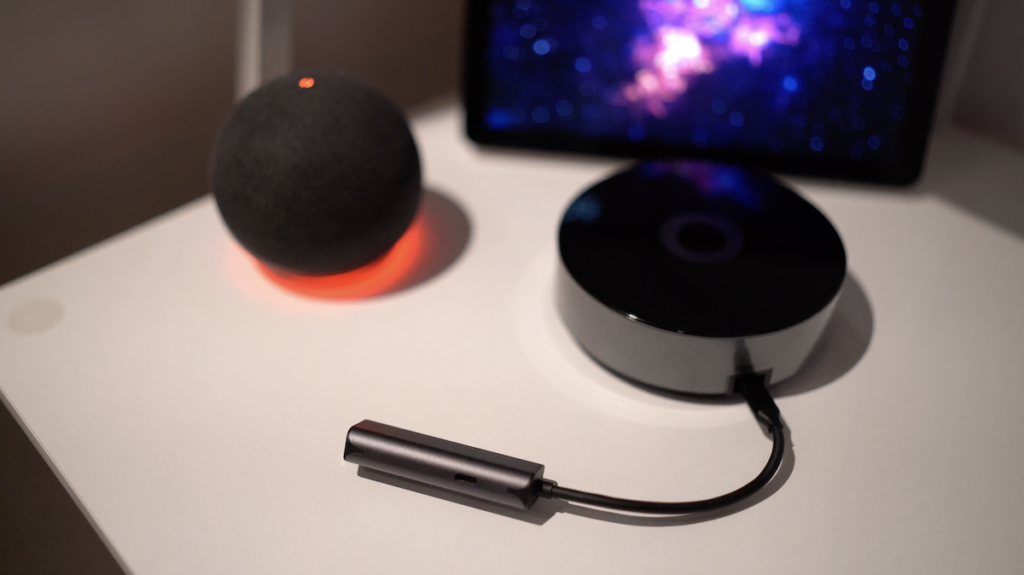
You must connect the USB-C port of the adapter to the power supply.
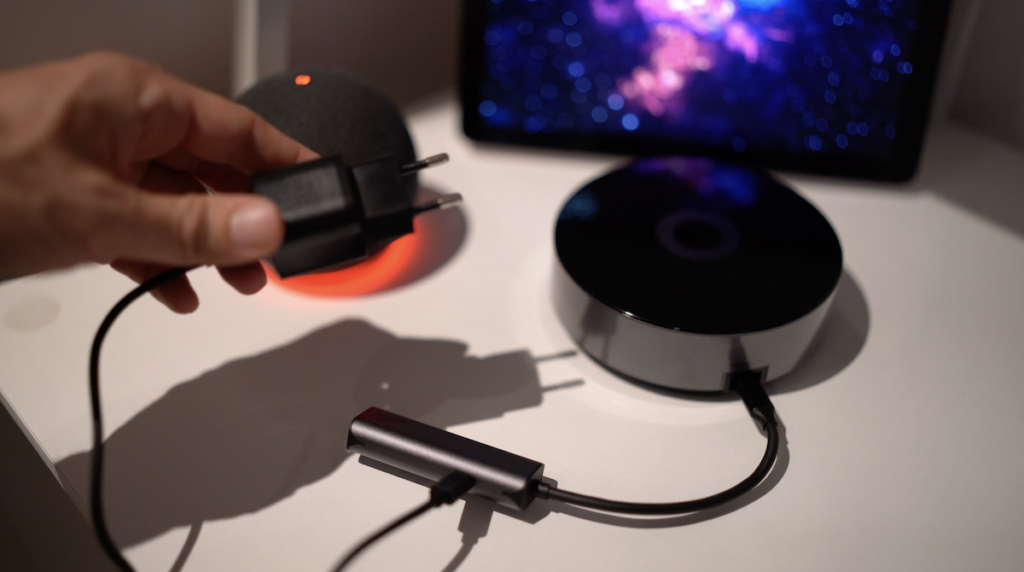
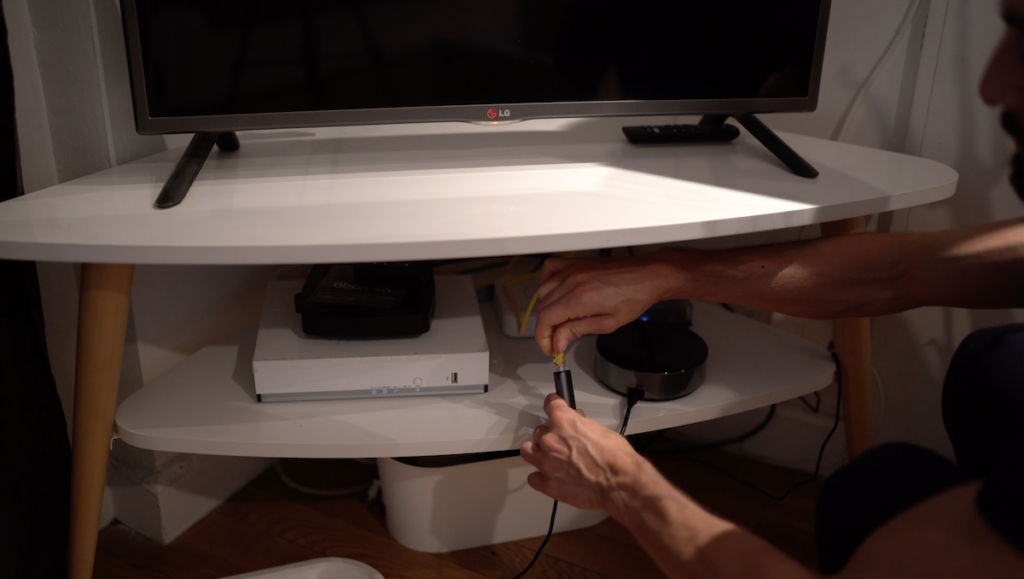
And finally, connect an Ethernet cable that is not included to this adapter and to your router to access the interface of your hub.
Now, from your phone, you can scan the QR code in the manual included in the packaging.
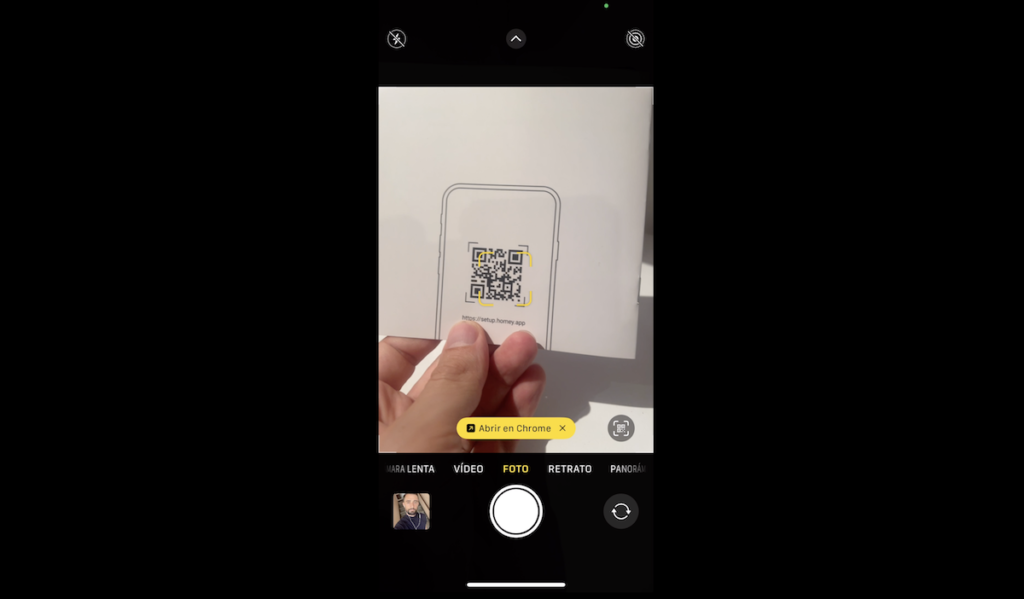
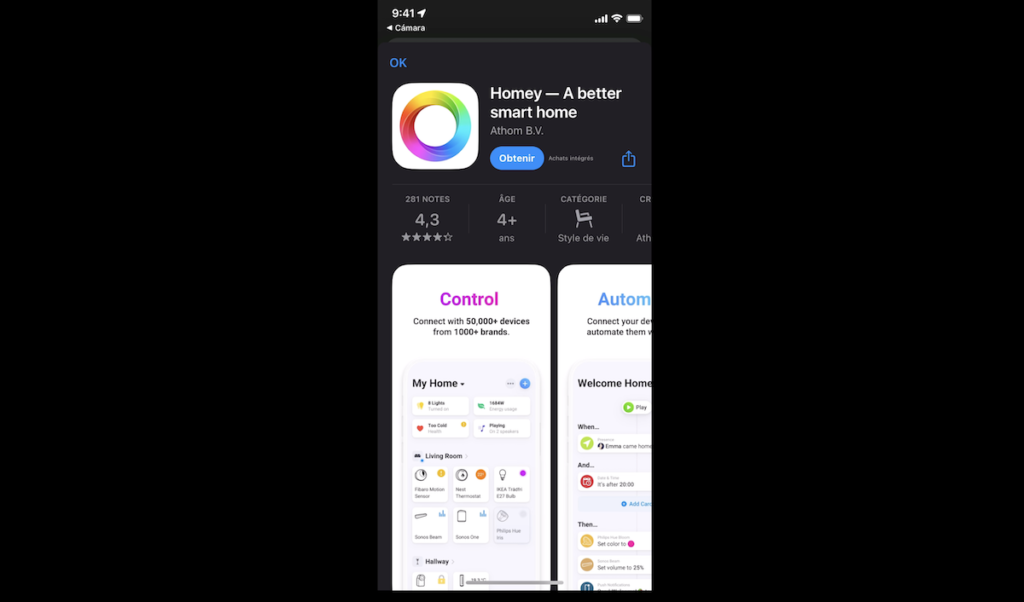
This brings you to the Homey app, which you can download either from the App Store if you have an iPhone or from Google Play for those of you with an Android smartphone.
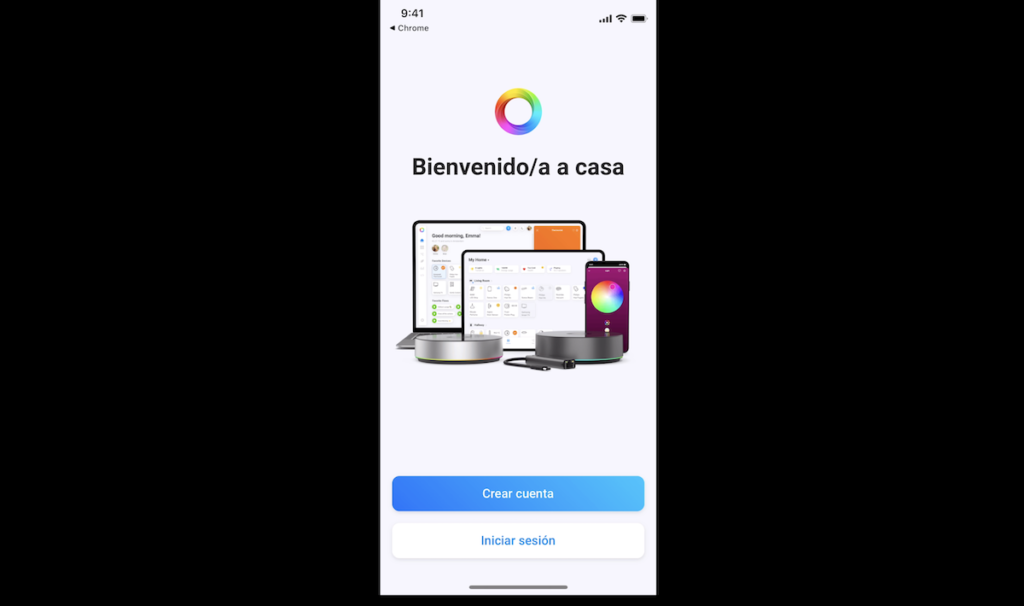
Now, you must create an account.
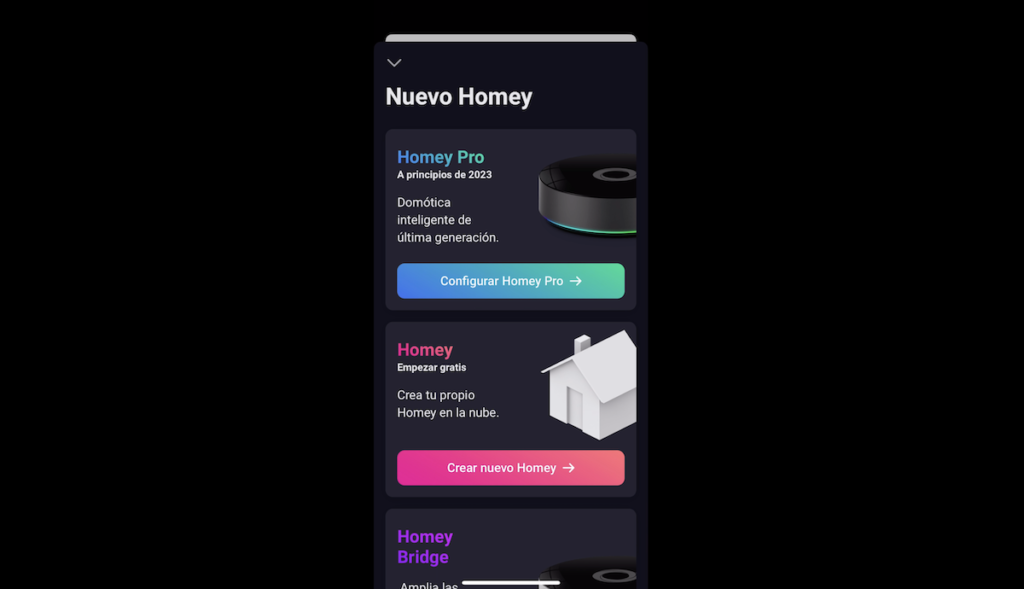
Accept the terms of use and you will be able to configure your Homey home automation hub.
You must activate Bluetooth on your phone.
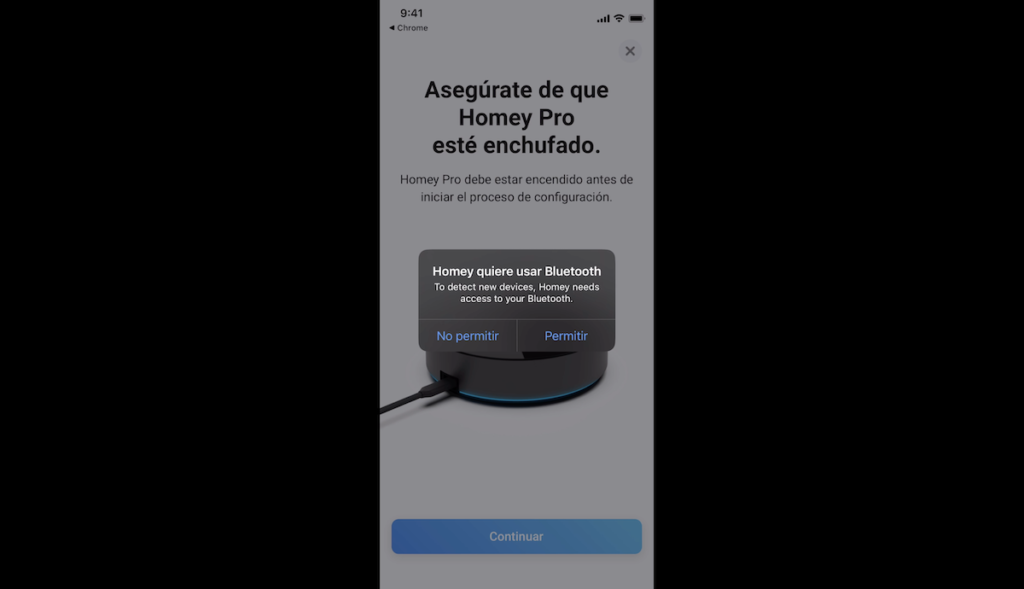
After a few seconds, your Homey hub should be detected.
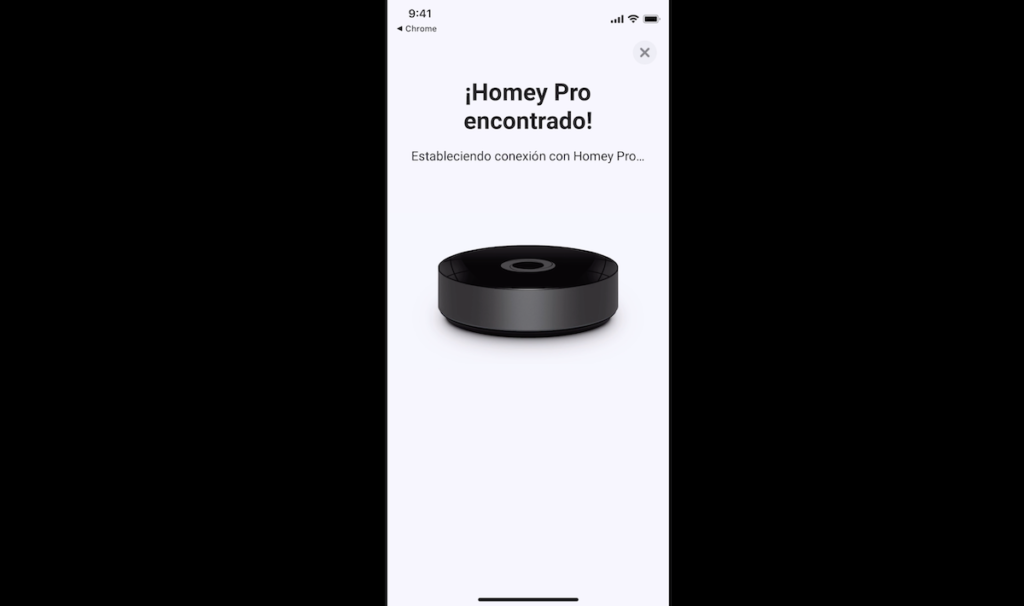
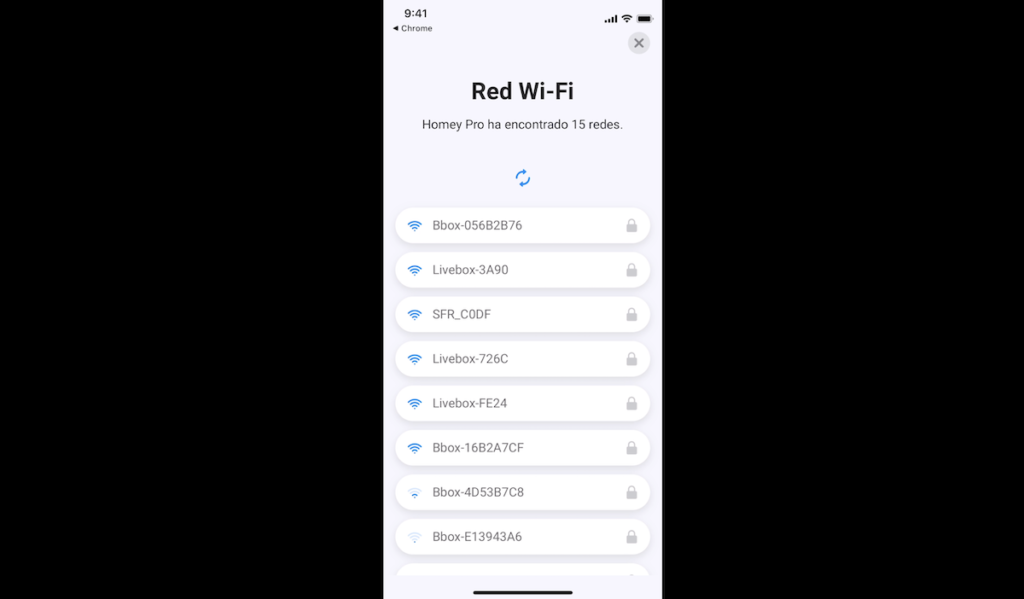
Now, you must connect Homey PRO to your WiFi network.
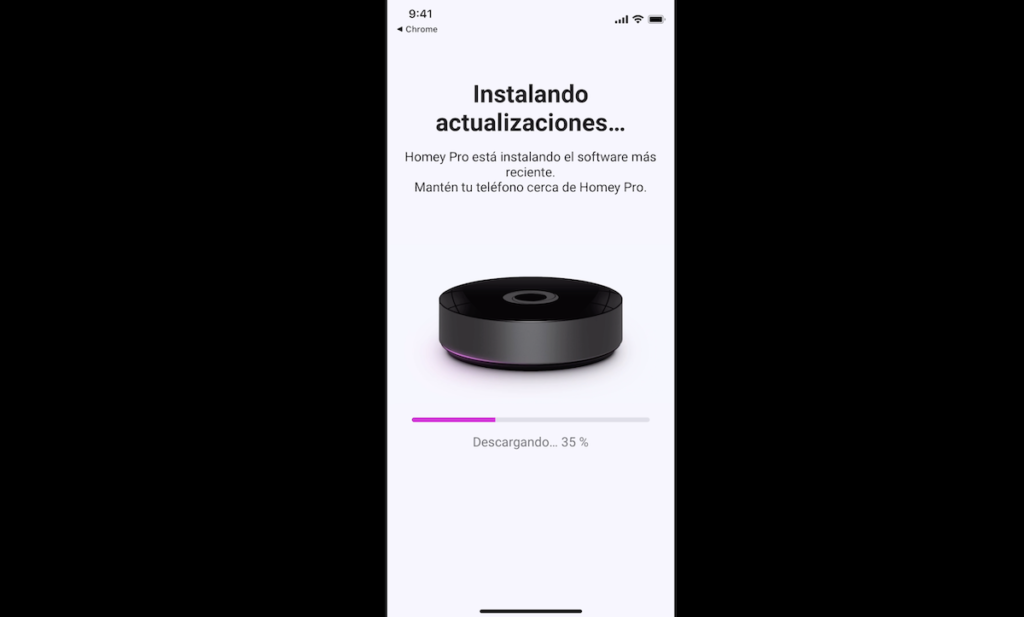
Your hub will be updated with the latest software.
Ready, after a few minutes, you will have your hub available and you will be able to configure your house, starting with the floors and rooms you have.
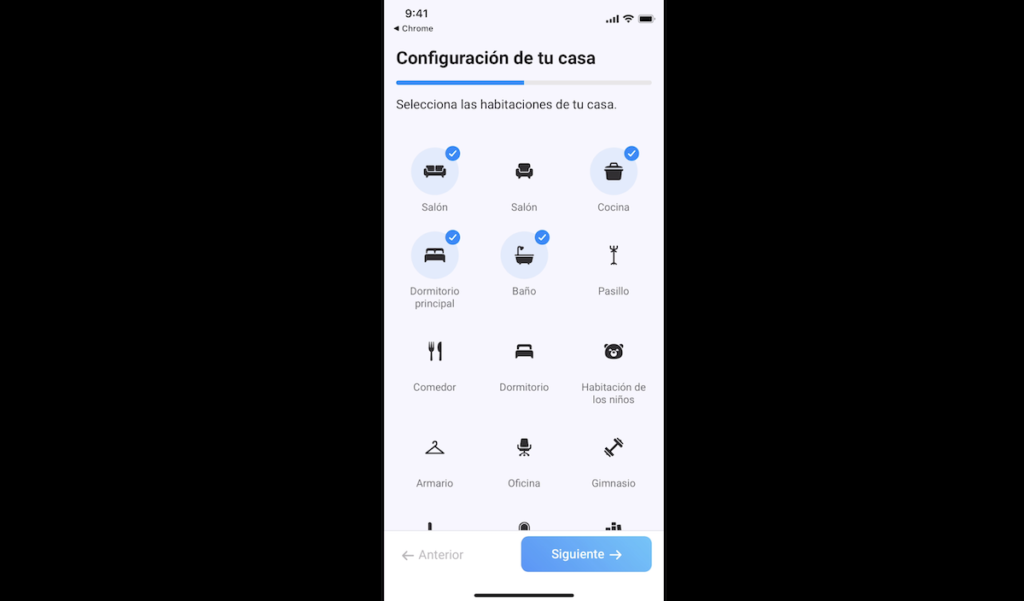
Then you can indicate the location of your house, which may be useful for some automations when you arrive or leave home.
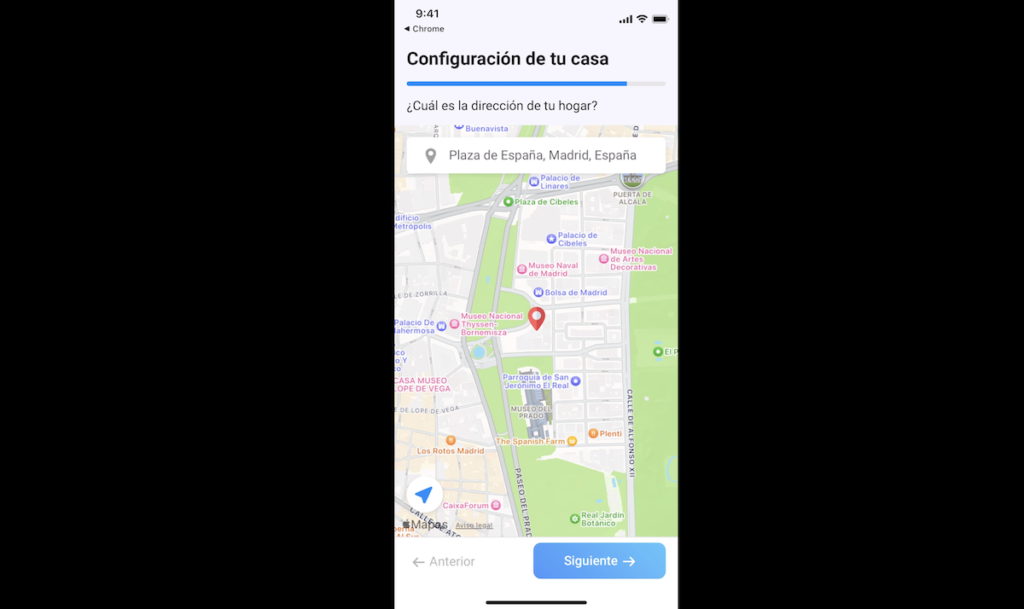
Ready, now we will be able to navigate through the interface of our home automation hub.
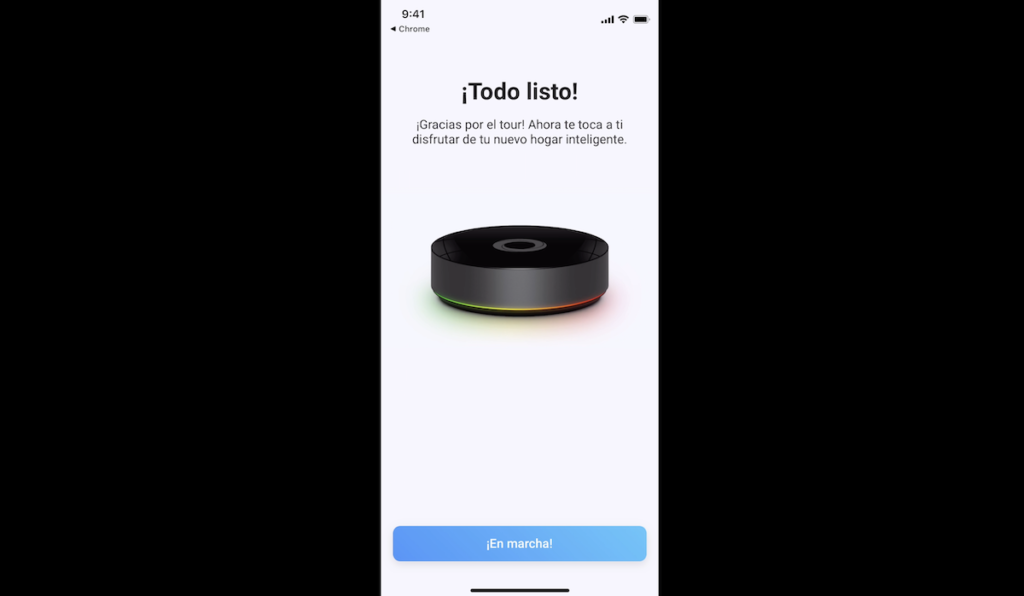
How to include smart devices in Homey PRO
We are going to integrate different devices and in my example, I am going to integrate five devices with five different technologies:
- A Zigbee sensor from Aqara.
- A NEO branded Matter WiFi plug.
- A Z-Wave bulb from Aeotec.
- A 433 MHz frequency controller from DIO.
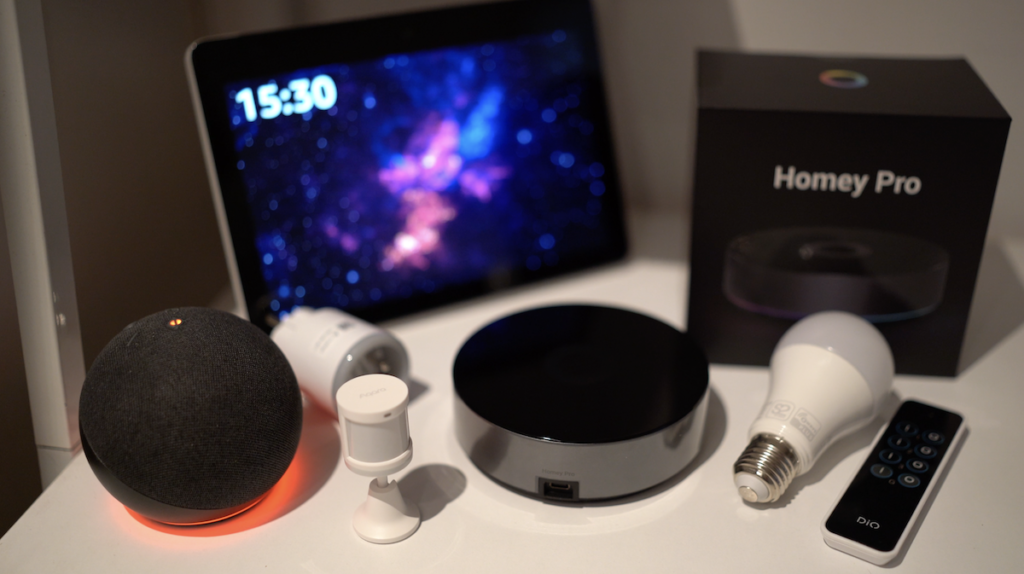
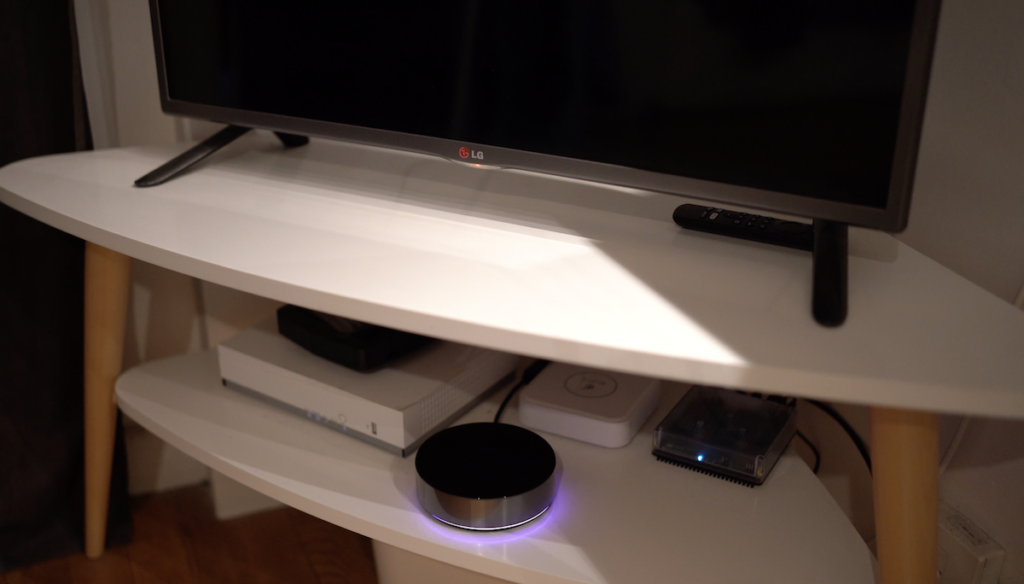
And also, I’m going to integrate my TV using my infrared remote, so I’m going to leverage five different technologies with my Homey PRO home automation hub so you can see a variety of use cases.
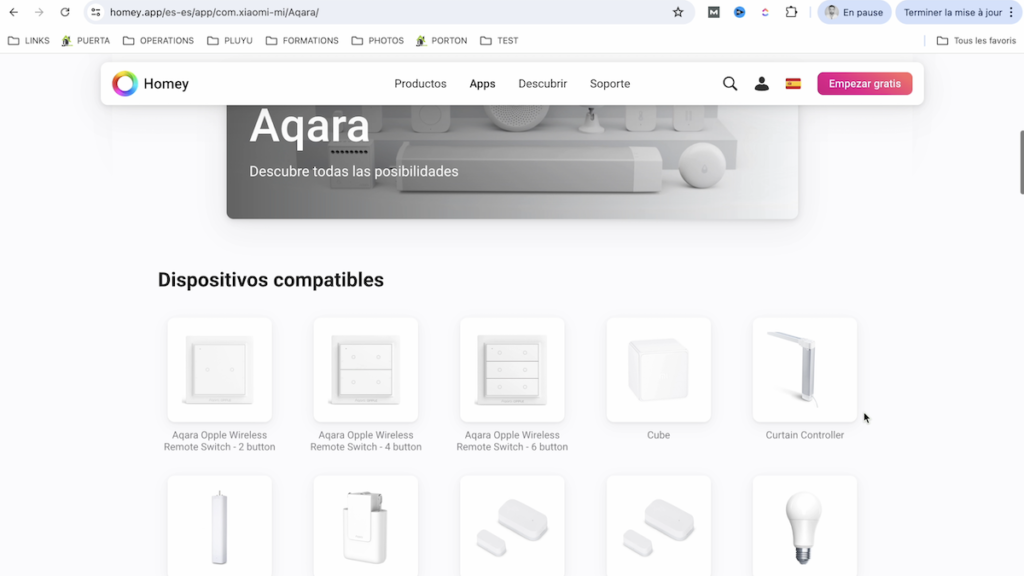
To find out more about compatibility of smart devices with Homey, you can access the official Homey compatibility page, so you can make the right choice when choosing these devices.
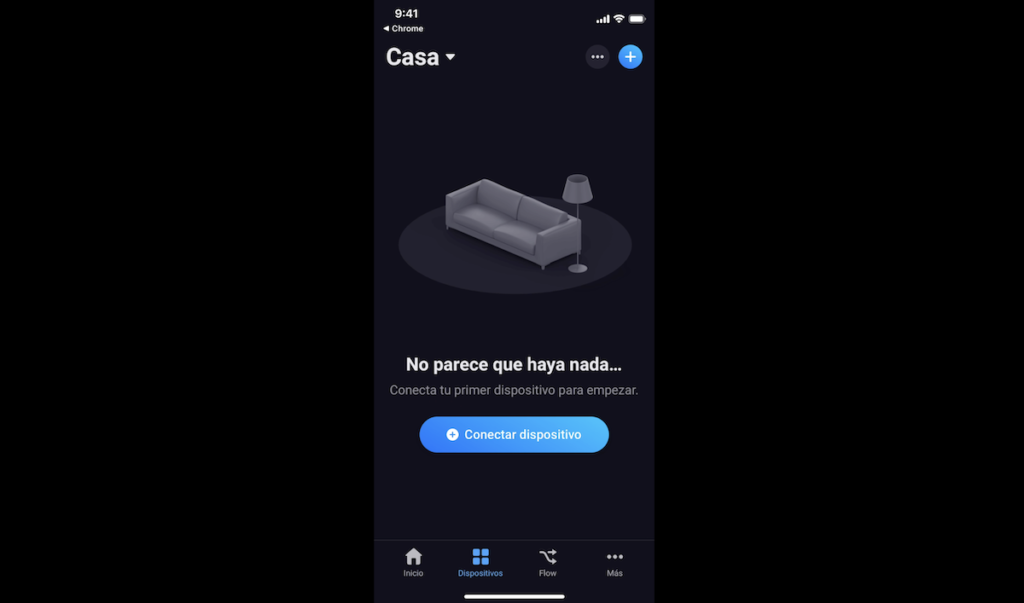
From your phone, go to the devices tab.
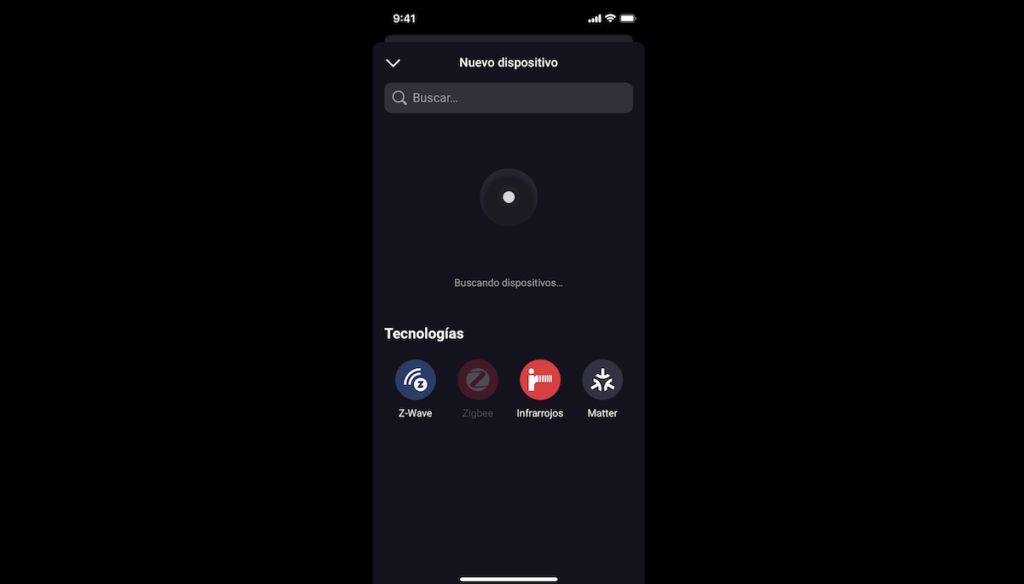
And we click on “Zigbee” to add our Zigbee device, which by the way, is currently a very popular technology to create your smart home.
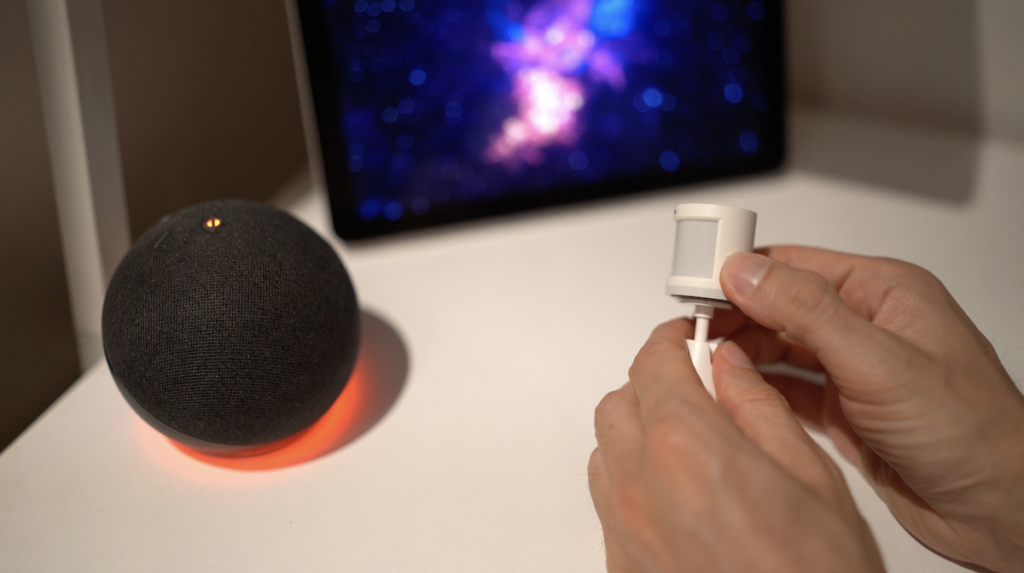
We are going to put our Aqara motion sensor into inclusion mode by pressing its physical button for a few seconds.
Ready, now it appears in the interface of our home automation hub.
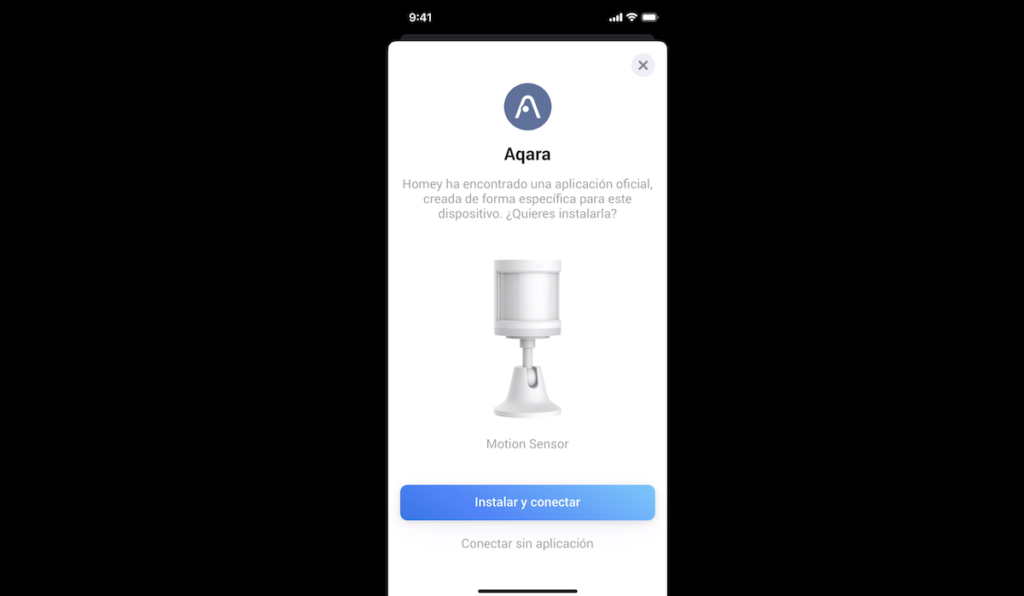
So we will know when there is movement or no movement in an area of our house.

Now we are going to integrate the next device, which is our DIO controller, communicating on 433 MHz.
Smart devices on 433 MHz and brands such as DIO were very popular years ago, before the Zigbee boom, and there are still devices on the market using this communication frequency.
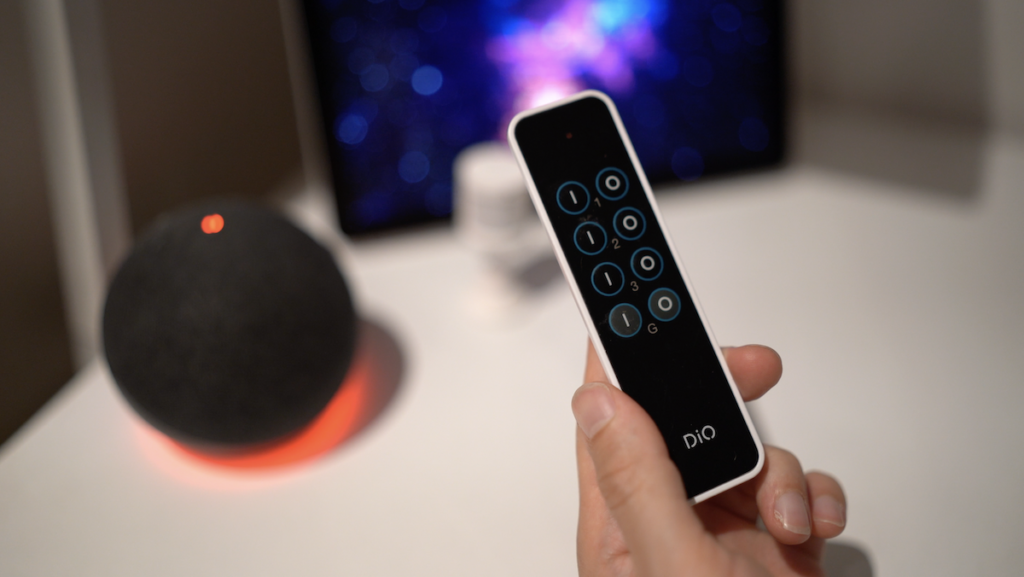
Let’s look for the DIO brand.

And we click on the command option.
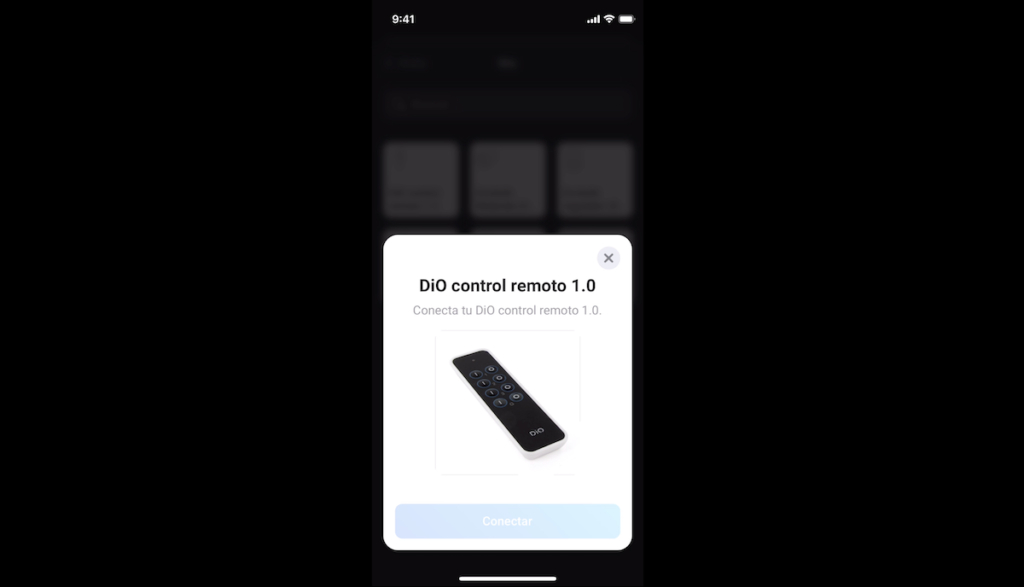
We must press a button on the remote control.
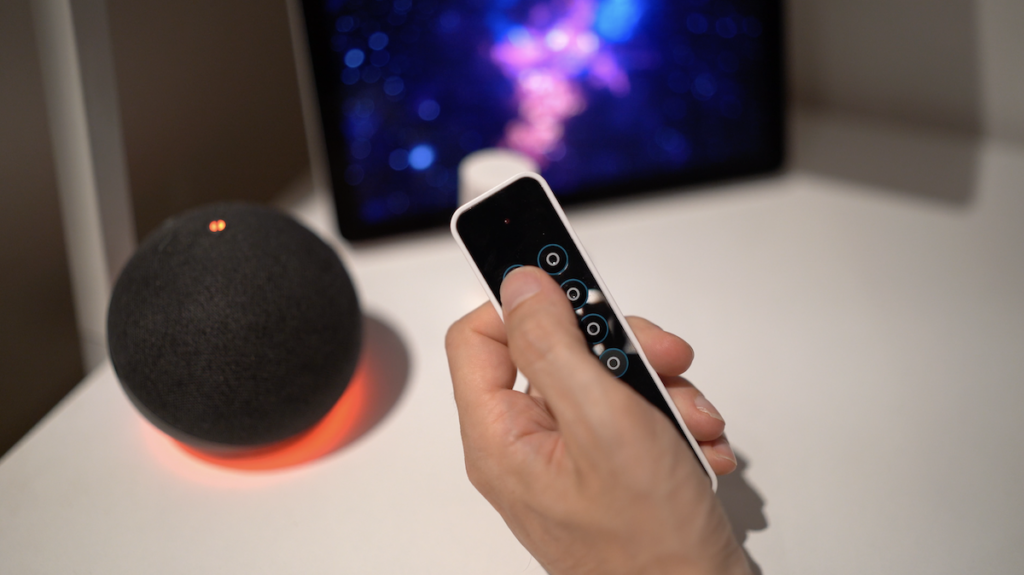
And that’s it, this controller is now integrated into our home automation hub.
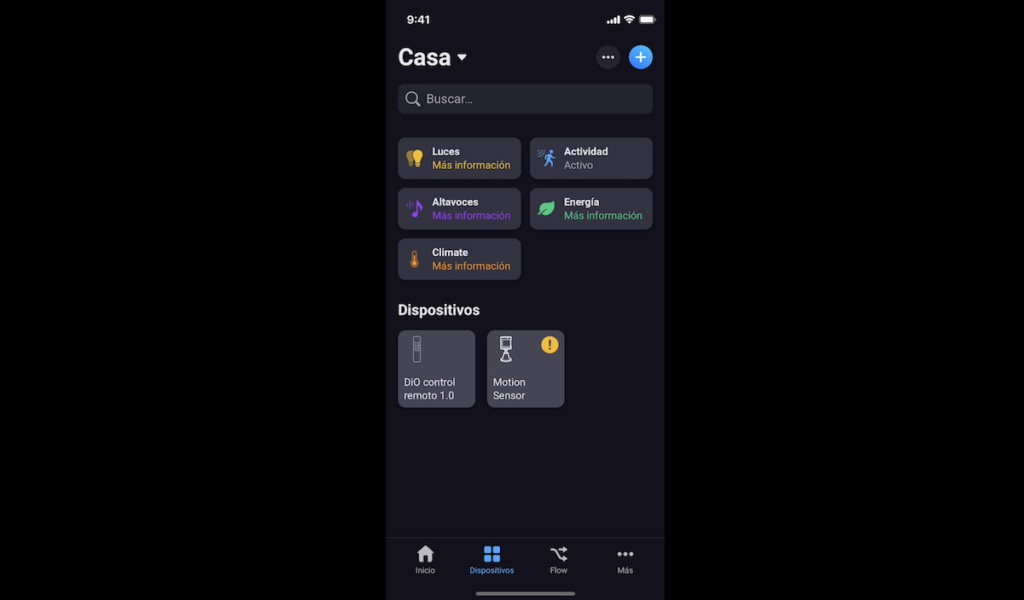
We continue with the next device, let’s look for the AEOTEC brand.
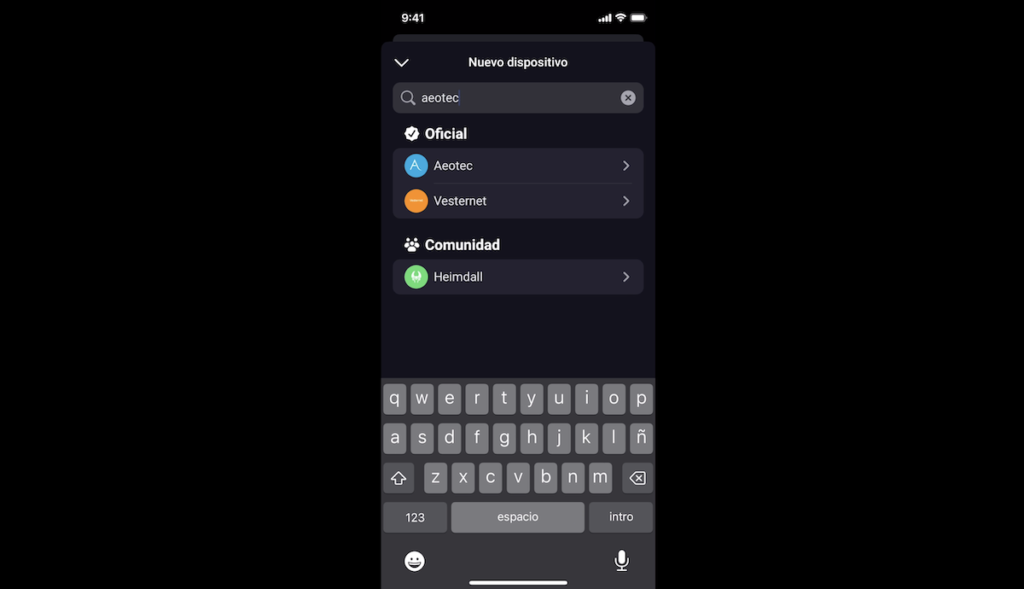
And select the bulb.
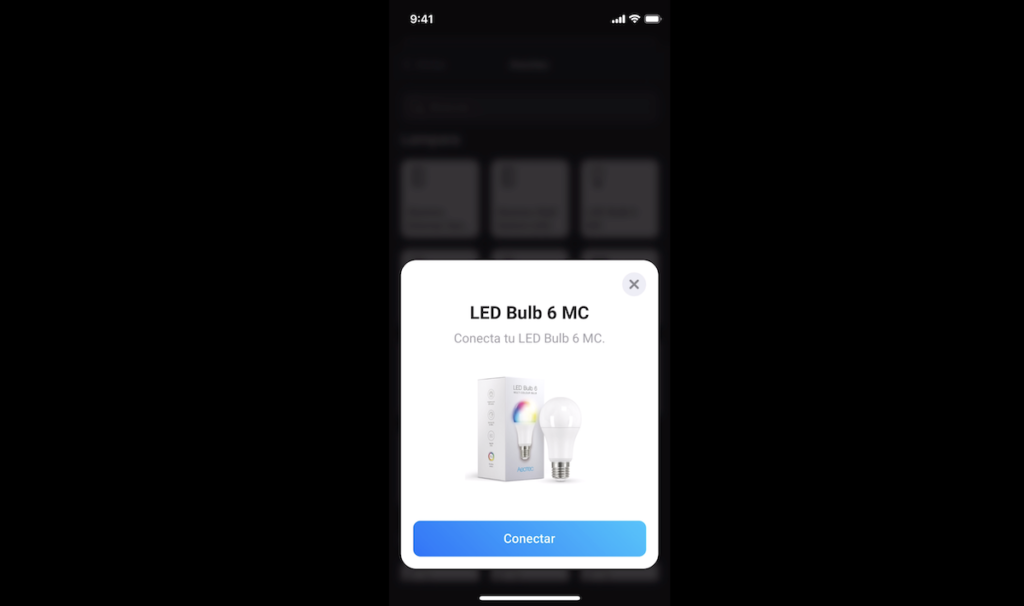
This bulb works with Z-Wave technology, which like Zigbee technology, is a powerful technology for creating your smart home.

We must switch the bulb off and on three times to put the bulb into inclusion mode.

That’s it, we now have control of this bulb from our phone.
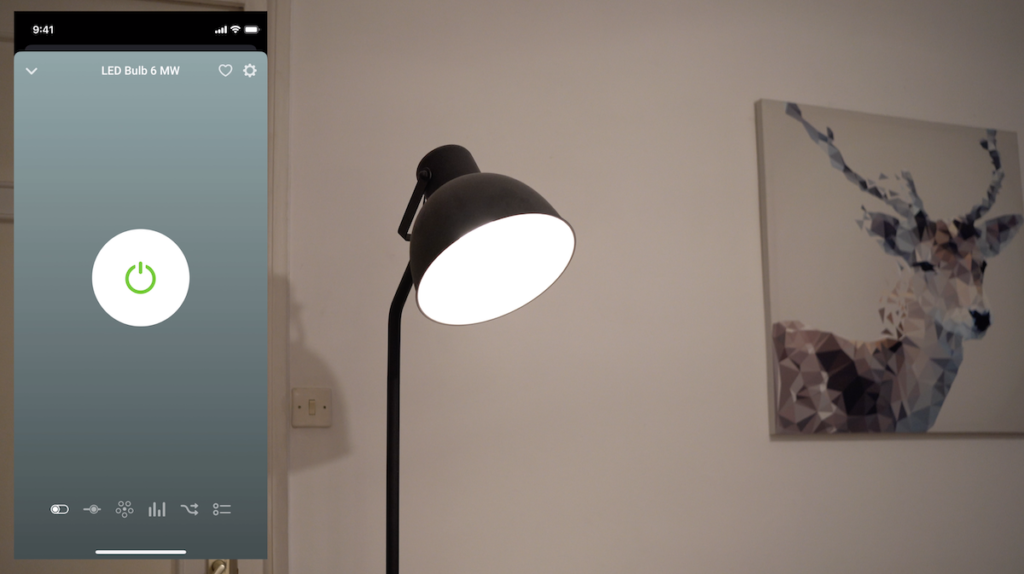
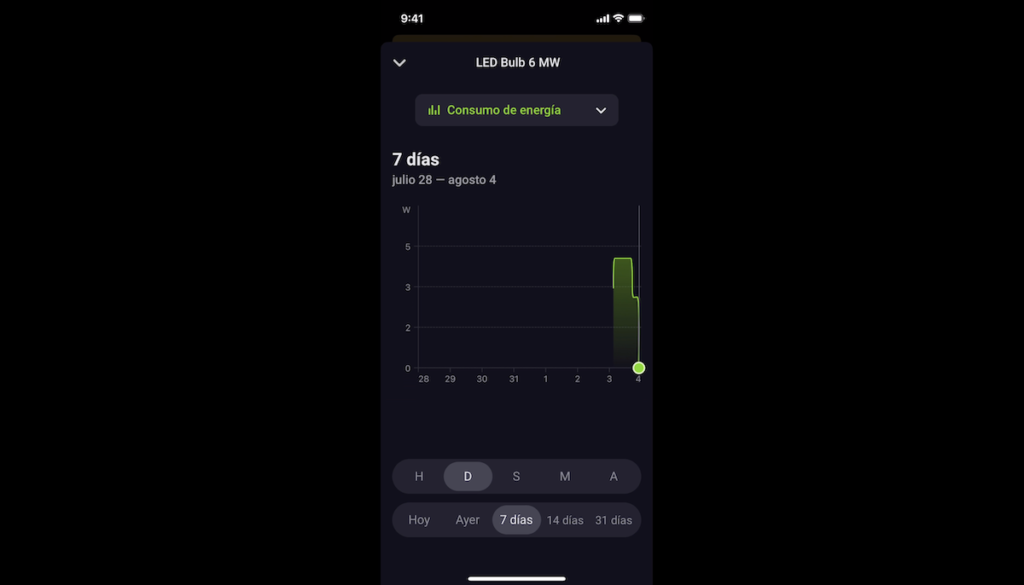
It is worth noting that in addition to the control of each smart device from our phone, we can also see histories of their measurements, whether measured energy consumption, temperature, humidity and much more according to each device.
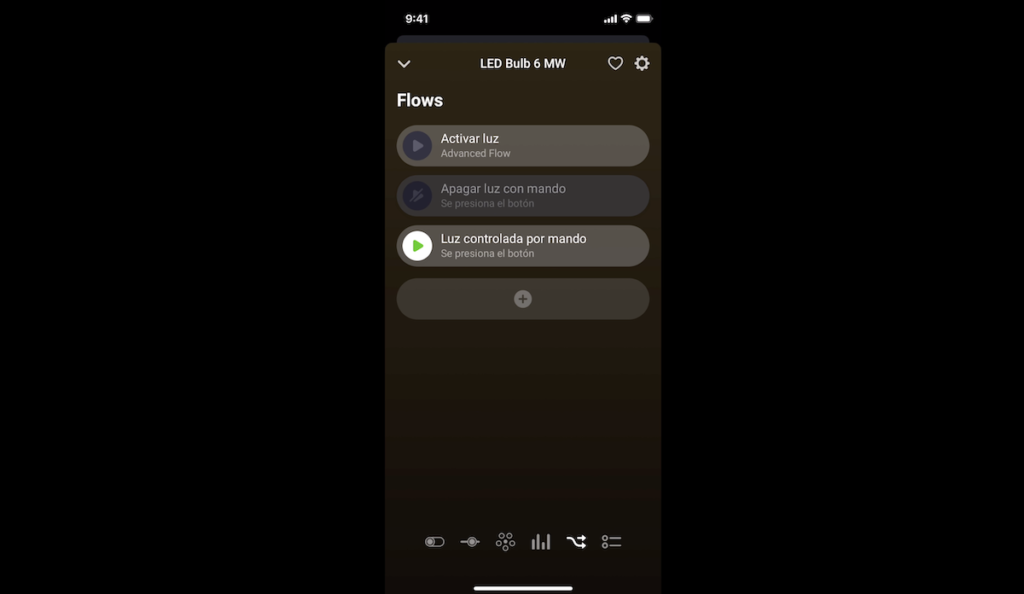
We can see the “Flows” we are going to test below, in which our device is linked.
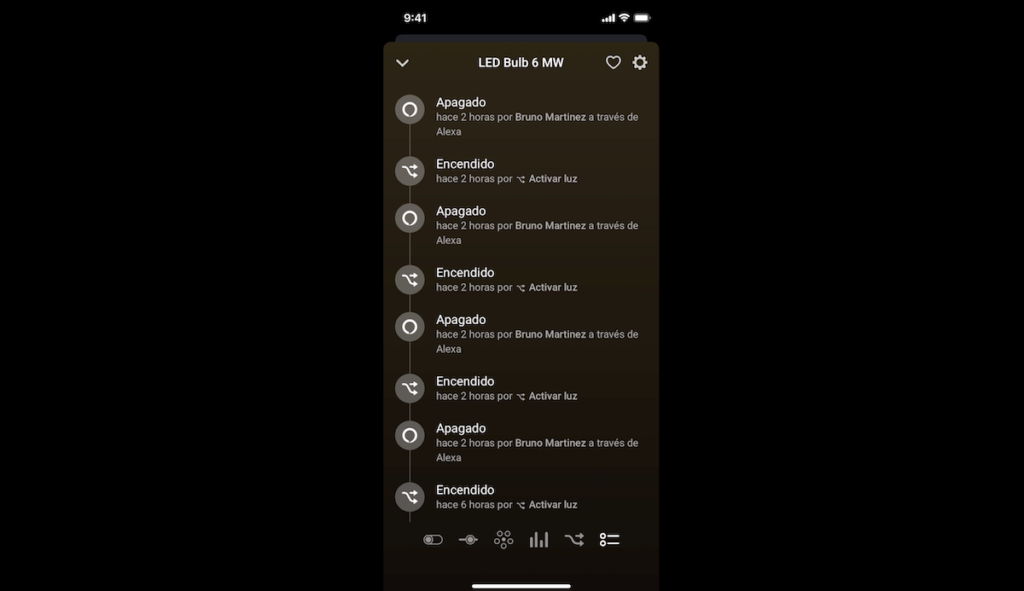
And we can also view an activity history to see how our device has been activated or deactivated, for example, from our phone, from a Flow or from a voice assistant.
Now, let’s add our Matter plug.
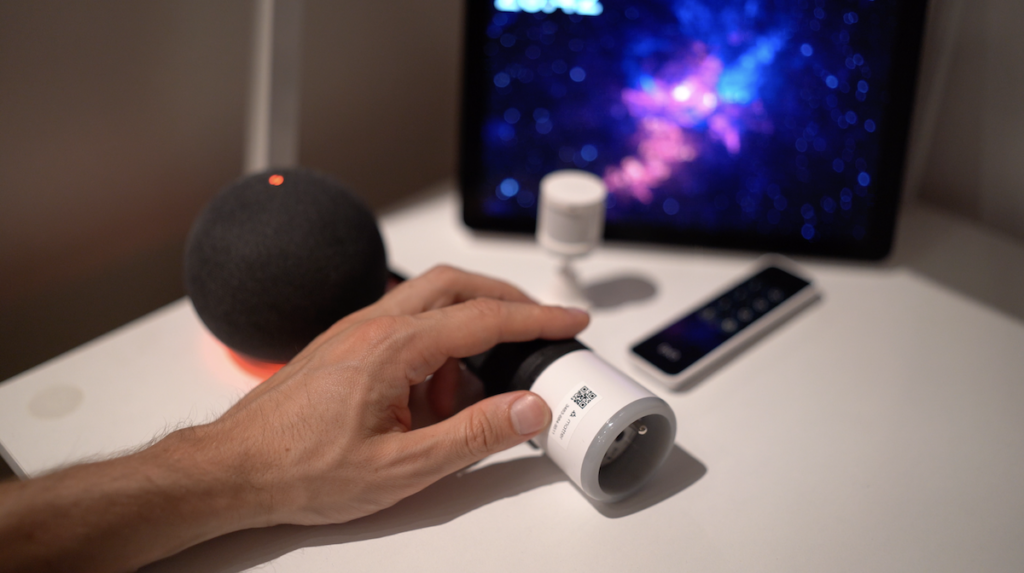
To do this, click on the Matter option.
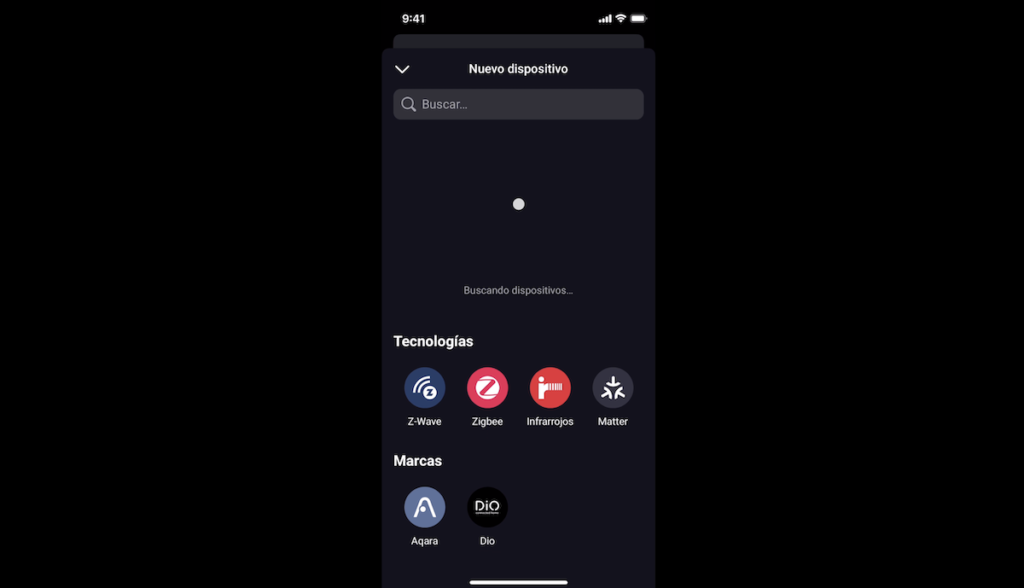
We put the Matter plug in.
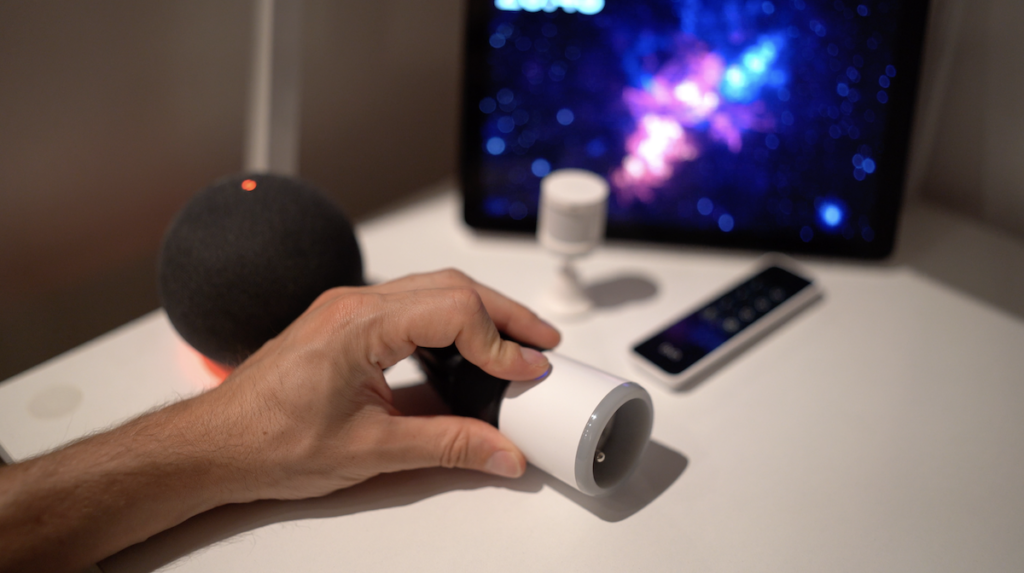
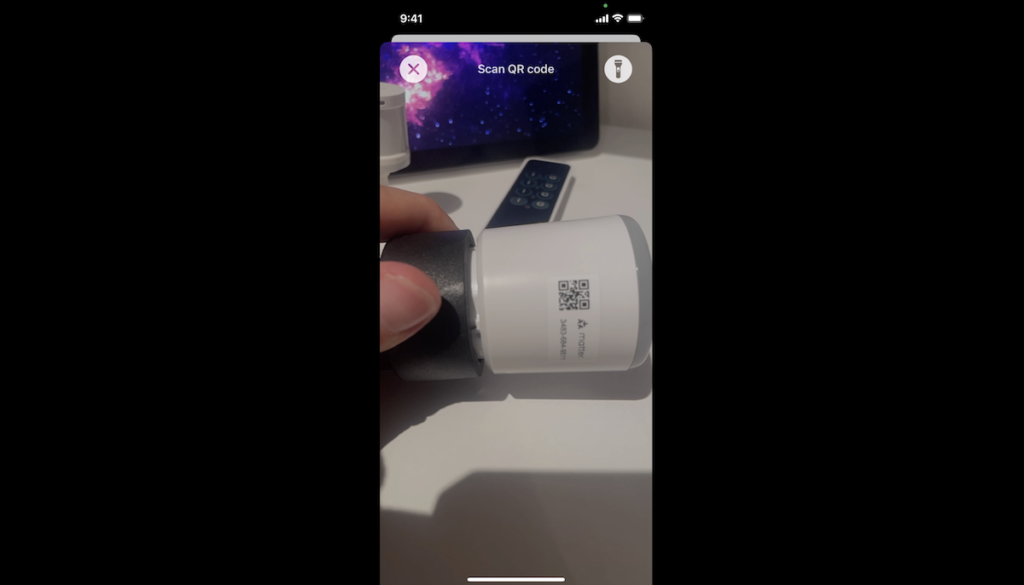
And we can scan the QR code on the device or type in the numbers below the QR code.
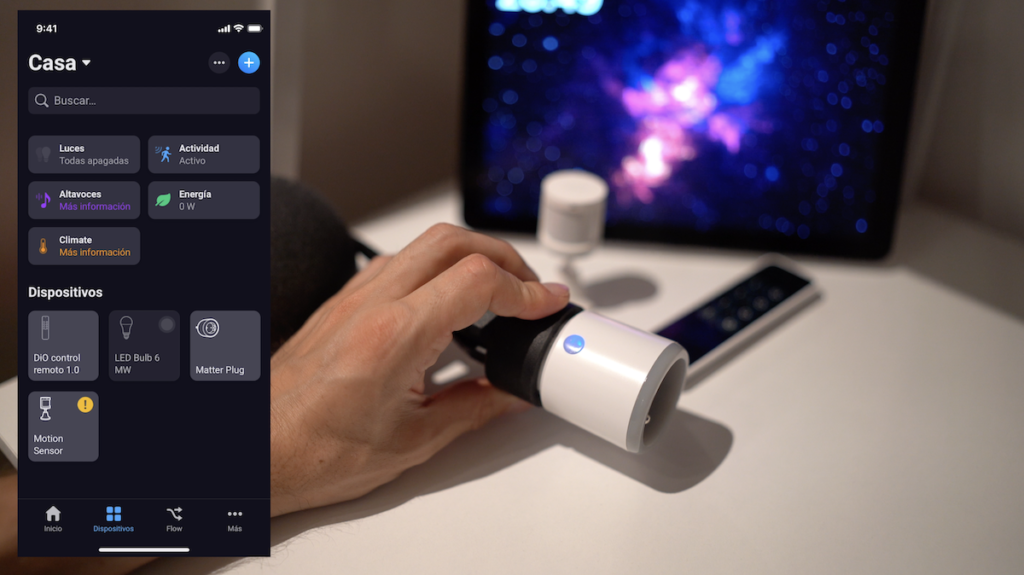
That’s it, we have control of our plug from our Homey PRO hub.
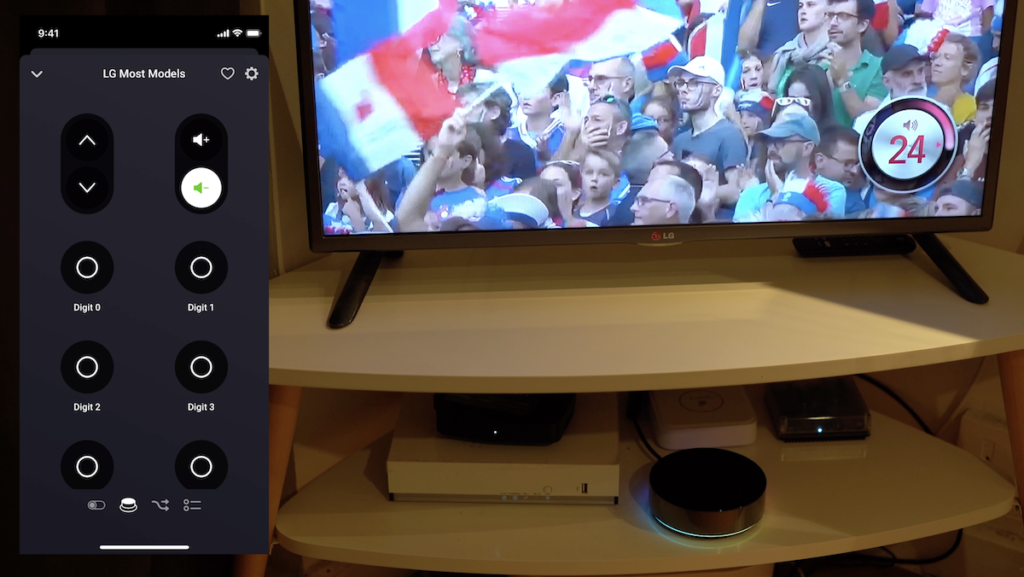
And a final example is that of integrating our television. In my example, I am going to integrate my LG TV, which by the way, LG recently bought 80% of the company “Athom”, creator of this Homey home automation hub.
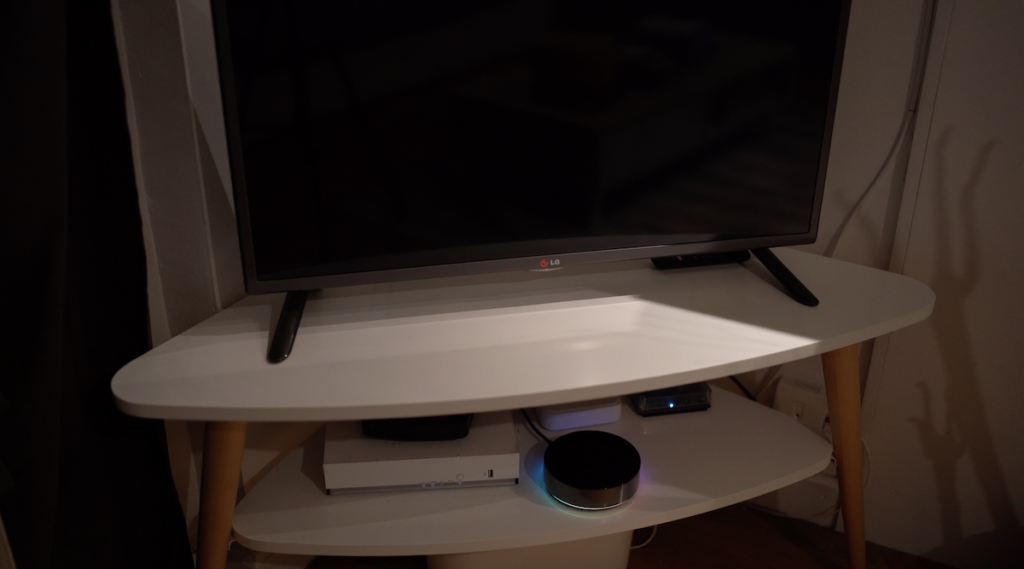
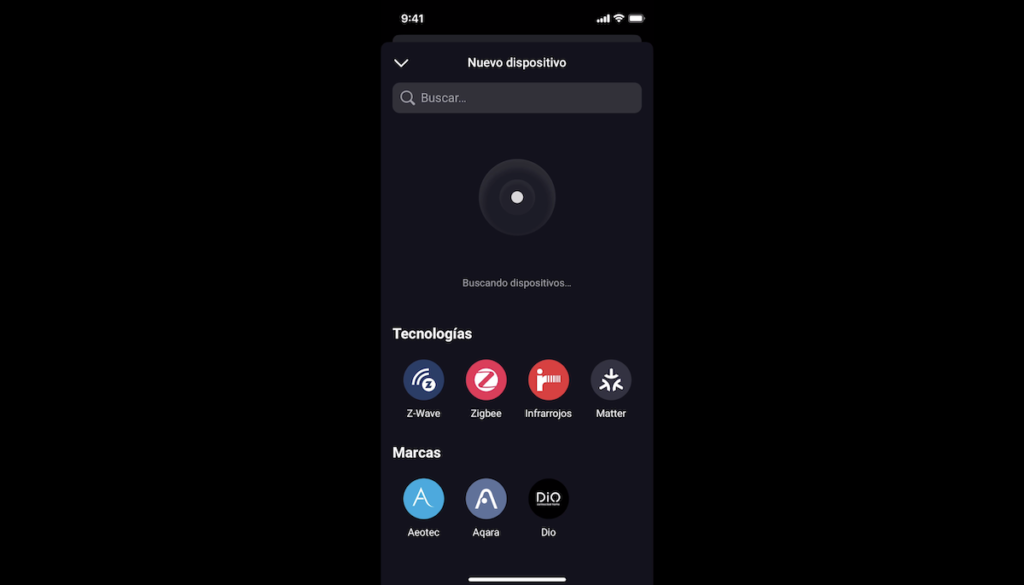
For this, we will select the “Infrared” option.
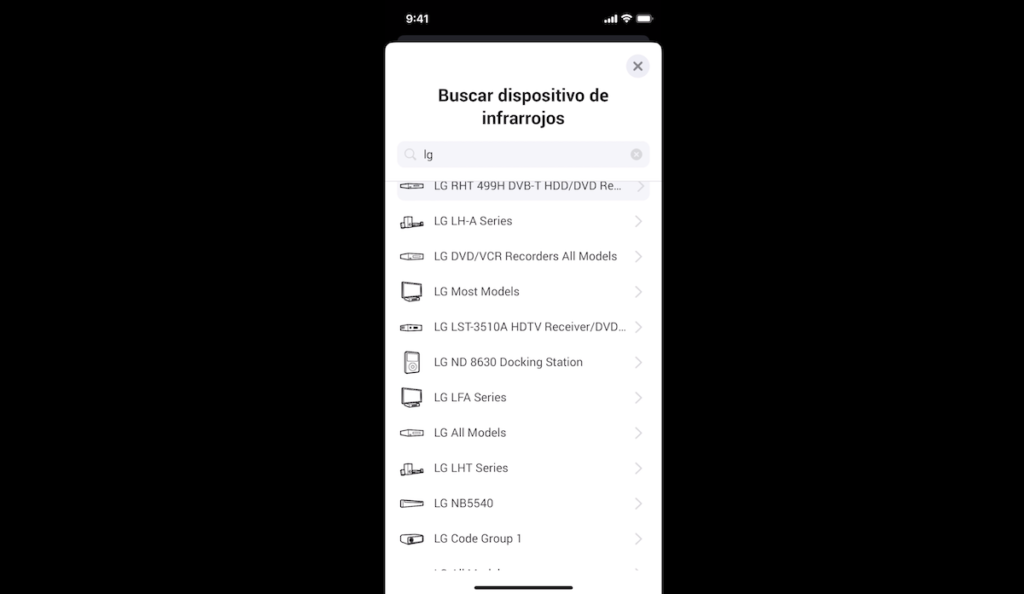
Let’s look for the brand of our TV.
And now, let’s hit the buttons on the Homey PRO interface to see if we can correctly control our TV, and this is the case.
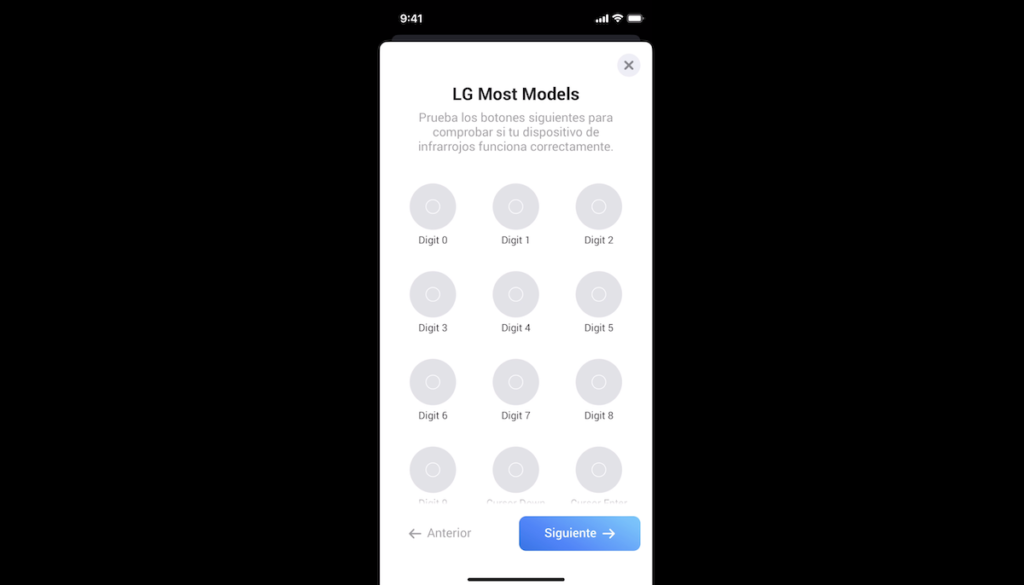
So now, we can control our TV from our phone and it can also be very useful for different automations.
Creating automations with Flow
And speaking of automations, of course, the interest of a smart home is to be able to create different automations where the devices are going to communicate together and according to criteria that you have defined.

The use cases are endless and your imagination is your limit.
In Homey, these automations are called Flow, and we will access this tab.
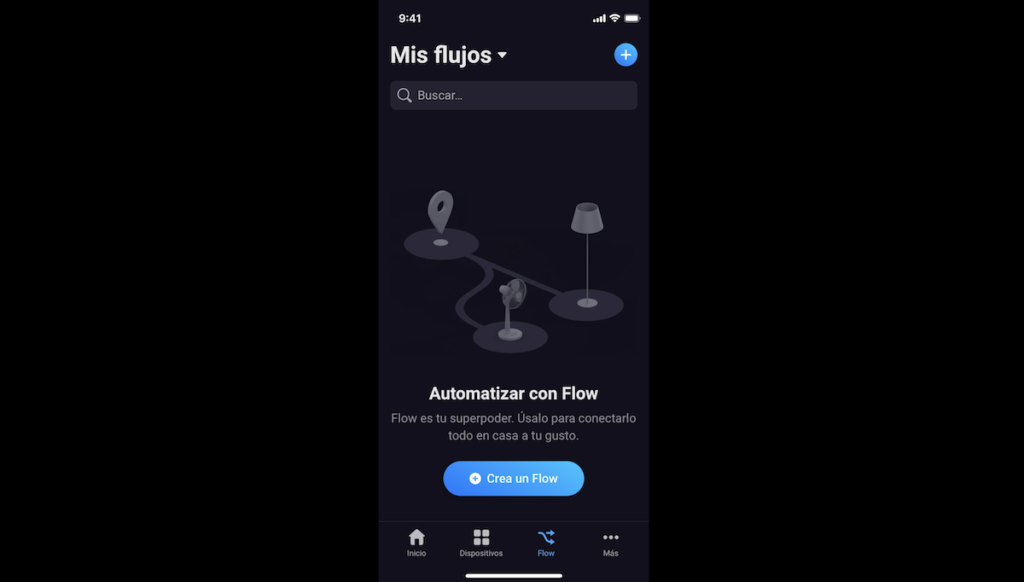
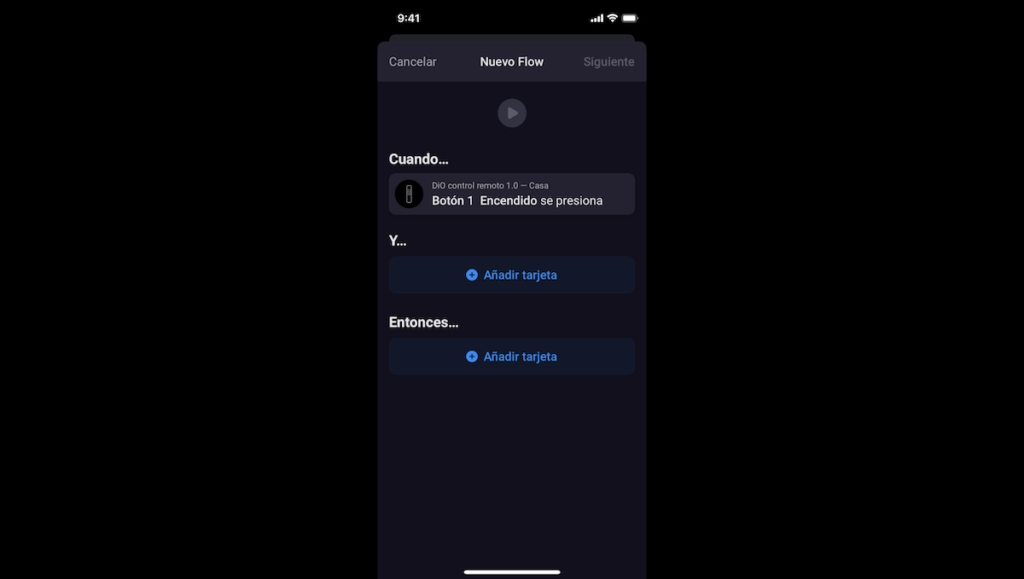
We are going to create a first Flow. We have three options to create this Flow.
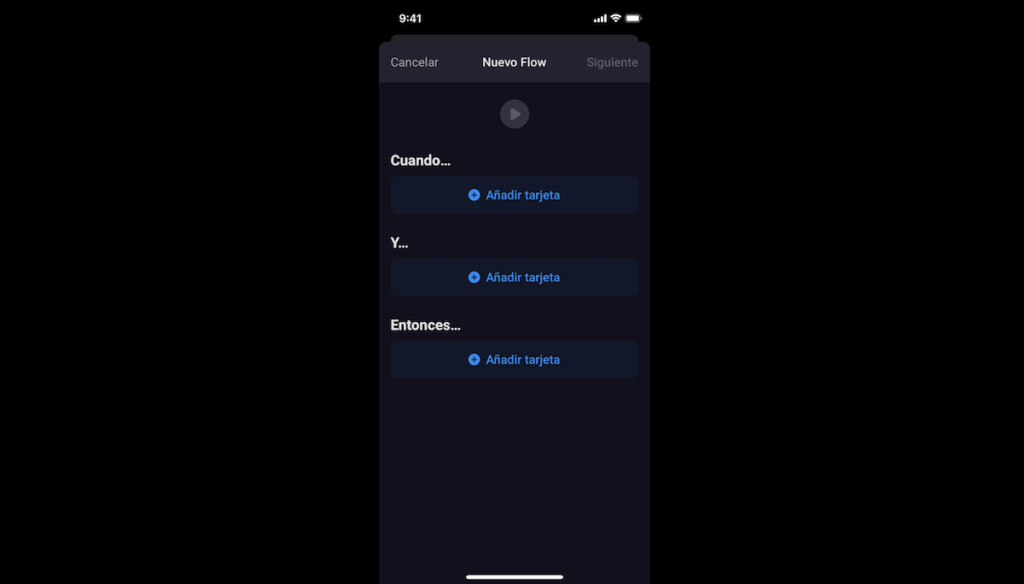
The first option is called “When”, which, as the name suggests, allows different actions to be taken when an event occurs.
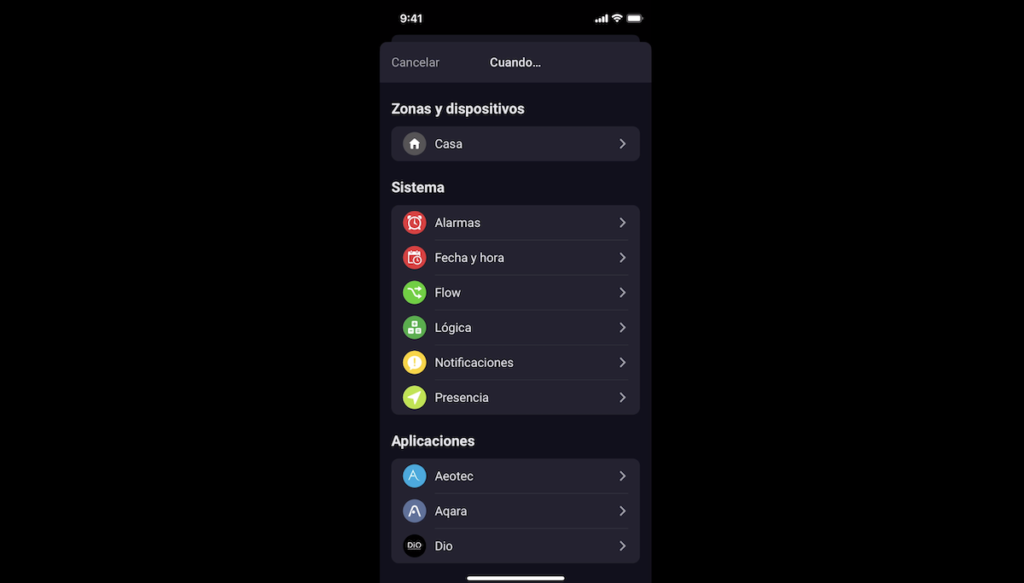
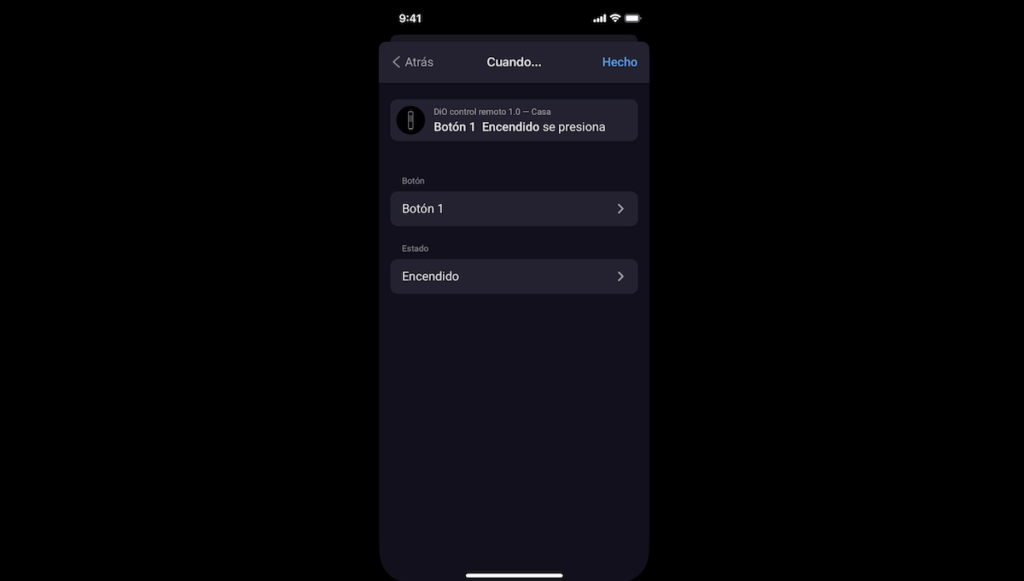
You can choose different criteria and in my example, I will choose the N°1 power button on my DIO controller.
The second option is called “AND”, and as the name suggests, it allows other conditions to be added for the actions to be executed.
In my example, I will define a schedule in which my automation can run.
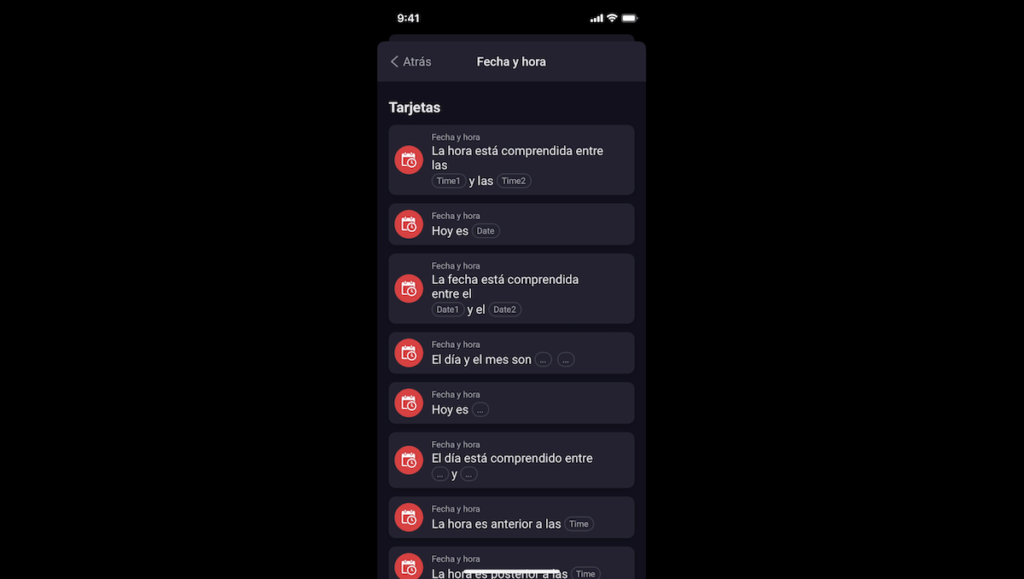
In my example, this scenario can be run between 18h00 in the evening and 5h00 in the morning.

And finally, the “Then” option allows you to execute some actions, and in my example, I will choose to turn on the light at 45% of its intensity.
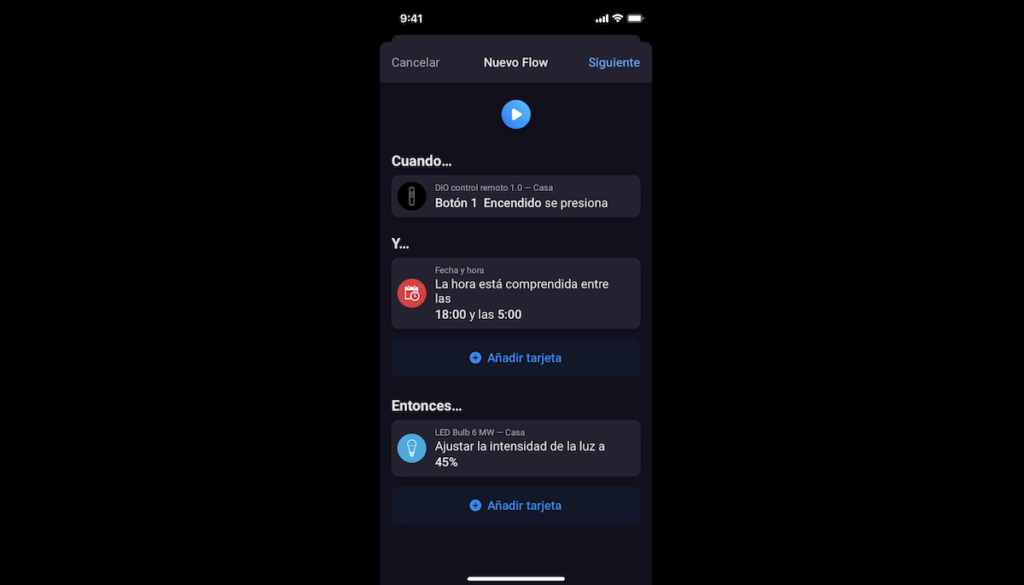
My automation is therefore as follows:
If I press button 1 on my DIO remote control between 18:00 in the evening and 05:00 in the morning, the light comes on at 45% of its intensity.
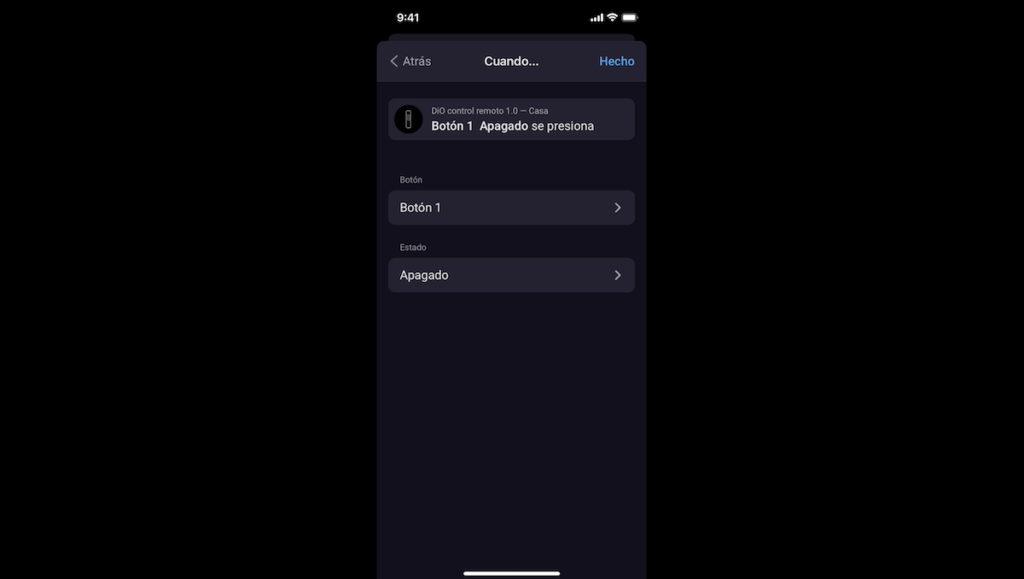
Now, my second Flow is going to be next:
If I press the off button 1, whatever the time, then the smart bulb is switched off.

And now, we can test our scenarios.

Additional Homey PRO parameters
In the “More” tab, we have access to additional parameters.
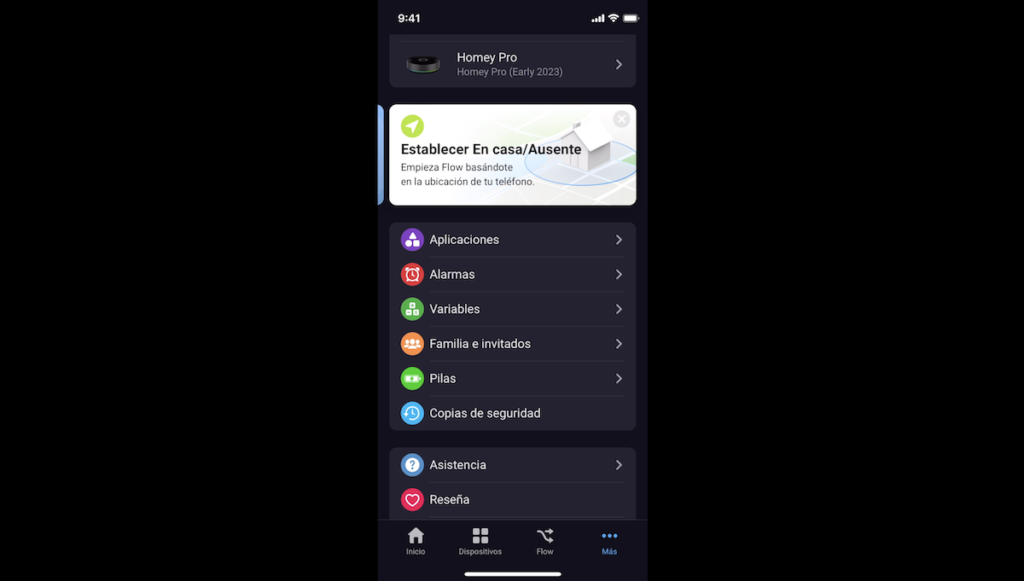
For example, adding more Homey home automation hubs to our interface.
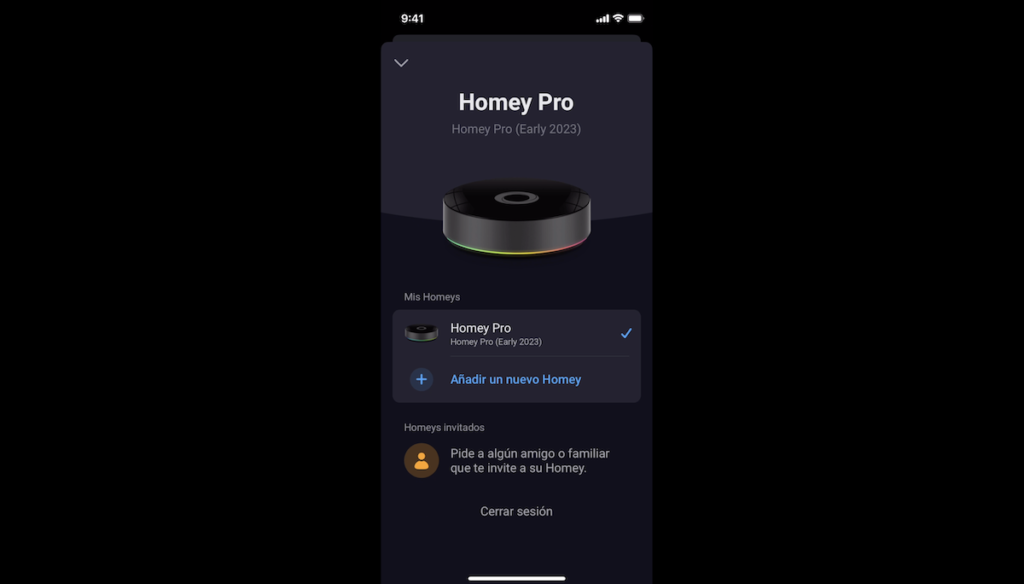
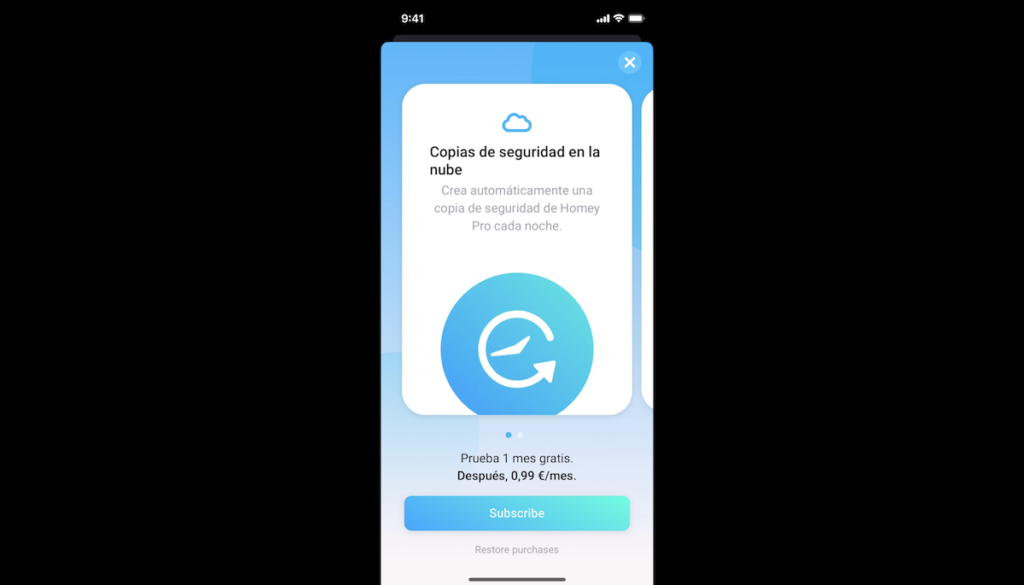
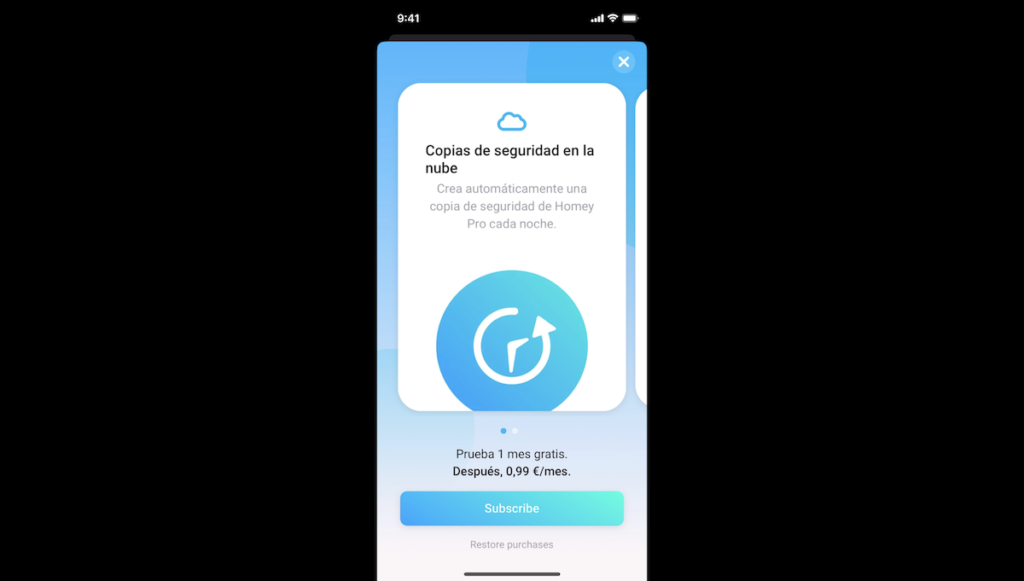
We have the possibility of making backups in the cloud with a monthly subscription of 0.99 euros.
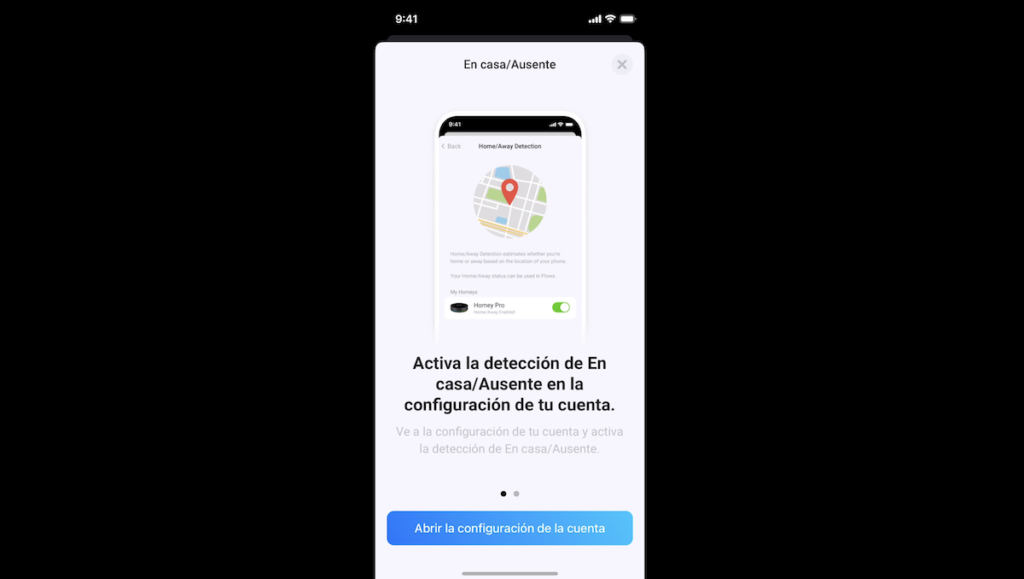
We have the option of activating the detection of our presence or absence at home, which can be interesting for some automations.
In applications, we can see the different applications.
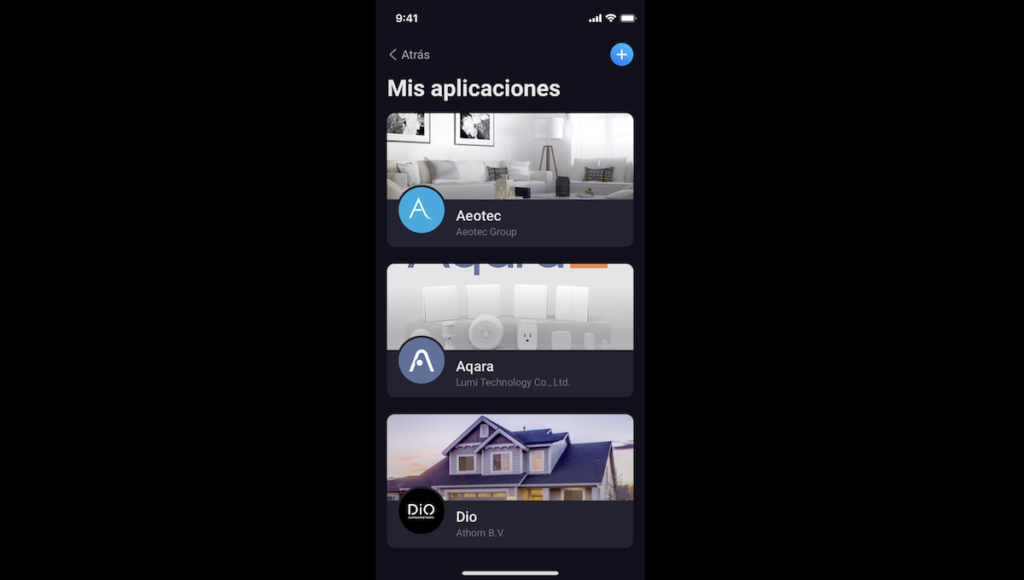
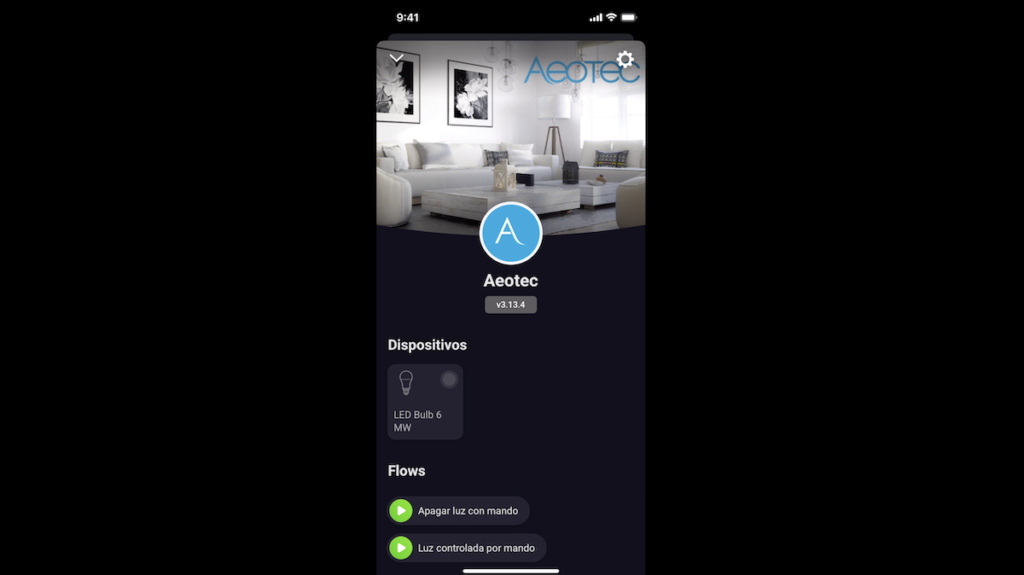
Like the brands of devices we have added to our home automation hub, with the associated devices and the Flows in which this device is linked.
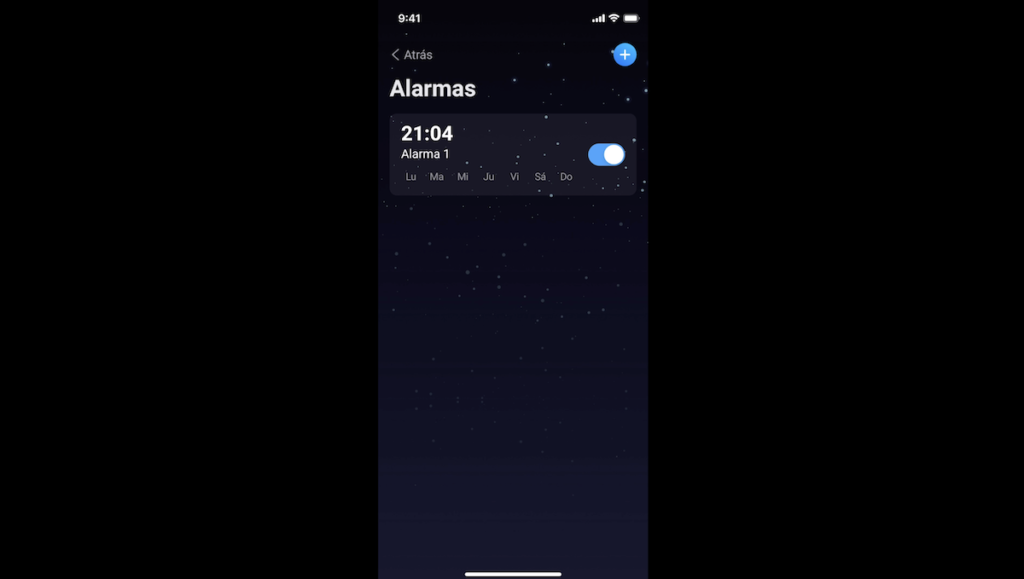
We have the “Alarms”, which can be used in different automations.
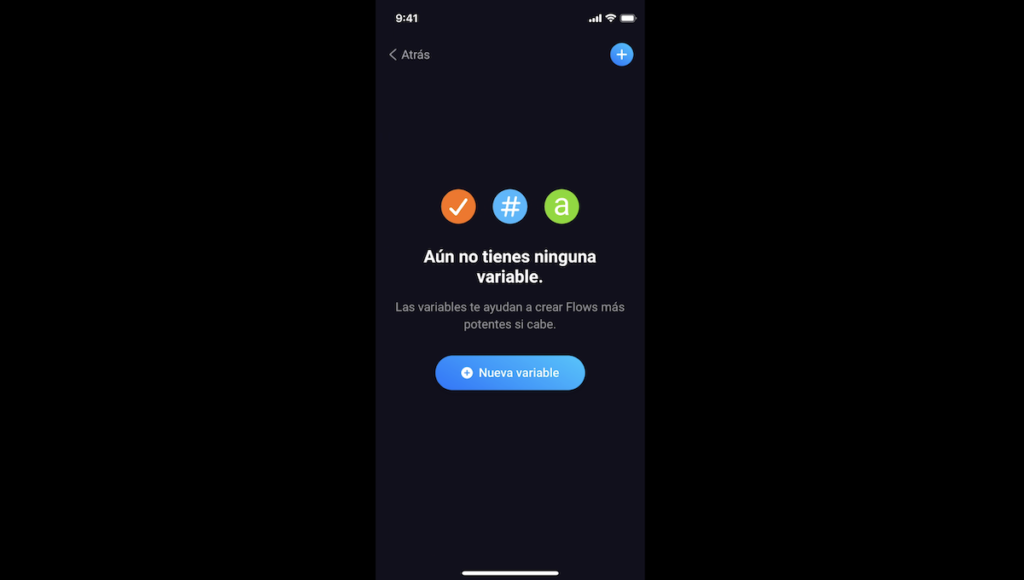
Variables” can also be useful in more complex programming.
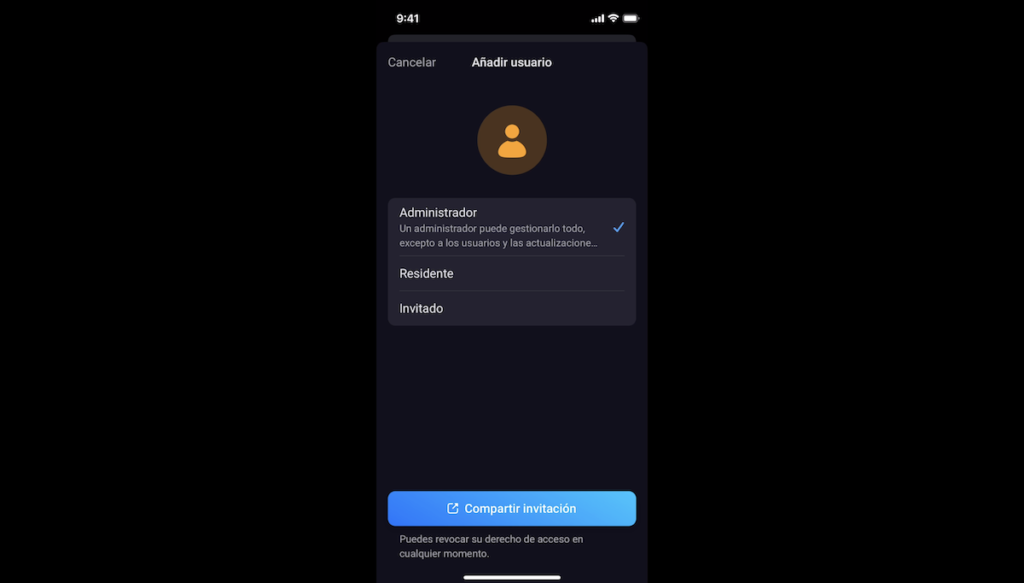
“Family and guests” allows you to create access to your family, friends or neighbours with more or less access options according to your needs.
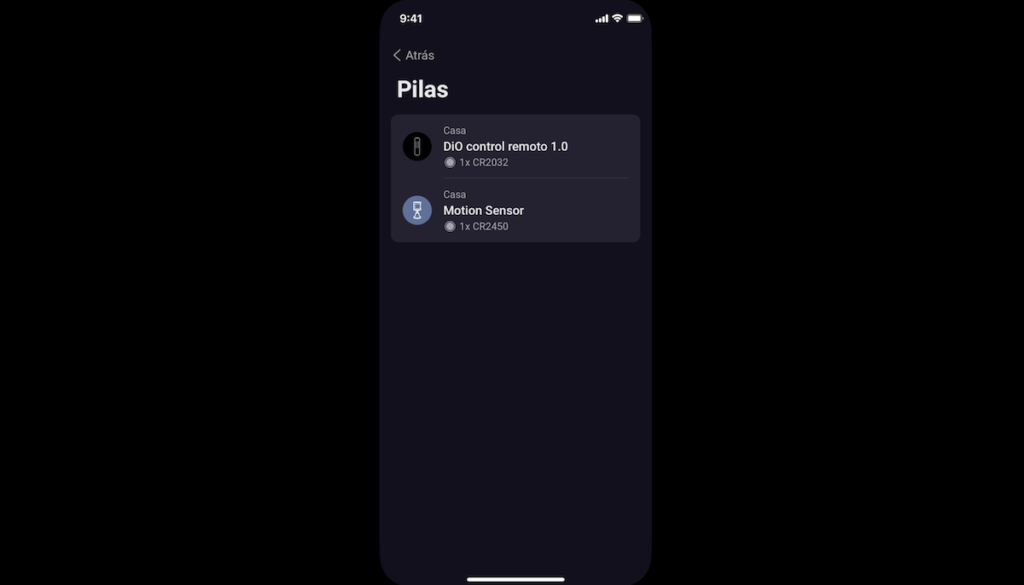
“Batteries” allows you to view the battery status of each battery-operated device.
“Backup” is the subscription we have seen previously for backing up to the cloud.
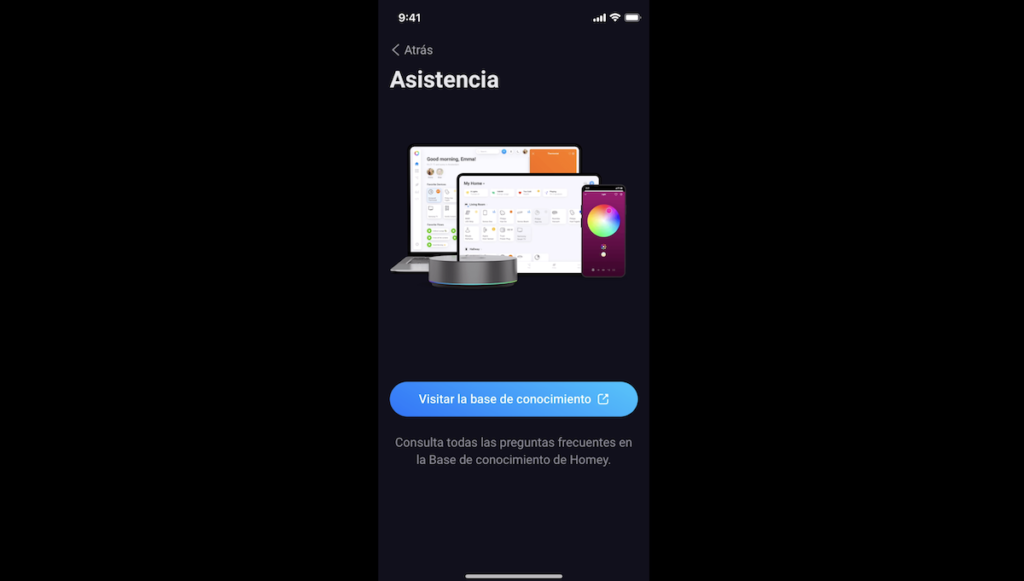
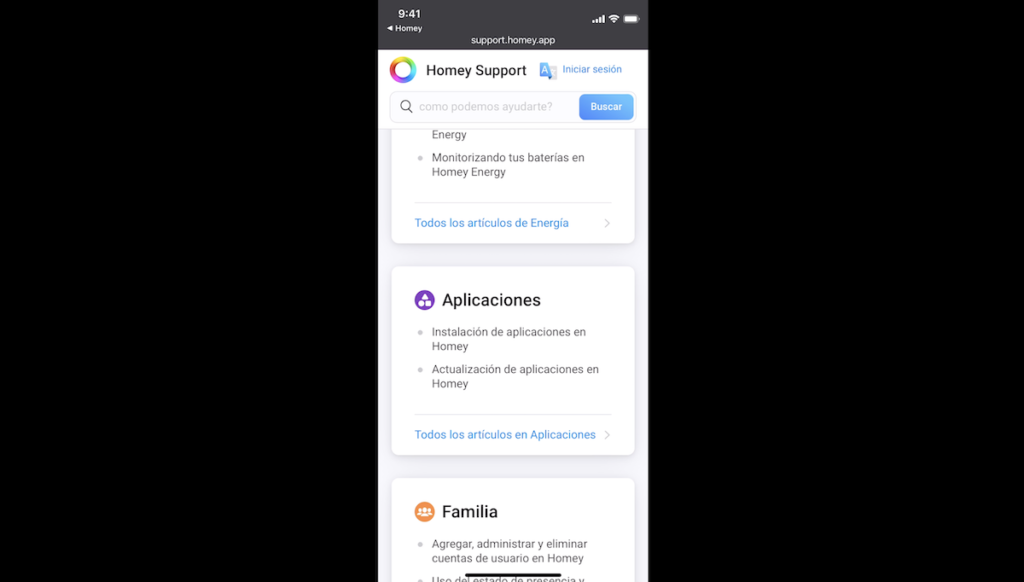
“Assistance” provides access to Homey’s documentation, which is very well organised.
You can also translate it automatically into Spanish for a better understanding.
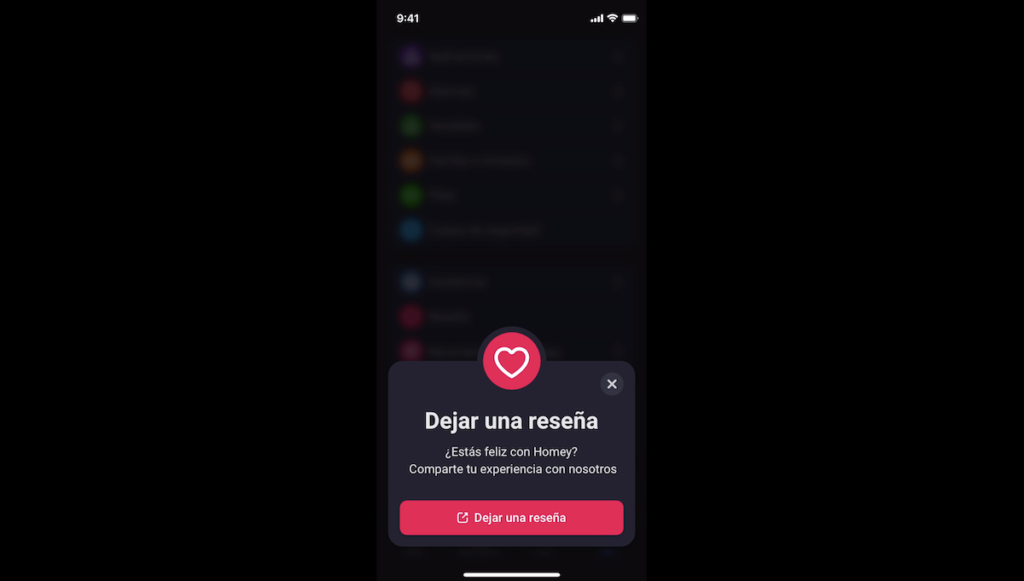
“Review” allows you to leave a review for Homey.
“Refer a friend” allows you to give them three months of Homey Premium if they want to get started with the Homey Bridge solution, which carries a monthly fee of 2.99 euros per month.

But with Homey PRO you don’t have any monthly fees.
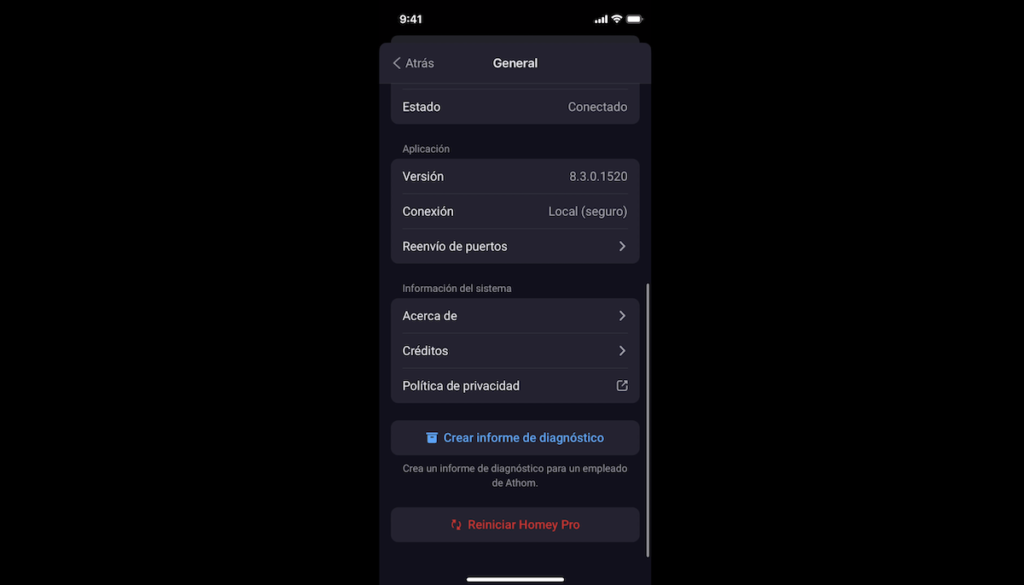
Now, if we go to “Settings”, we have different additional options. Under “General” we can see different information about our hub, such as its version, its current connection and we can also reboot it.
Under “Updates”, we can check for new updates.

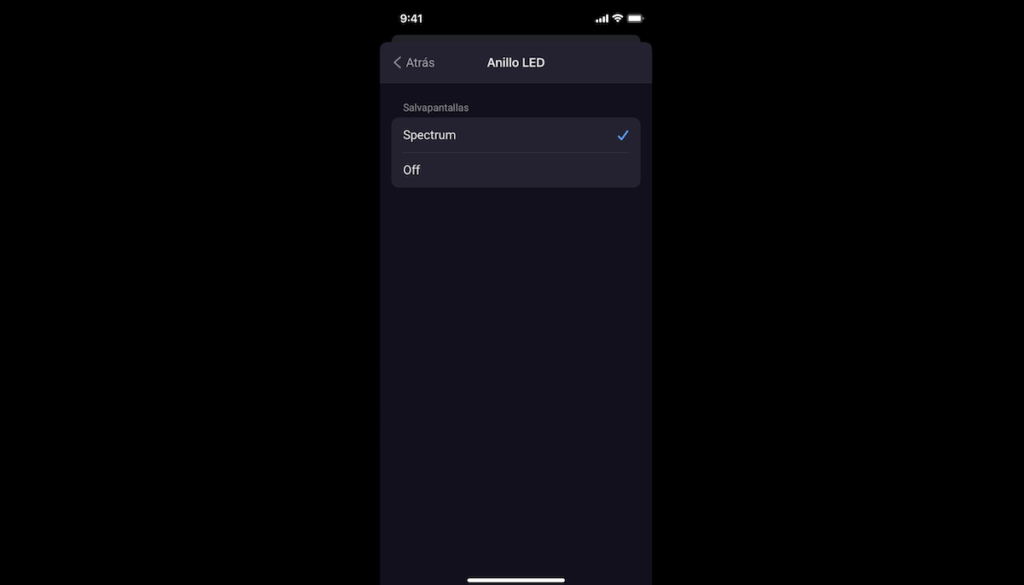
Under “LED ring”, we can activate or deactivate the LED ring of our Homey home automation hub at any time.
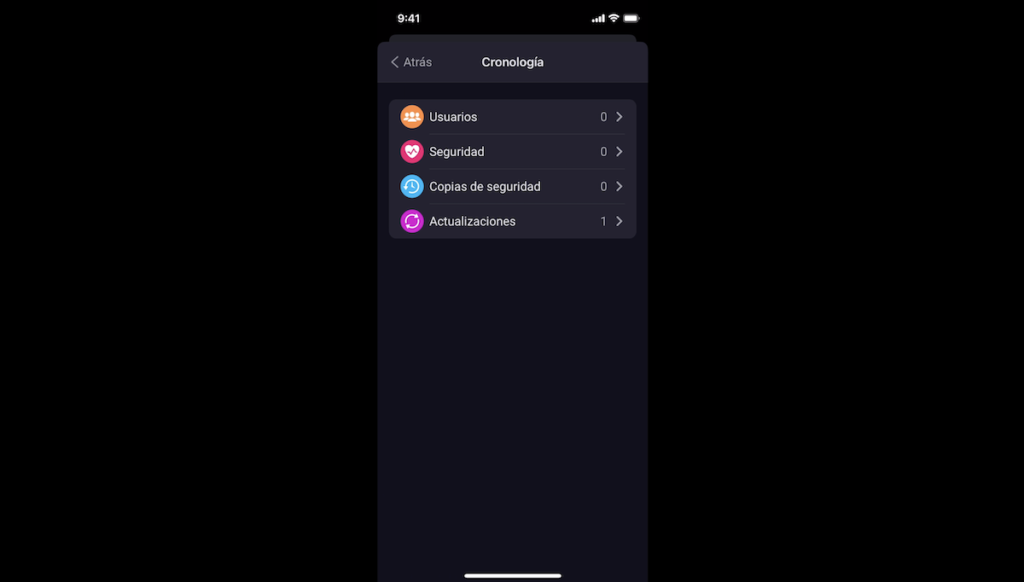
Under “Timeline” we can activate or deactivate notifications about users, security, backups and updates.
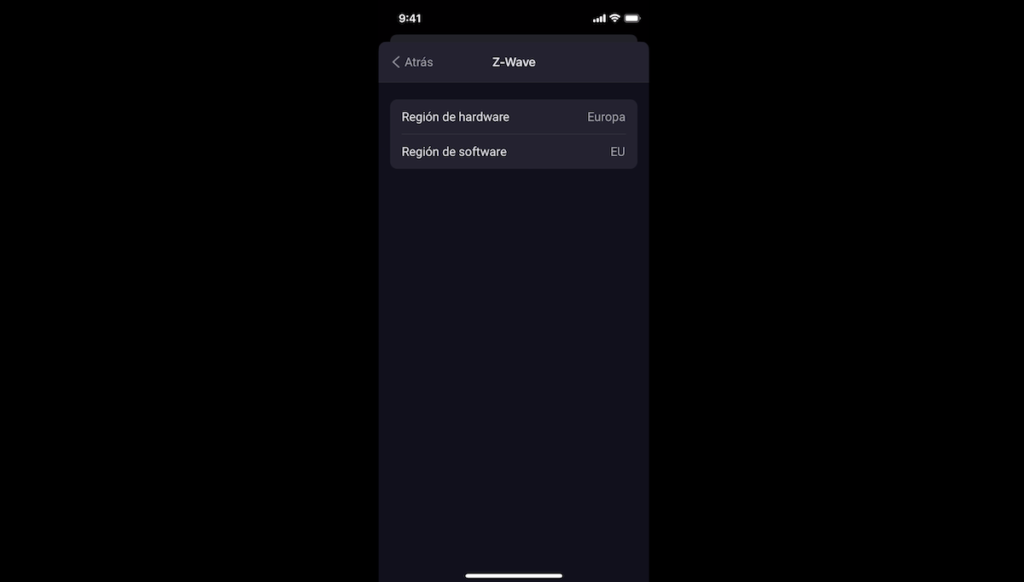
Under “Z-Wave” we can see the hardware and software region.
And under “Experiments”, we have advanced and experimental functions in case you need to make any advanced adjustments.

Below, we have “Integrations” and we will be able to link our home automation hub to voice assistants from Amazon Alexa, Google Home or Siri.
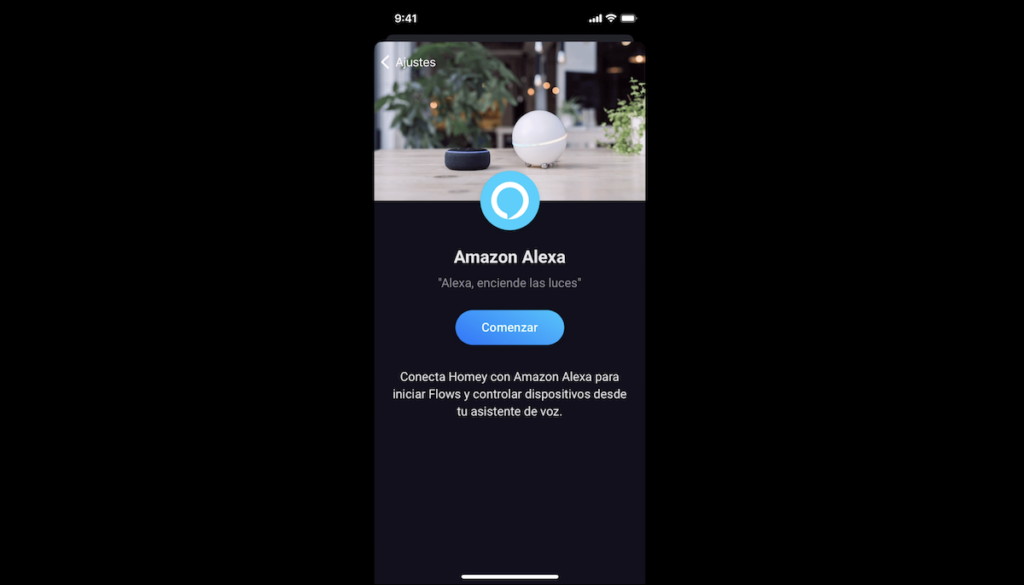
In my example, I’m going to go to the Amazon Alexa app to add the Homey skill.
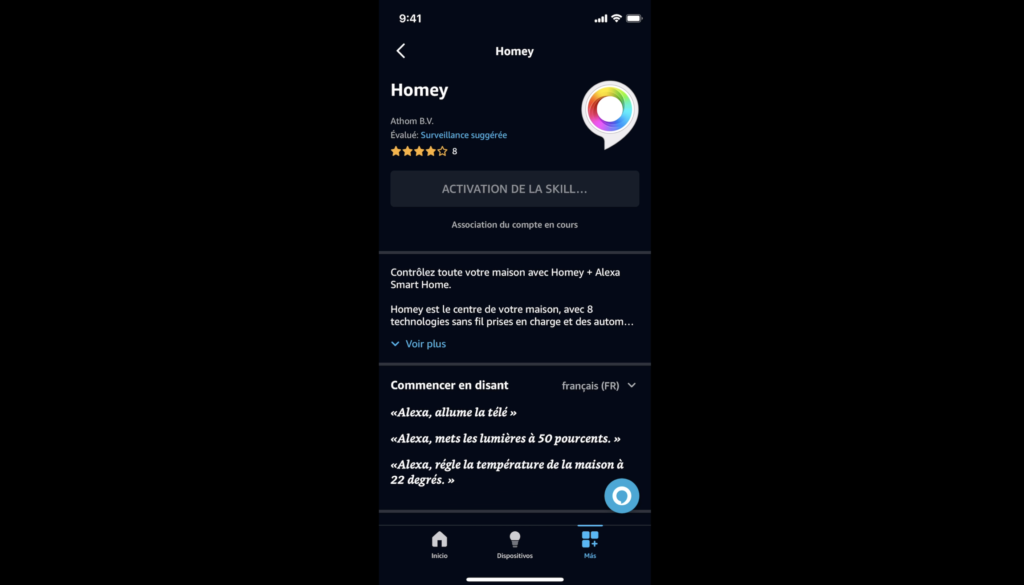
I need to set up my Homey account details.
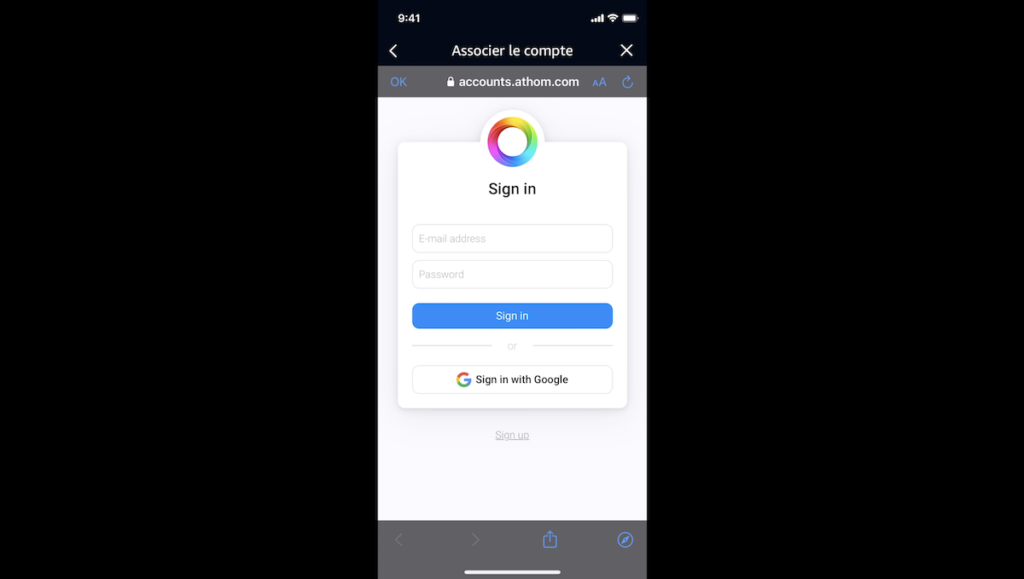
Ready, now, I will have the smart devices available in my voice assistant, so I will be able to control these devices by voice.
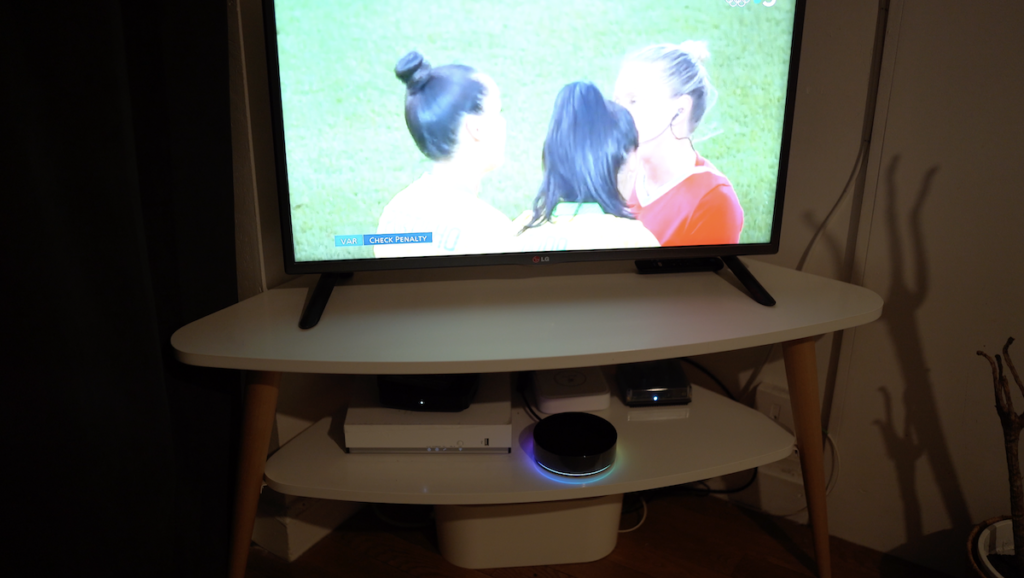
“Alexa, turn on the TV”.
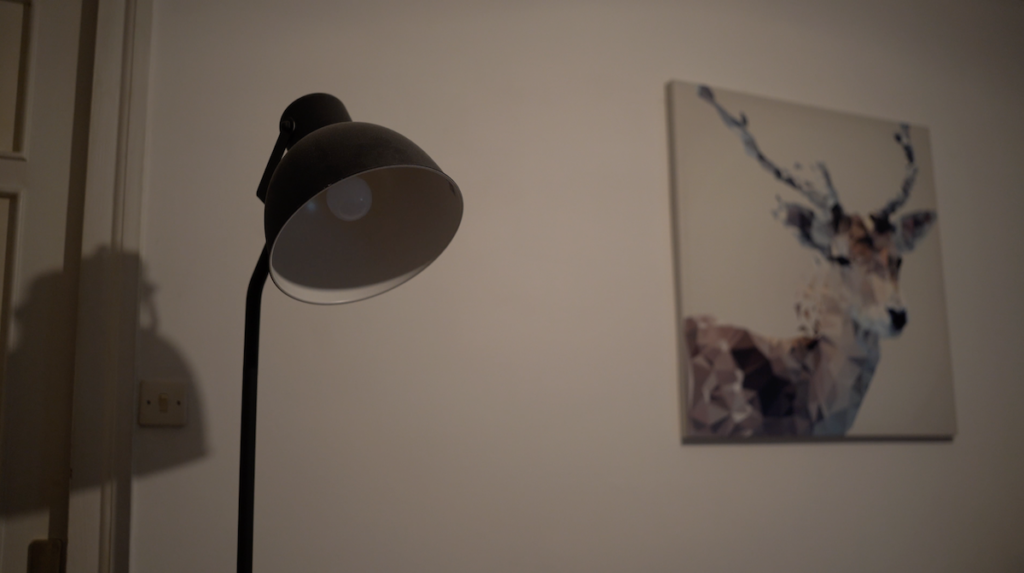
“Alexa, turn off the light”.
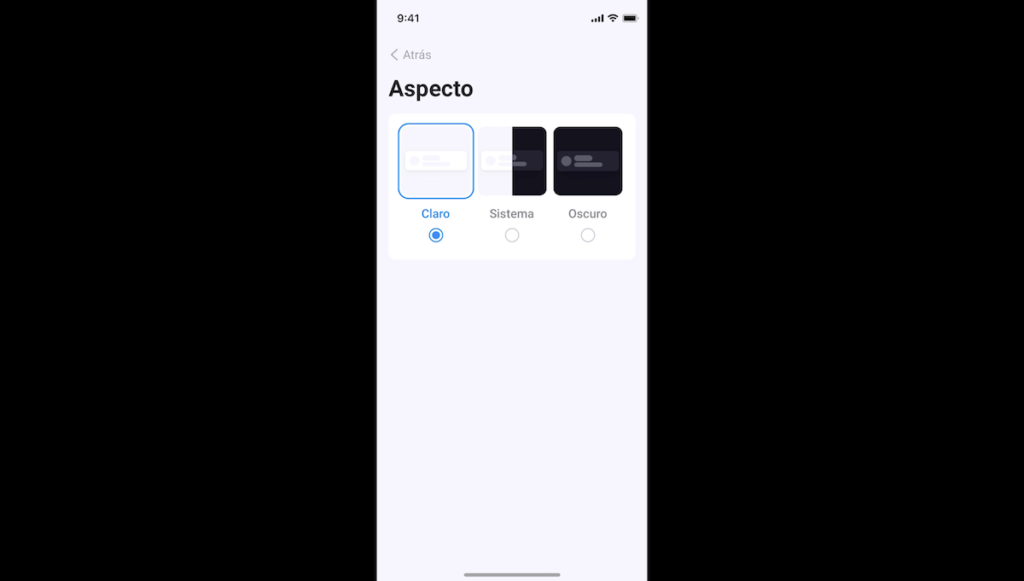
And under “Appearance”, we can change the colour of our application, either black or white.
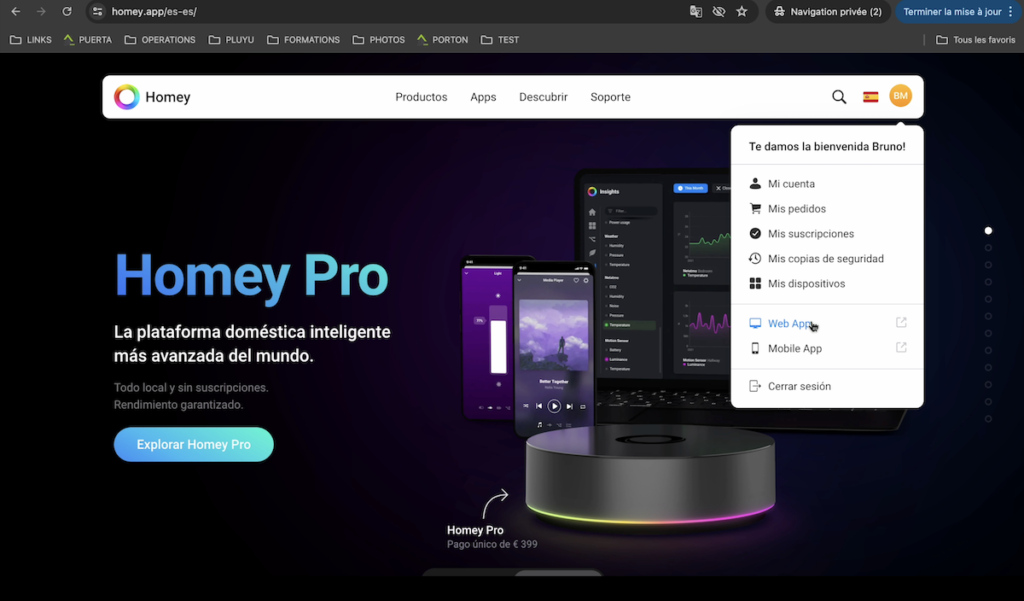
It should be noted that we can also control our Homey PRO home automation hub from a web interface on our computer. To do this, we go to the Homey website and connect to our user account, click on “Web App” and we have access to the web interface of our home automation hub.
We can control our smart home from our computer as well as from our phone.
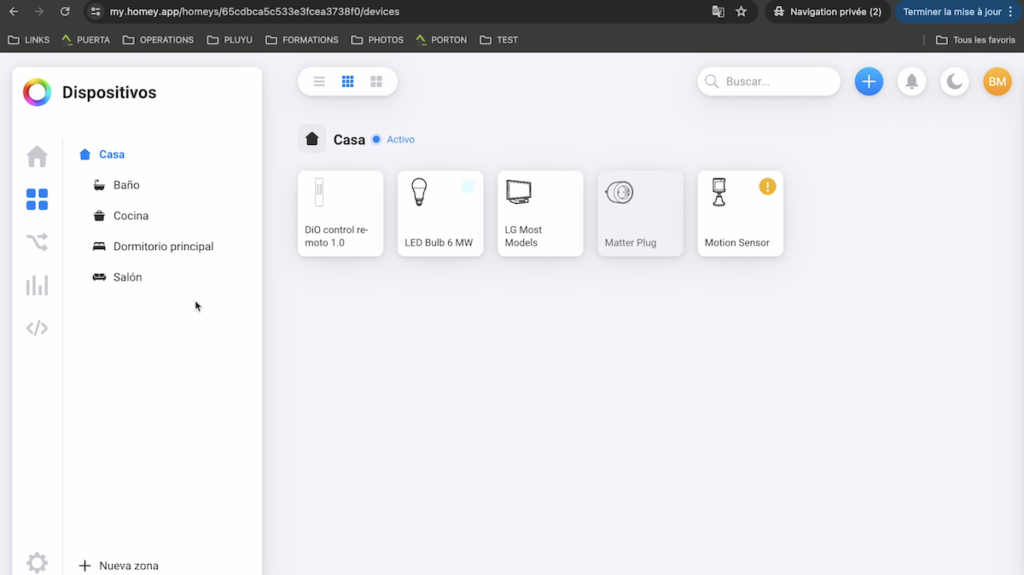
But one difference is that to create “Flow” we have in this case two options.
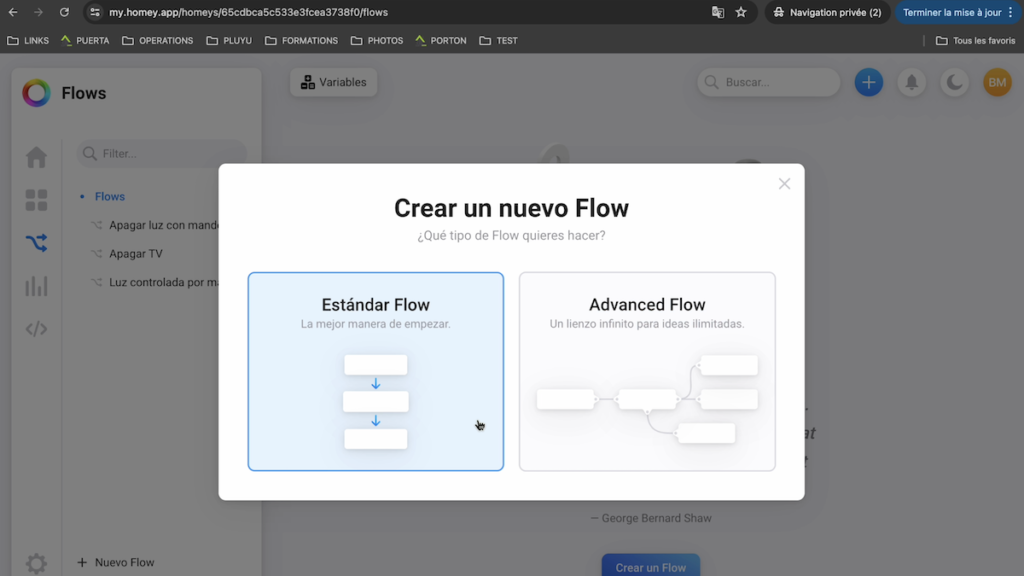
The “Standard Flow” is the one we have already seen on our phone.
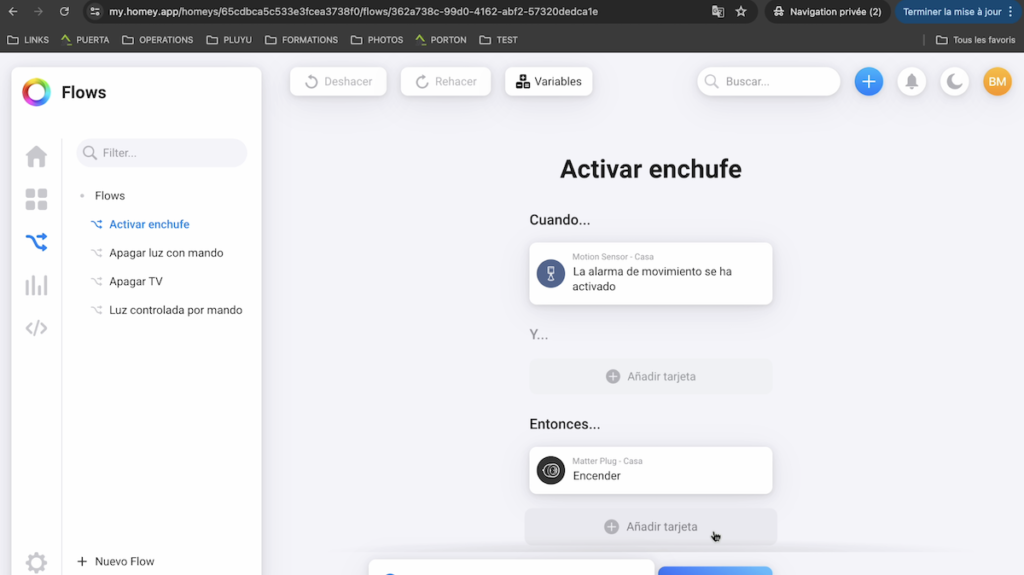
And the “Advanced Flow” is this time an option to create automations graphically in a Node Red style.
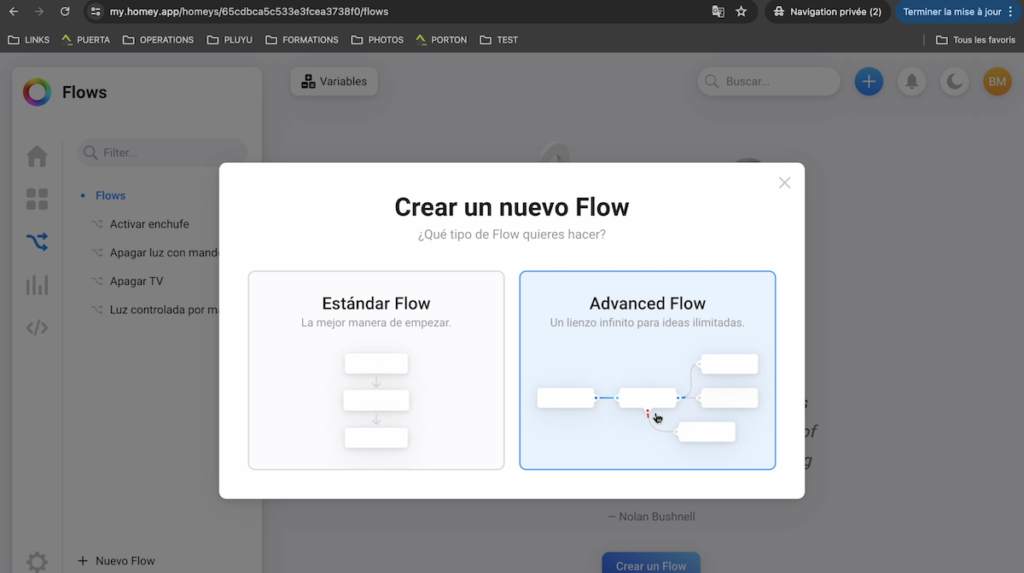
This can be of interest for creating more advanced automations, creating, moving and linking blocks of conditions and actions.
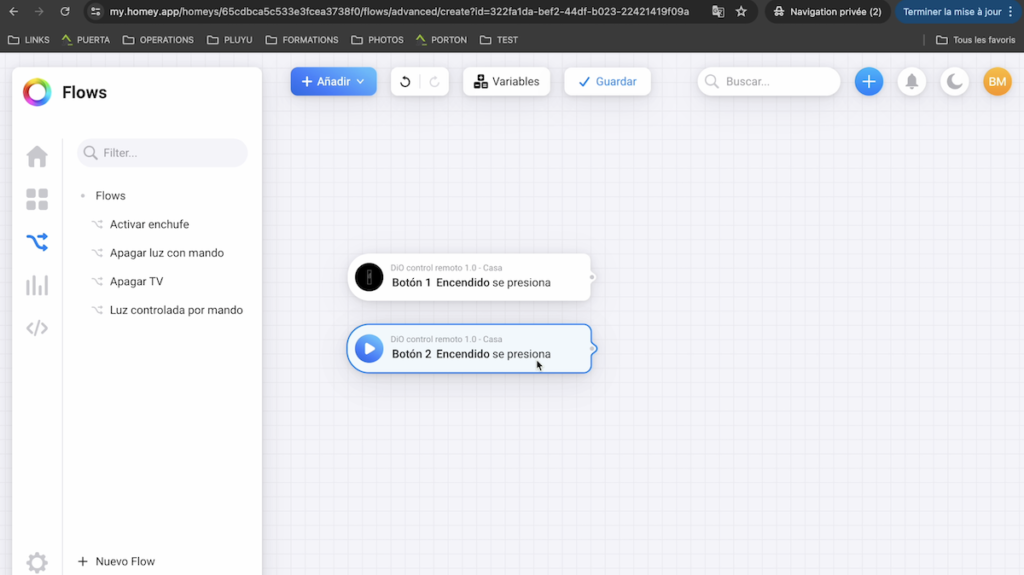
For example, I’m going to decide that if I press either power button 1 or power button 2 on my remote, then the smart bulb comes on.
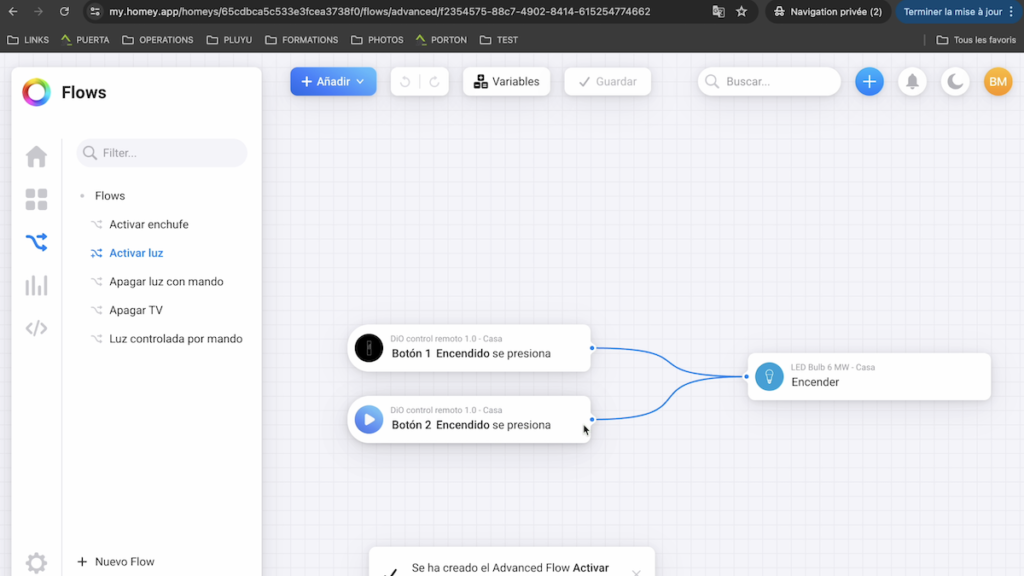
Now, we can test our scenario.

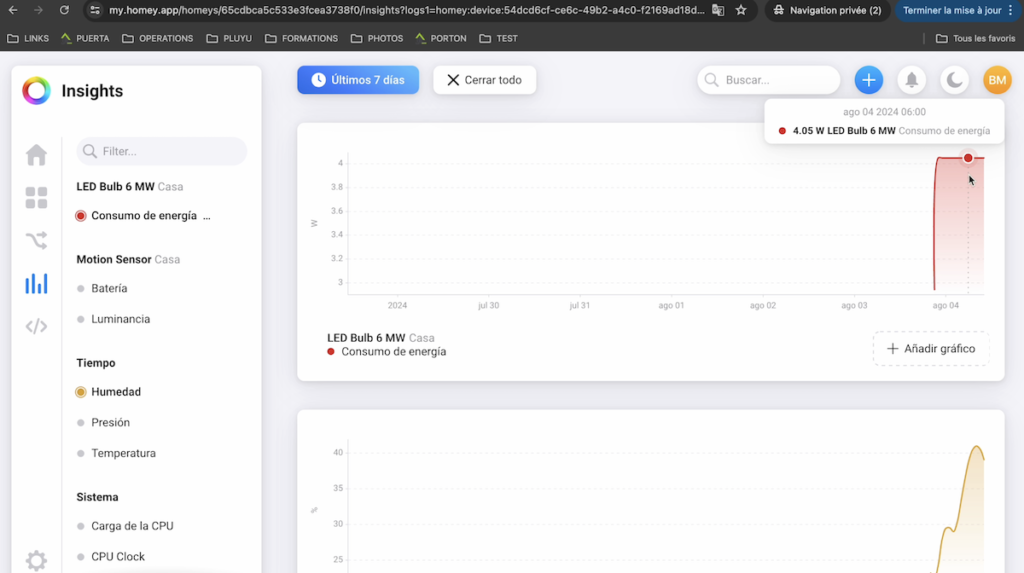
Under “Insights”, we have access to the measurement histories of smart devices, such as consumption, battery status, temperature and much more.
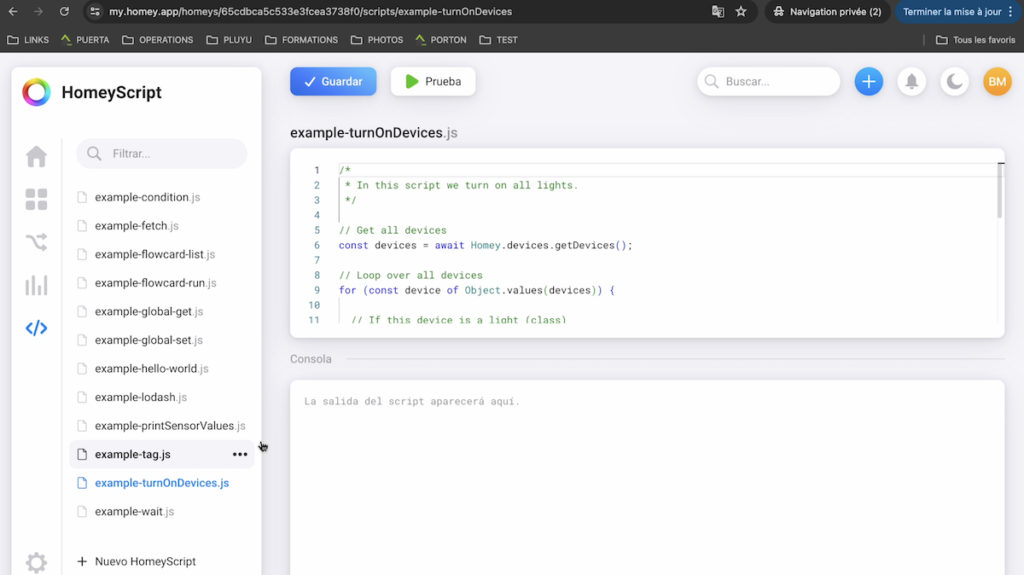
And under “Scripts”, we can run advanced automations if we need to and do not have the option available in a Flow.
In short, Homey is not the cheapest home automation hub on the market, but it is an excellent solution for users looking for ease of use, a pleasant experience, with a very aesthetic interface, no monthly fee for remote access and the flexibility to use different brands of smart devices, being able to control your smart home locally, which is a solution I recommend if you are looking for all these criteria.
At the French online shop Domadoo, you can enjoy a free NOUS-A1Z plug for the purchase of Homey PRO thanks to the code “homeypro” that you have to put in your shopping basket.
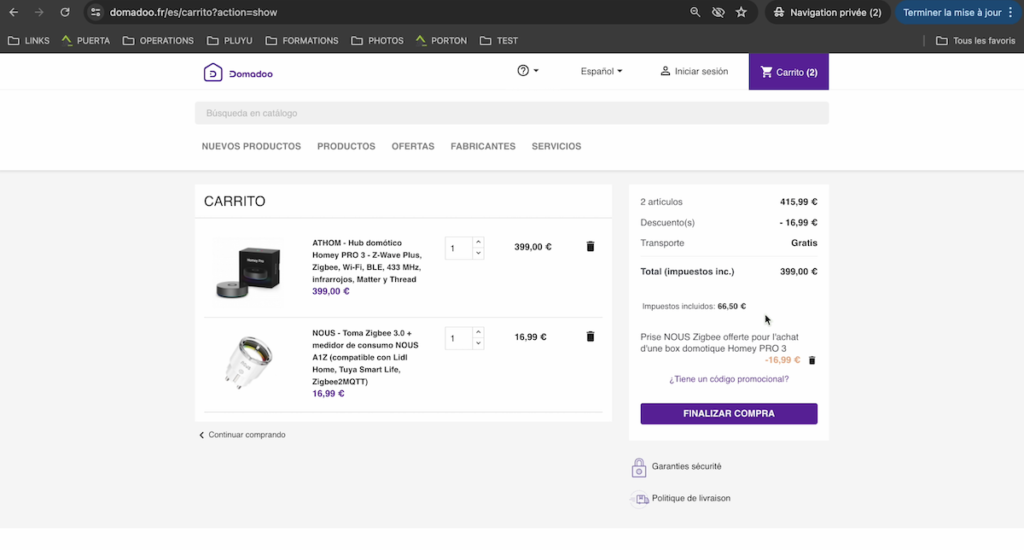
Purchased together with Homey PRO 2023


Buy Now Homey PRO


Graduated with a Higher Technician’s Certificate in Home Automation, a Professional Bachelor’s degree in E-commerce and Digital Marketing, and a Master’s degree in SEO, I have been working since 2013 in a home automation e-commerce company called Domadoo, where I have the opportunity to test a large number of the popular Smart Home products on the market.