To prevent an intruder from breaking into your home, with all its consequences, one idea might be to have a NAS-AB06B2 Zigbee outdoor siren. On the one hand, to scare off any burglars who might turn up in your garden and, on the other, to warn your neighbours.
Why is the NEO NAS-AB06B2 being offered at this price?
There are cheaper Zigbee sirens, but the NAS-AB06B2 has a higher price tag because it is an outdoor siren, incorporating a solar panel and battery.

Tutorial on using the Zigbee Neo outdoor siren
Let’s find out all about this NAS-AB06B2 siren.
General characteristics NEO NAS-AB06B2
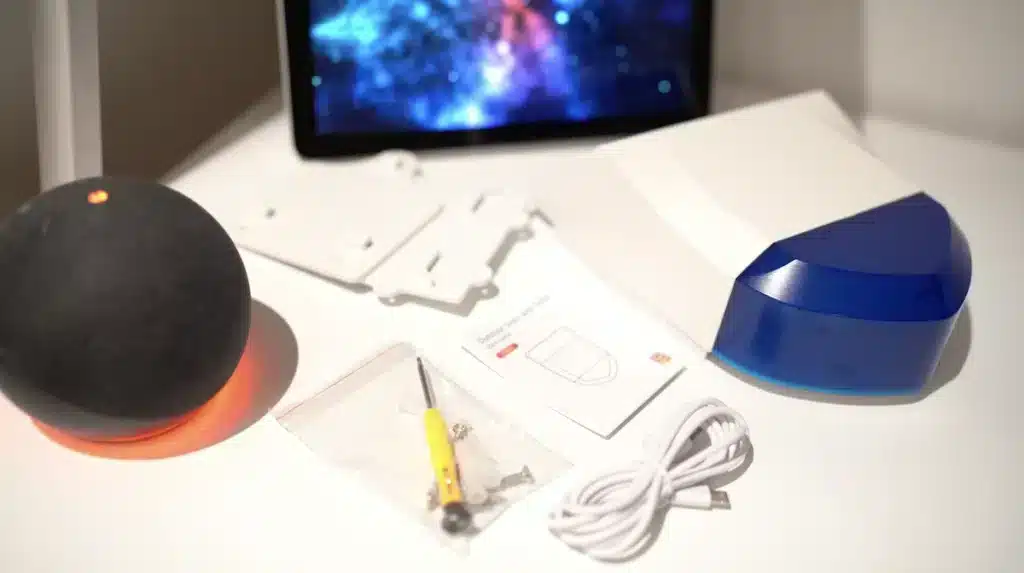
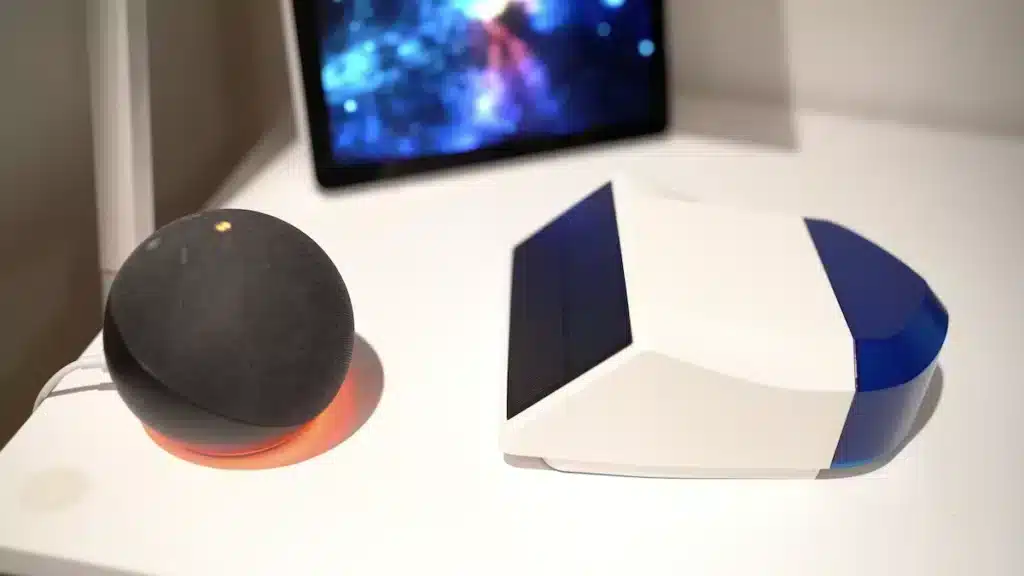
First of all, if we open the packaging, we can see that this siren is made of white and blue plastic and measures 200x150x66 mm.

We also have an instruction manual, a USB to USB-C cable if we want to connect the siren to the mains, a screwdriver with plugs and screws to fix the siren to the wall.
There are very few intelligent sirens for outdoor use, as the vast majority are designed exclusively for indoor use.

However, this NAS-AB06B2 model operates outdoors in conditions ranging from -10°C to +60°C and from 0 to 90% humidity.

A very interesting detail about this siren is that it requires no cables. No network cable, no power cable. It works with encrypted Zigbee wireless technology and a solar panel.
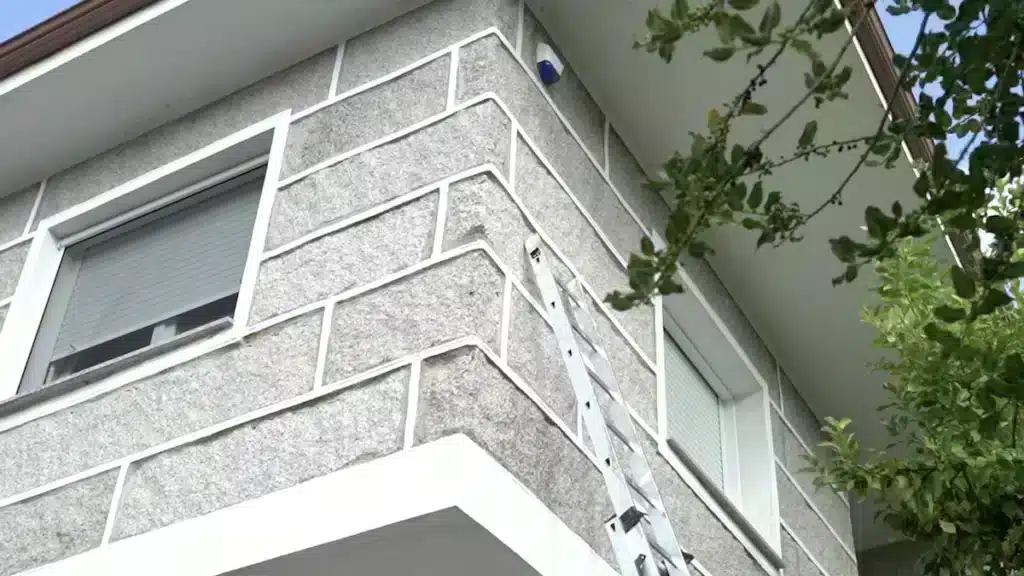
So, in terms of installation, it’s very easy, as we’ll see below.
This Zigbee technology is currently used by brands around the world such as Ikea, Lidl, Amazon and many others. In my opinion, it’s the best way to unify your smart home with different devices from different brands using the same technology.
This siren also has a rechargeable 18650 battery included in the pack.
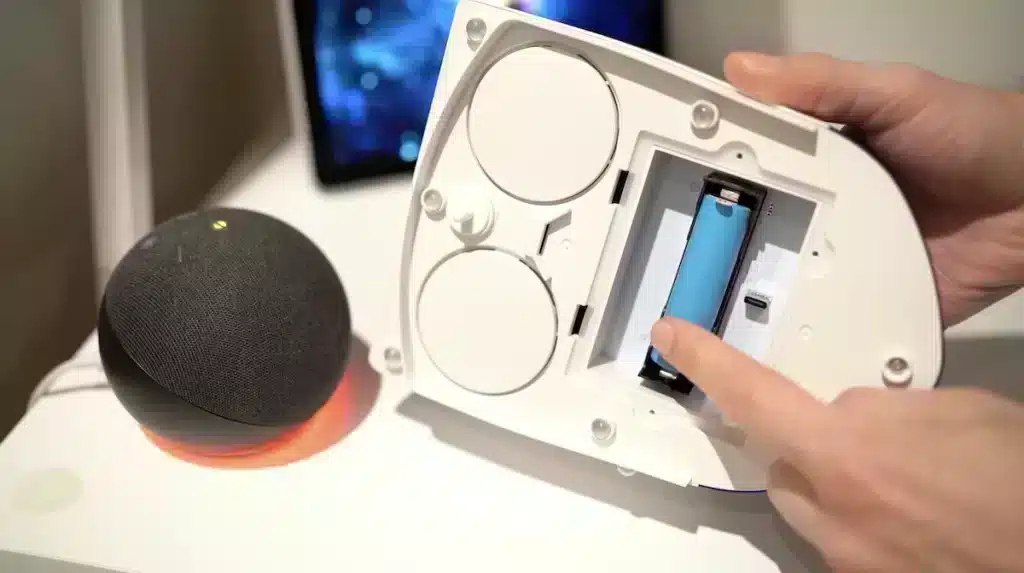
And, if you need to, you can recharge it via a USB-C port.
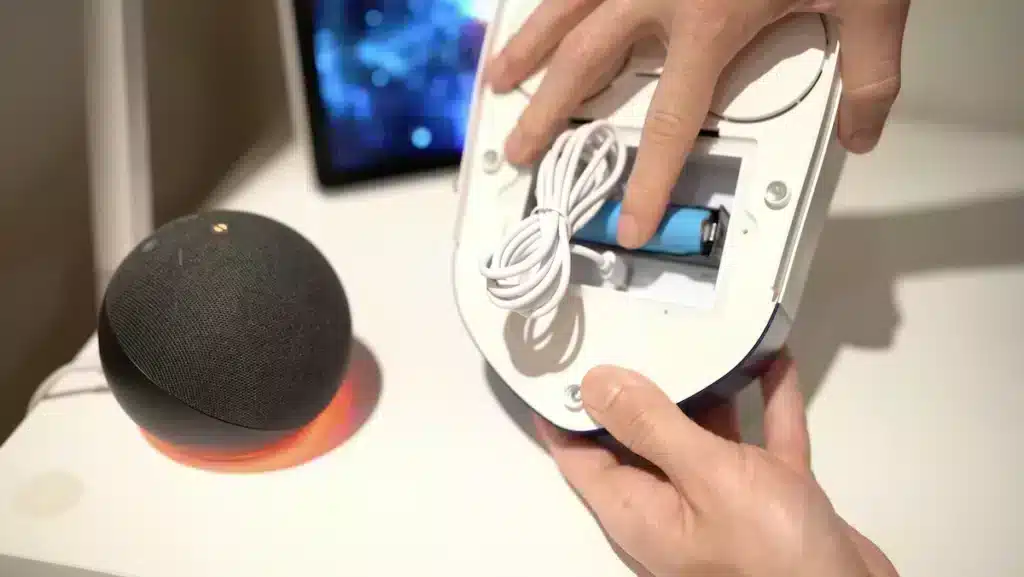
According to the manufacturer, this siren can operate for more than 20 days on battery power.

Two plaques can be seen on the back.
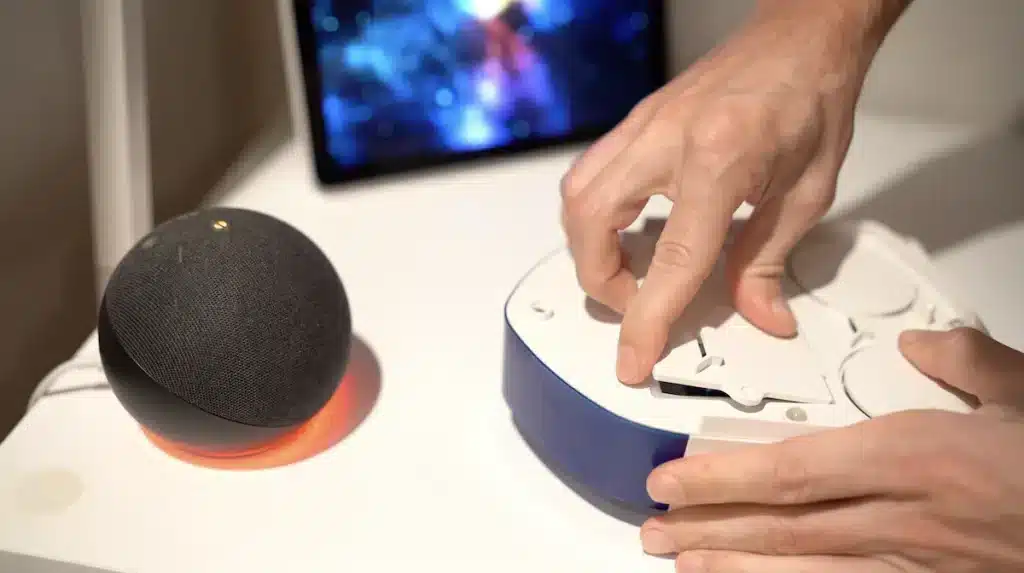
One to protect the inside of the siren, where we can see a USB-C port if we want to connect the siren to the power supply, a button to link this siren to a Zigbee hub and the rechargeable battery which is included.
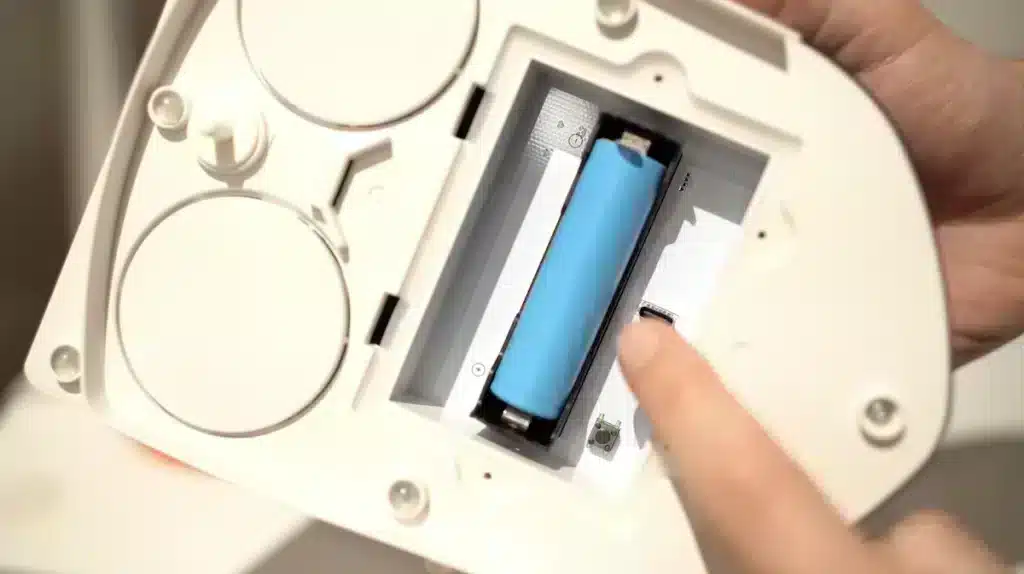
All around, you can see a seal that protects the device from external weather conditions.
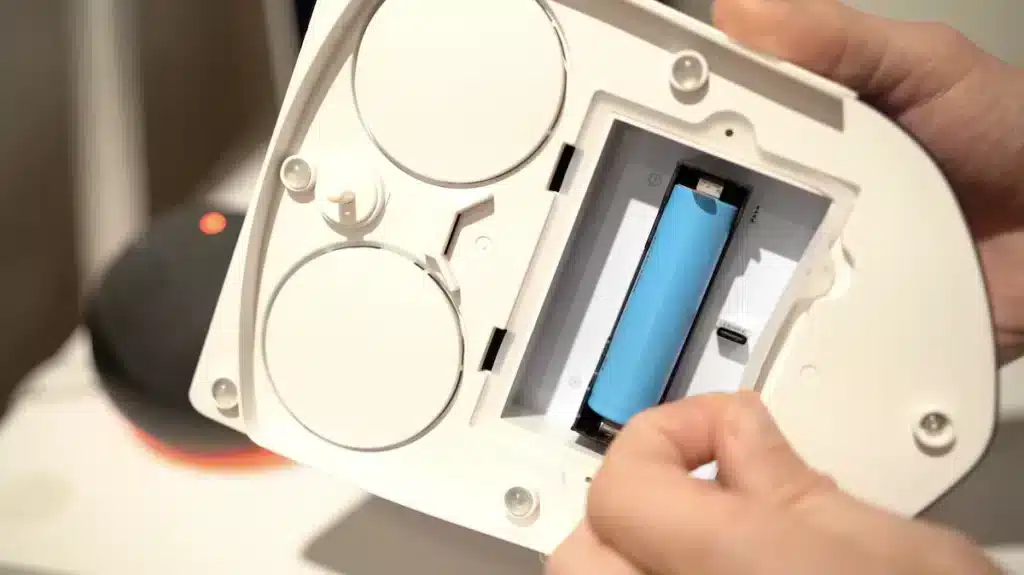
The other plate is used to fix the siren to the wall.

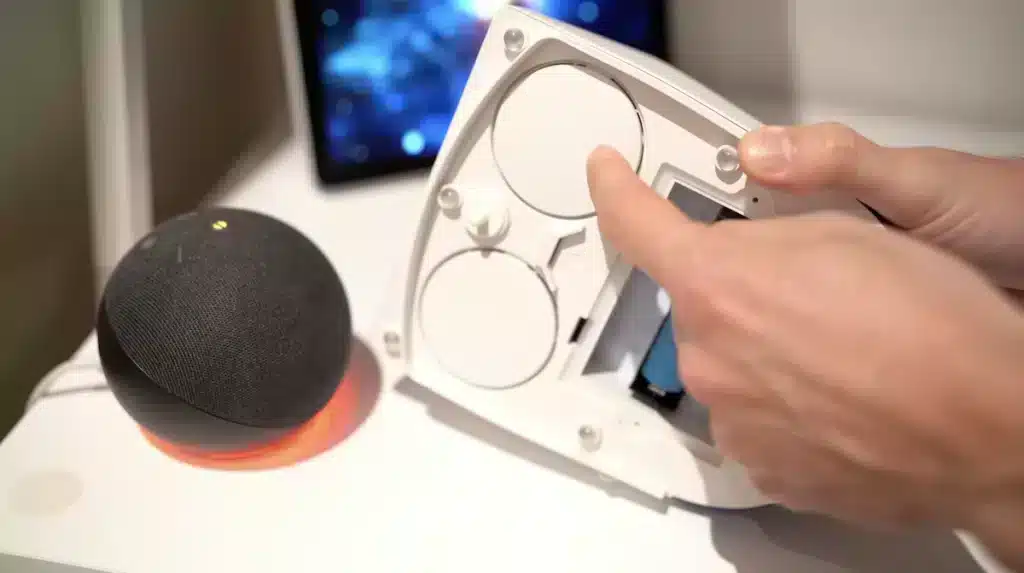
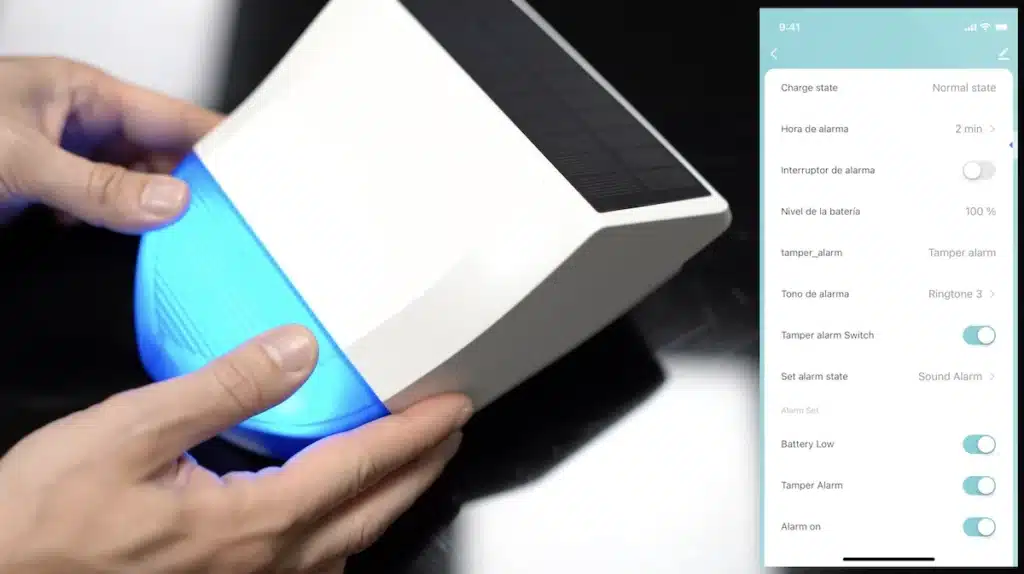
We can also see a tamper button, which is a button that is pressed when the device is mounted on a wall. So if a thief tries to remove this siren, the self-protection automatically triggers the siren.
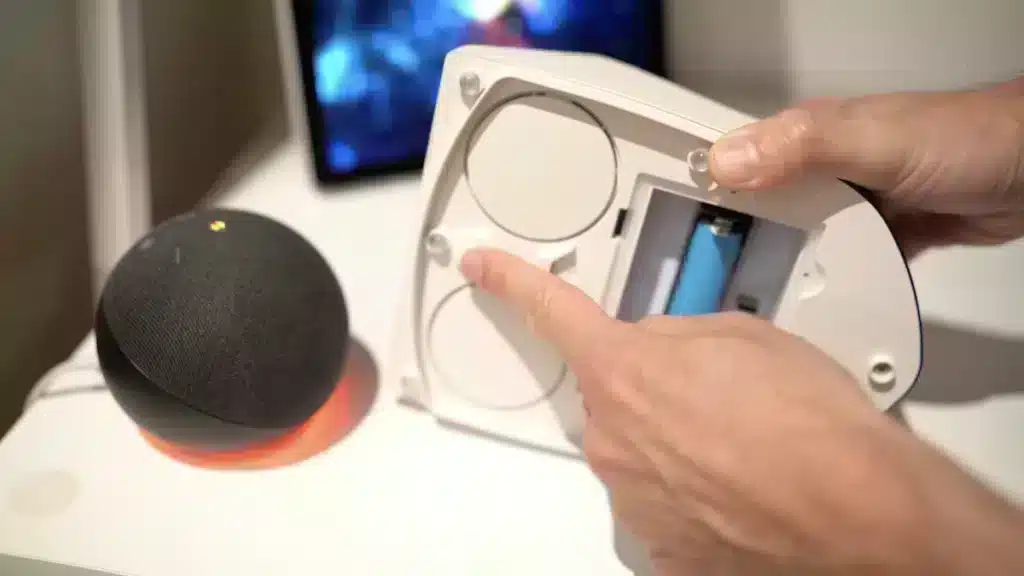
The audible alarm is located next to this tamper button and emits a sound of 95dB at 1m and 90dB at 3m.
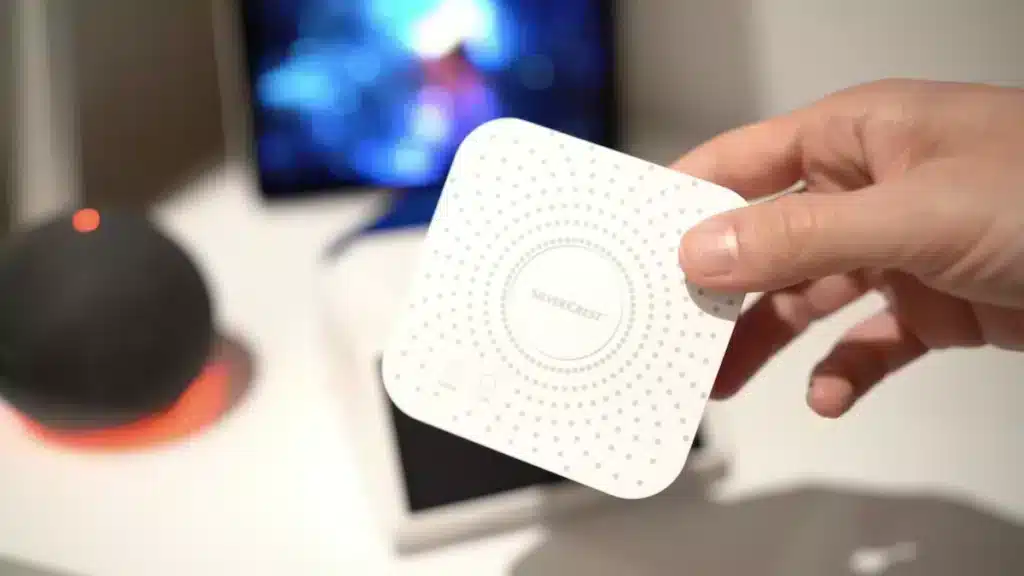
Another interesting detail is that this Zigbee Neo siren is compatible with the Tuya ecosystem, whatever your Zigbee hub, such as the Silvercrest hub, which you can buy in Lidl shops.
Or a Moes home automation hub, which is the home automation hub installed by the user of a smart home, which you can buy in any online shop.
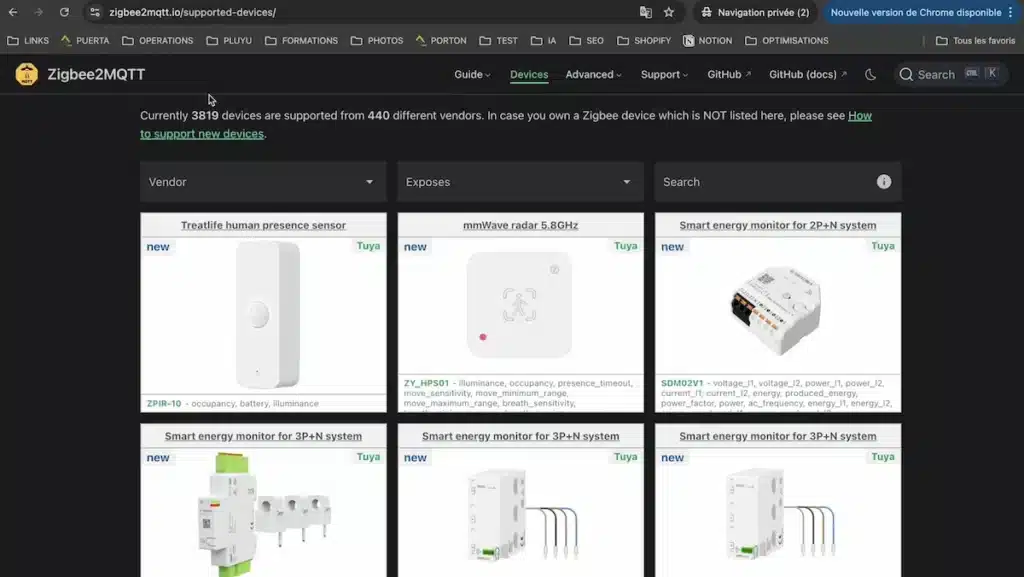
What’s more, this siren is compatible with the Zigbee2Mqtt platform, which you can use with Home Assistant.
Or with the Jeedom home automation hub.
It’s worth noting that home automation isn’t the most recommended way to create your alarm system, as there are more professional solutions, but if you already have a smart home and want to create your own alarm system as well without any monthly costs, this siren can help you do just that.
But there is no such thing as zero risk; you need to ask yourself whether it is worth having a more serious and more expensive installation in your home, or whether this type of device is sufficient in your case. If a burglar turns up in front of your house and sees a siren installed outside, he may have an effect and perhaps go elsewhere. This simple application can be a great help.
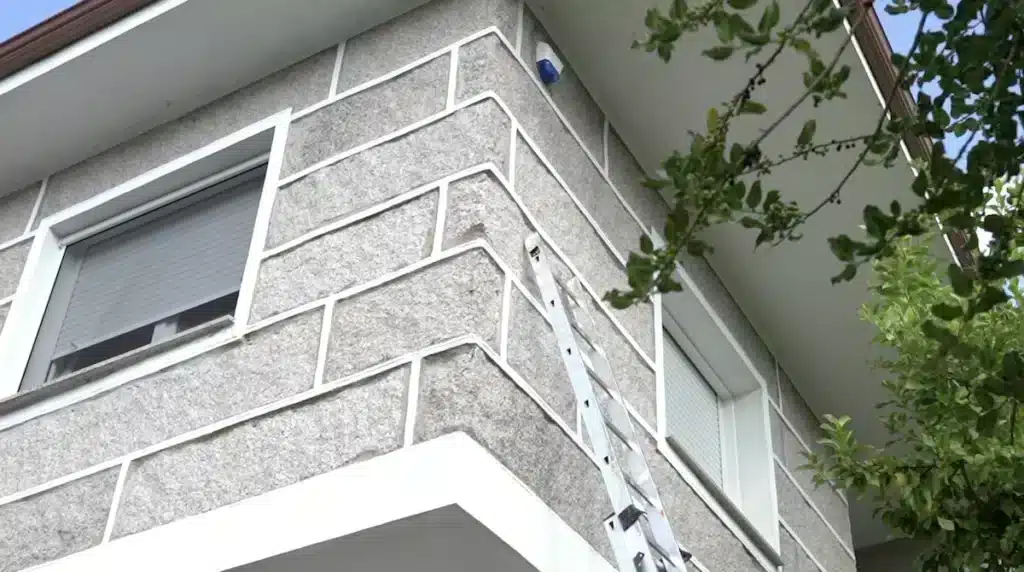
However, if he enters your garden, this siren may be activated, which could also have an effect.
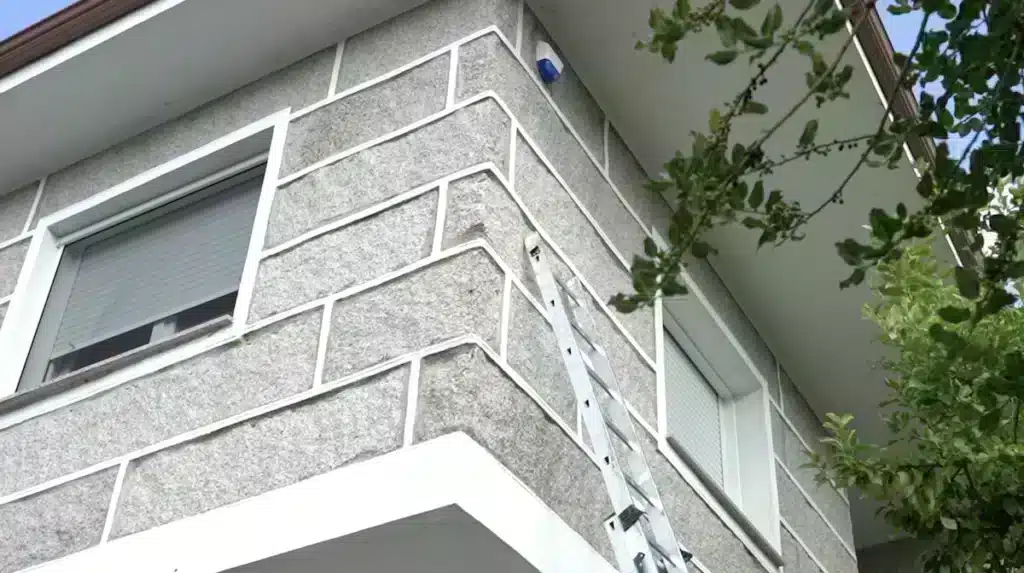
But, as I said, zero risk unfortunately never exists.
How do I connect the Neo siren to a Zigbee home automation hub?
Speaking of home automation hubs, let’s take a look at how to connect this siren.
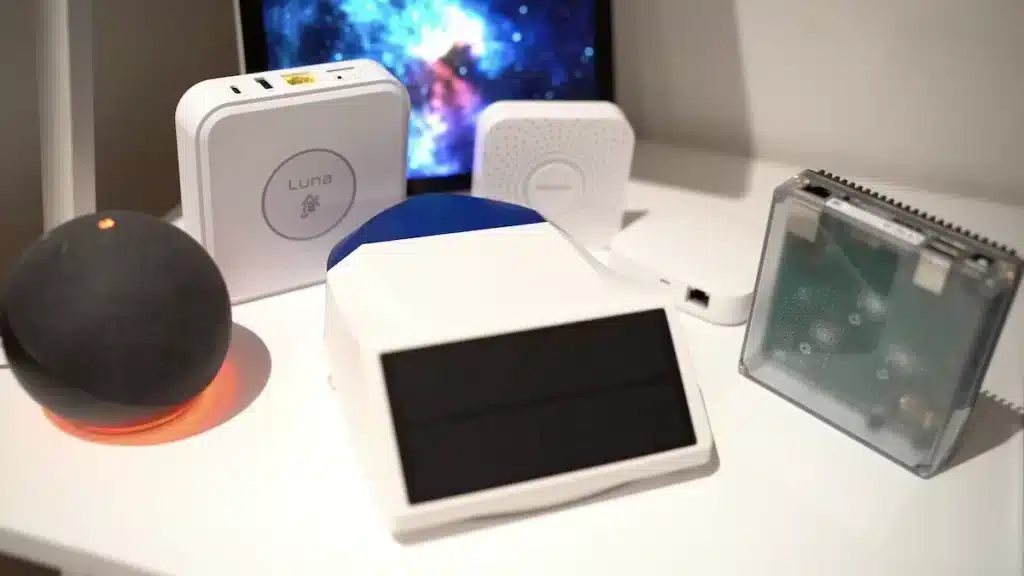
How do I connect NAS-AB06B2 to Smart Life?
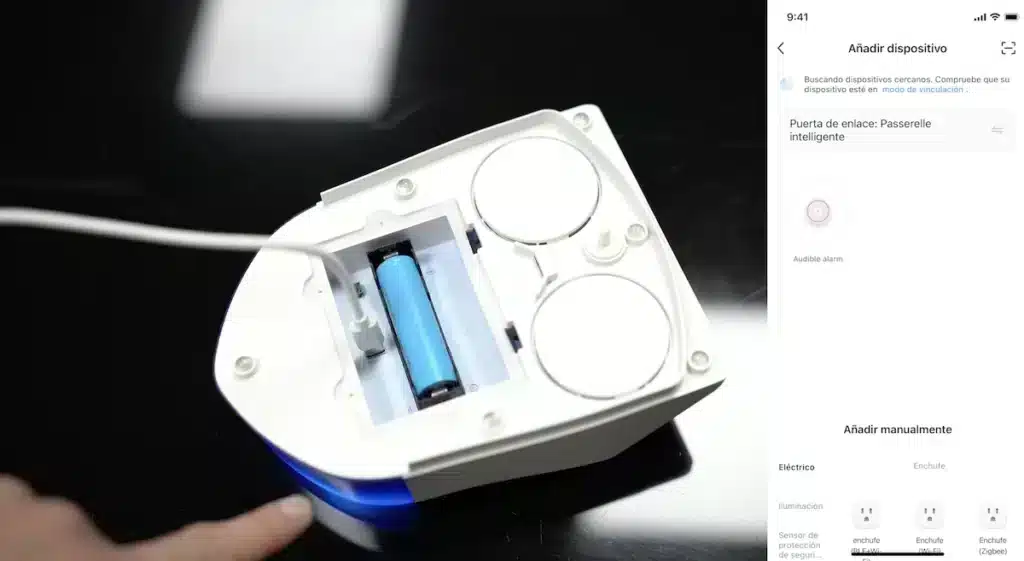
If you are using a Tuya hub, from the Smart Life application you need to click on add a new device. You will then be able to include your siren.
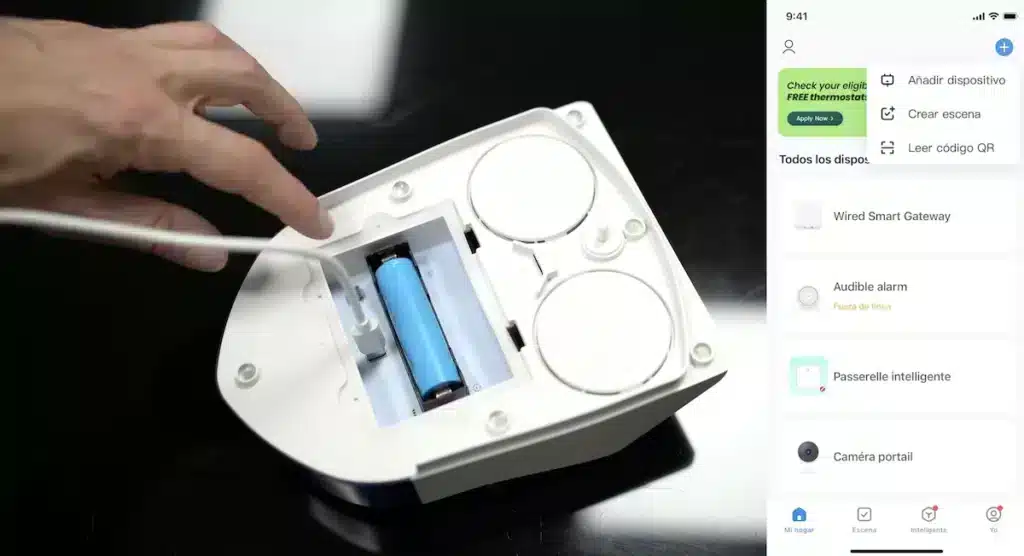
To do this, remove the battery cover and press the physical button for a few seconds until the LED indicator on the siren starts flashing.
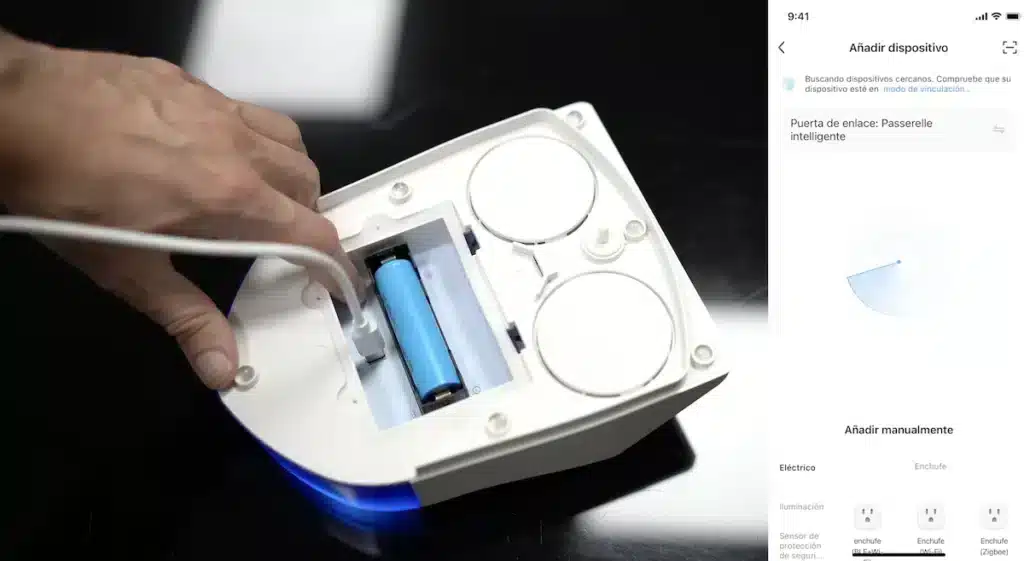
You should now see your siren in the Smart Life application.
How to connect NAS-AB06B2 with Zigbee2MQTT?
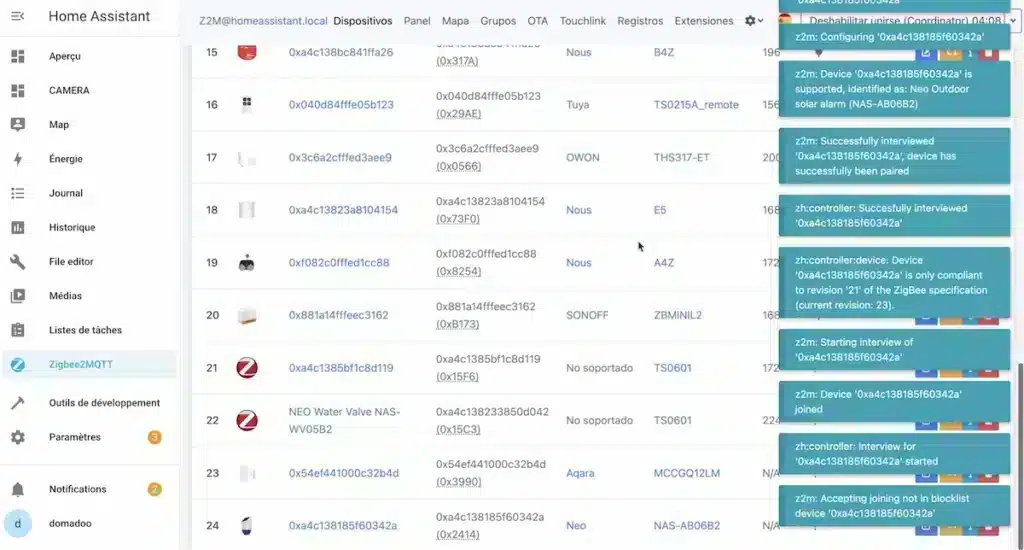
In Zigbee2mqtt, which you can use with Home Assistant or Jeedom, the process is similar: you need to launch include mode.
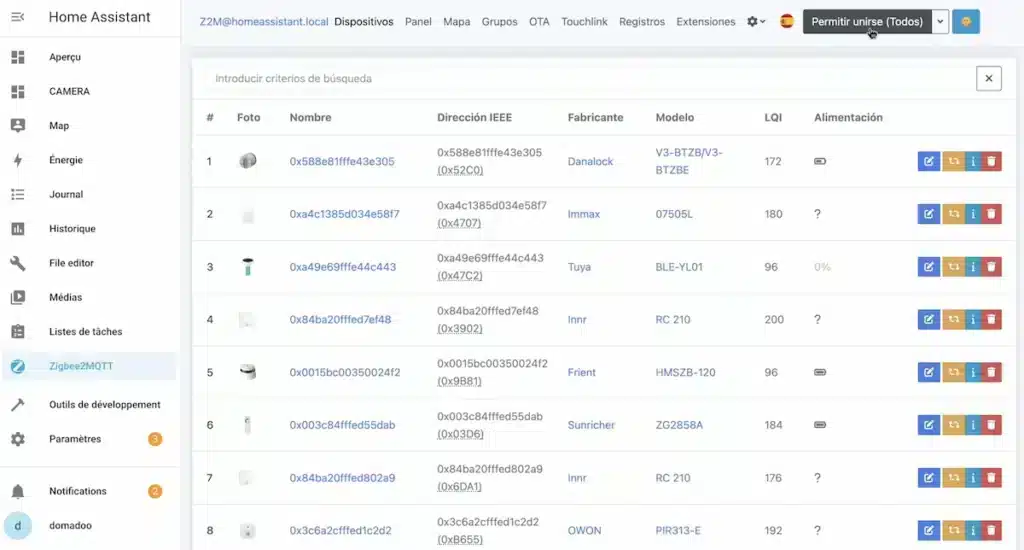
At this point, you can include your siren by removing the battery cover and pressing the physical button for a few seconds until the LED flashes.
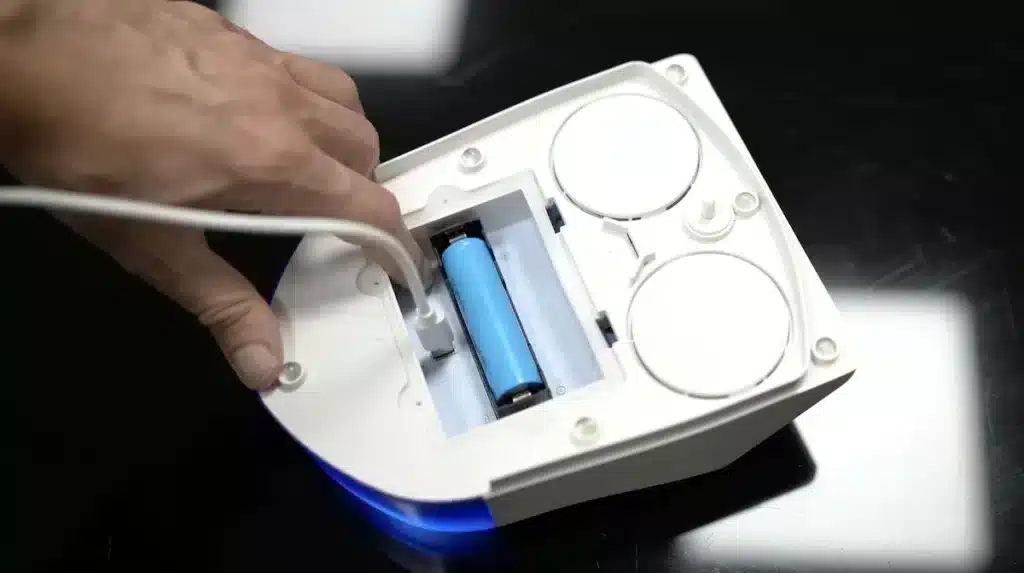
Now you’ve got your siren included.
How do I install the Neo outdoor intelligent siren?
Now that the siren is included in your Zigbee hub, you can install it.
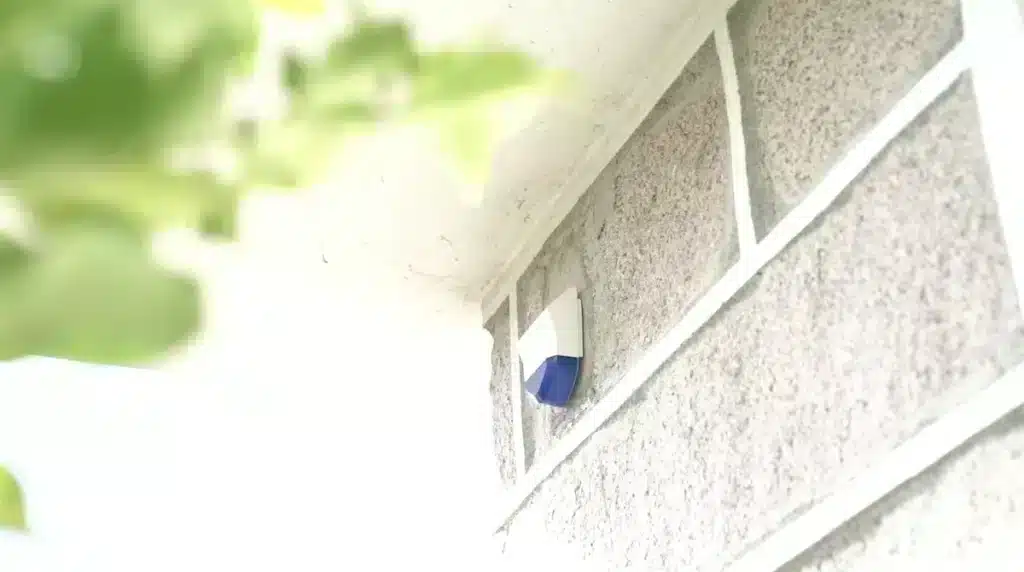
If you are installing various intelligent devices in your home, you will install this siren on the wall at the top of your house.
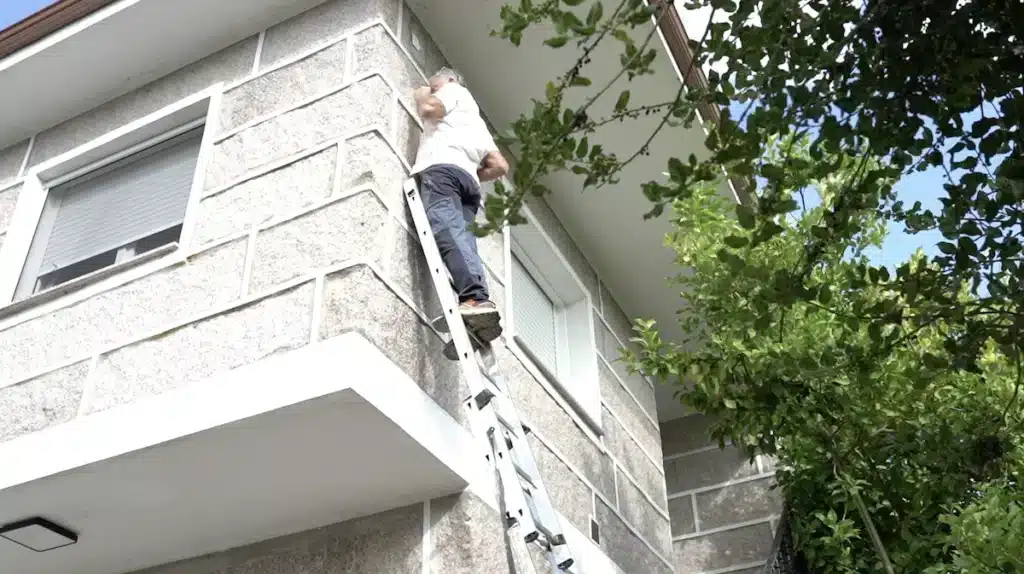
Be very careful when installing any device. It is essential that you take all the necessary safety precautions and, if you are unsure of what you are doing and are inexperienced, I recommend that you contact a professional. This content is provided for informational purposes only and I am not responsible for any damages or incidents that may result from an attempt to reproduce what I show here.
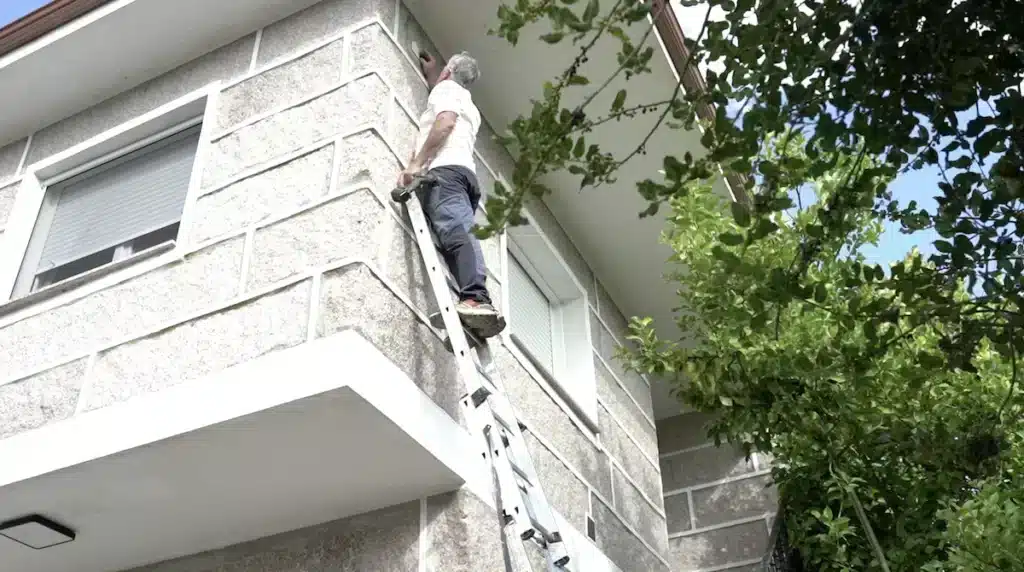
The first thing to do is to install the siren support plate on the wall using the dowels and screws supplied.

Once this card is in place, you can insert the Neo siren.

There, your siren is installed and, as I mentioned earlier, thanks to the tamper button, anyone trying to remove the siren will automatically trigger the alarm.

Detailed features of the Neo NAS-AB06B2 Zigbee siren
Now let’s discover all the functions of this NEO siren.

How do I use NAS-AB06B2 with Smart Life?
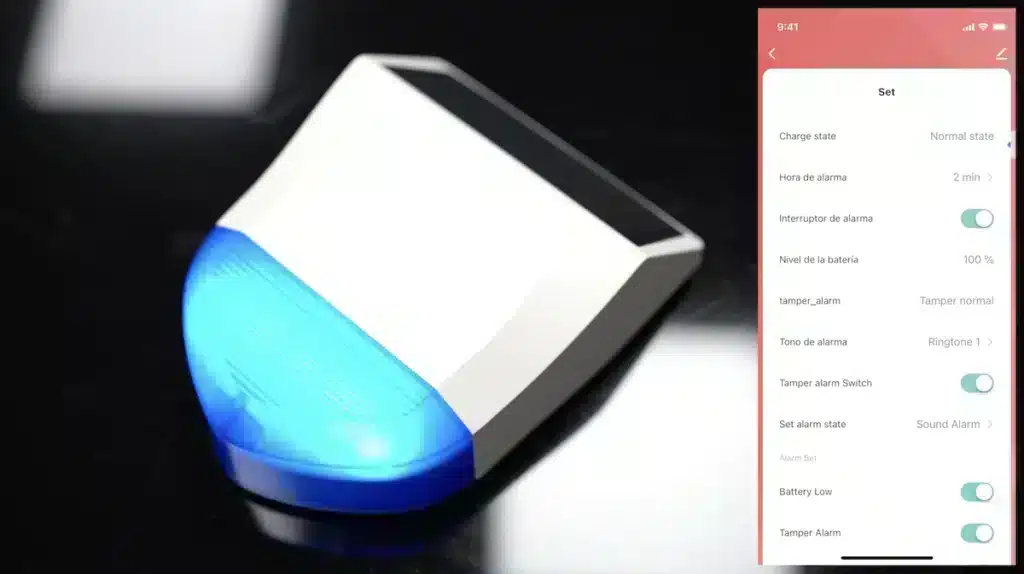
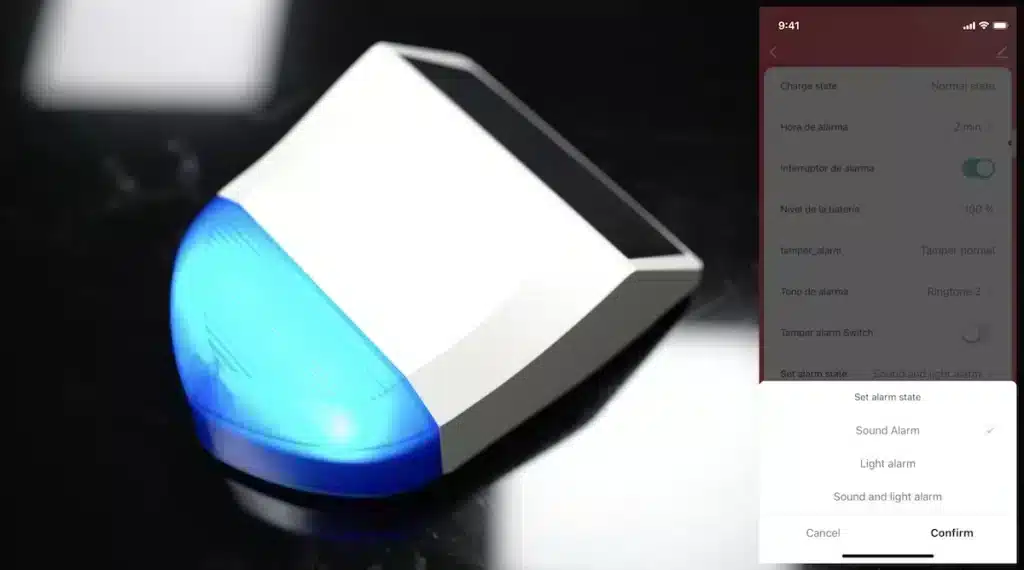
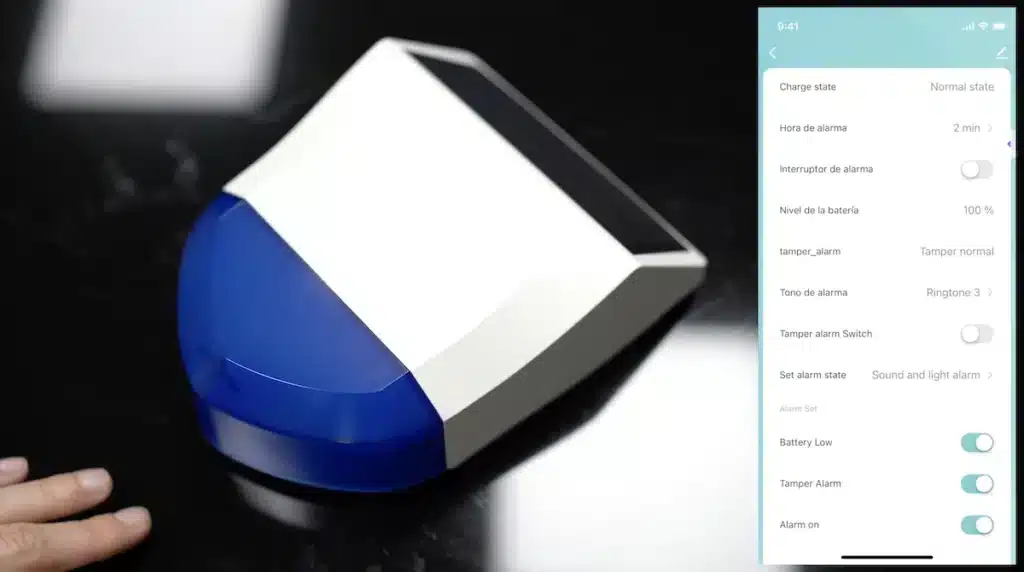
In the Smart Life application, we can see the current status of the siren and configure the type of alarm we want at any time: audible alarm only, visual alarm only or audible and visual alarm.
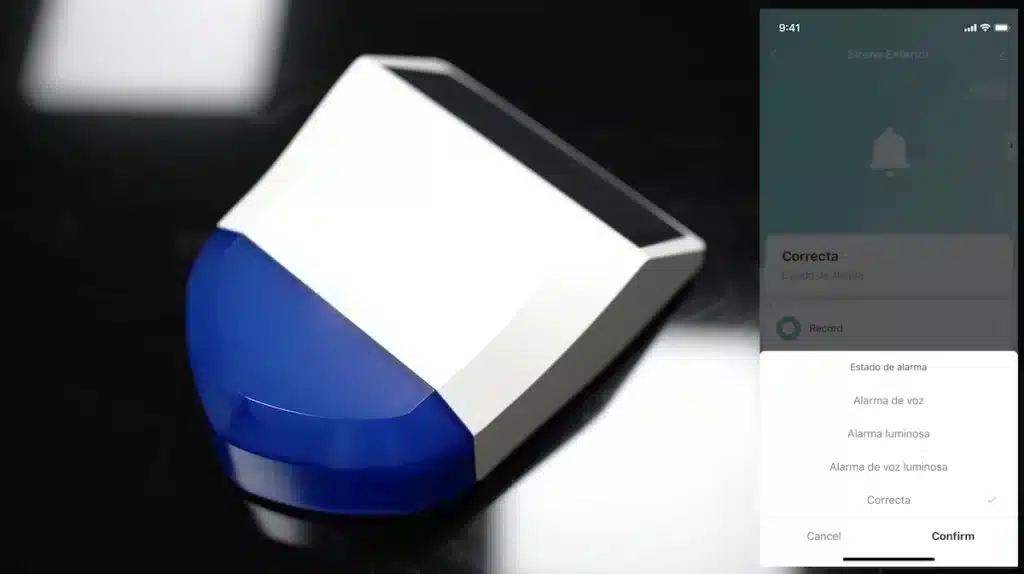
We also have access to a history of all the mermaids’ activities, so we know what happened and at what time of day.
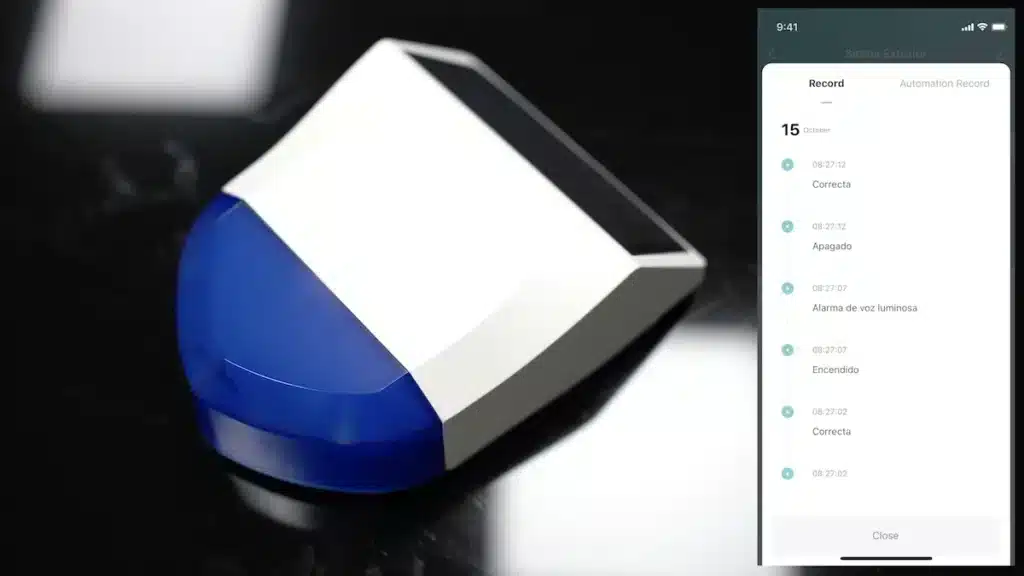
If we go to the settings, we can see the siren’s charge status, i.e. whether it is charging or not.
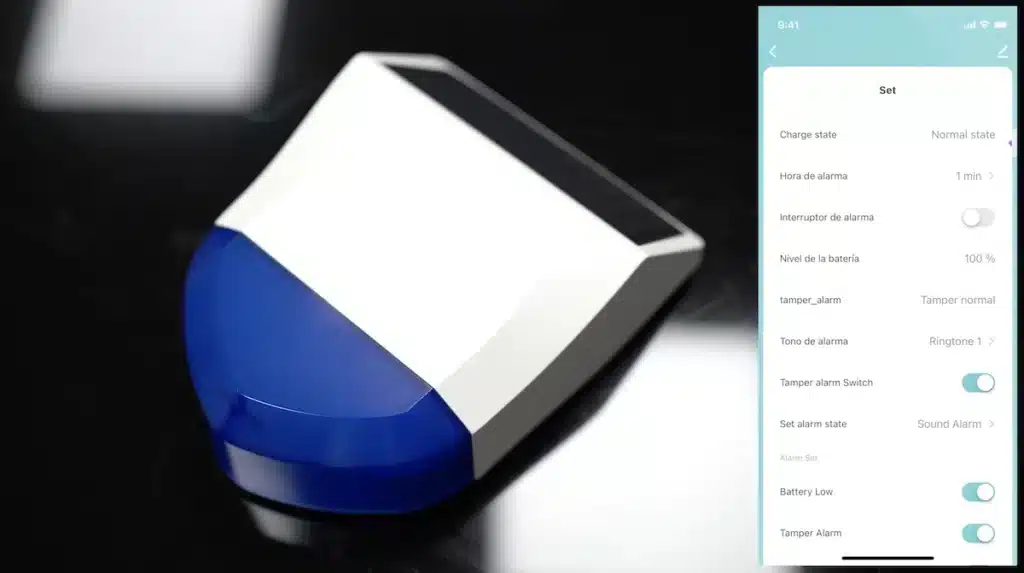
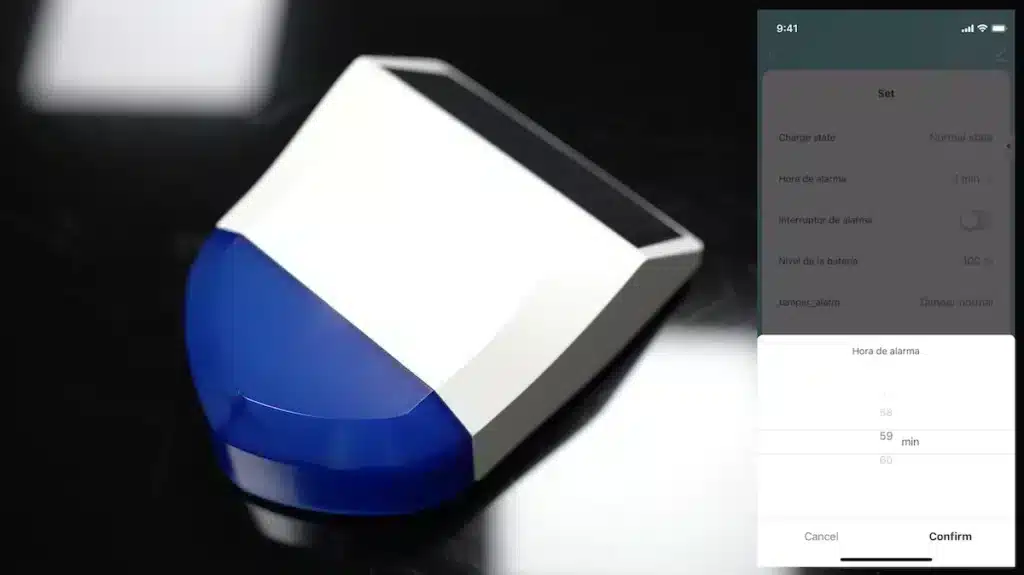
An alarm activation time of 1 to 60 minutes can be programmed.
We can activate or deactivate the alarm from this siren.
We can see the state of the battery as a percentage.
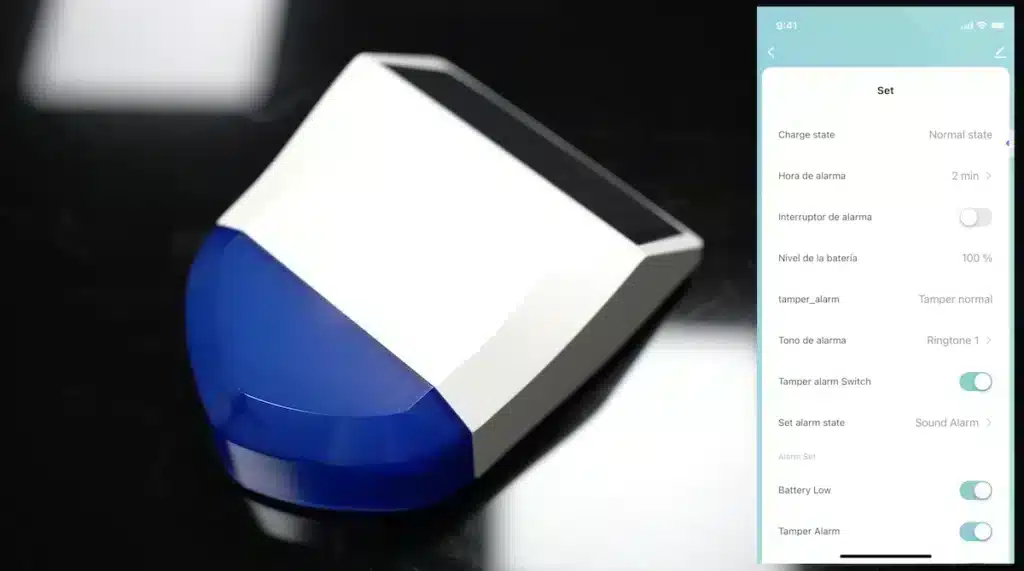
We can find out the state of self-protection, i.e. the anti-sabotage function.

You can choose one of the three different alarm sounds offered by this siren.
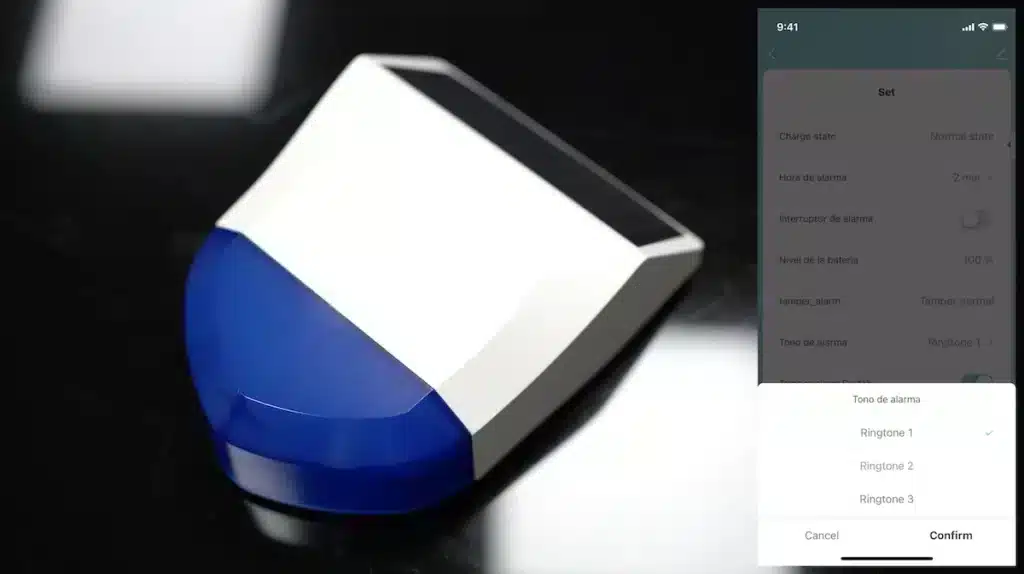
The tamper alarm switch allows you to activate or deactivate the tamper alarm.
The “Set alarm state” option lets you choose between three types of alarm: audible, visual or both at the same time.
We also have settings that allow you to choose whether or not to receive different types of notification from your siren.
How do I use NAS-AB06B2 with Zigbee2MQTT?
On Zigbee2mqtt, which you can use with Home Assistant or Jeedom, you can also access the various functions of this siren.
“Alarm state”: this is the current state of the alarm, i.e. you can see the state of your alarm in real time. It may be on standby, it may be activated only by the sound of this alarm or only by the LED indicator, or both options at the same time.
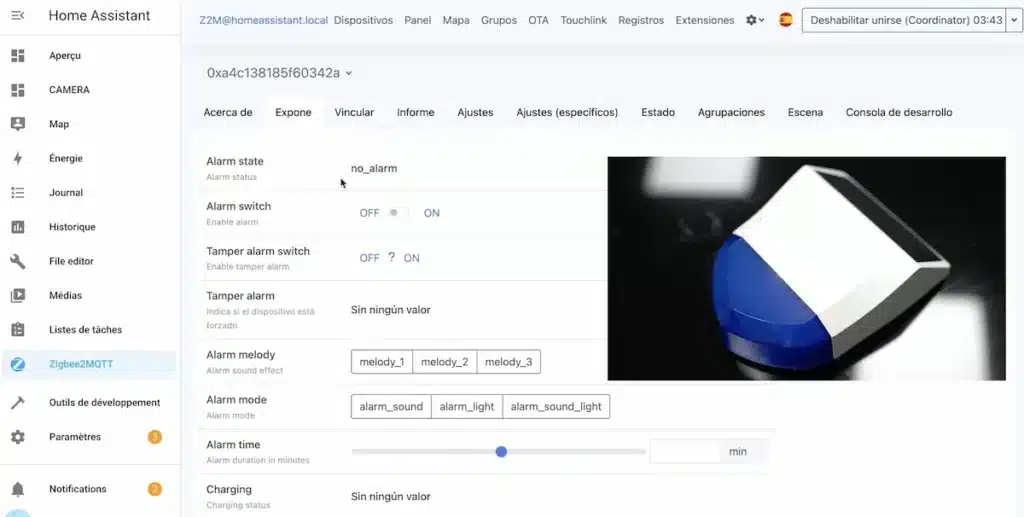
“Alarm Switch: enables you to switch the alarm siren on or off at any time from your computer or telephone.
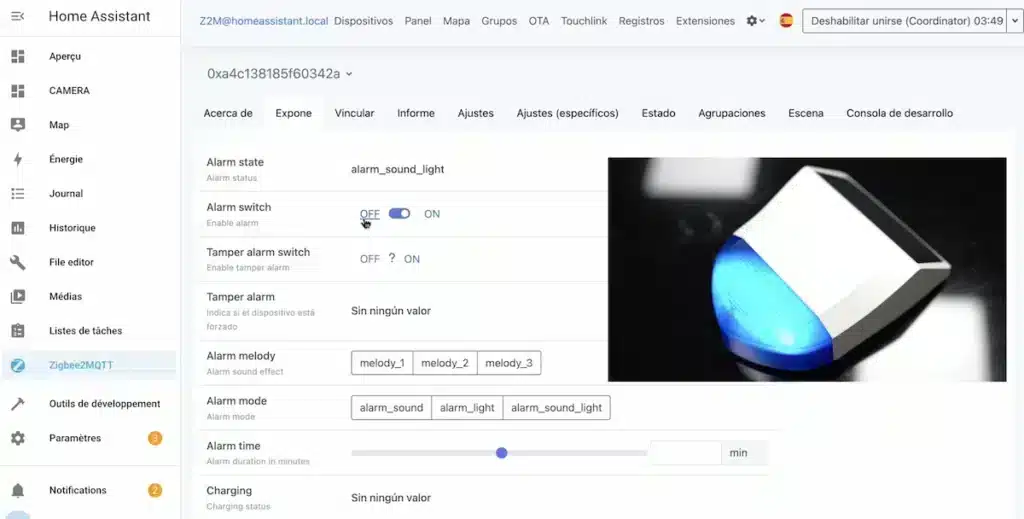
“Tamper alarm switch: used to activate or deactivate the tamper, i.e., as we saw earlier, the button located behind the siren, which is used to trigger the alarm if a burglar tries to remove the siren from the wall.
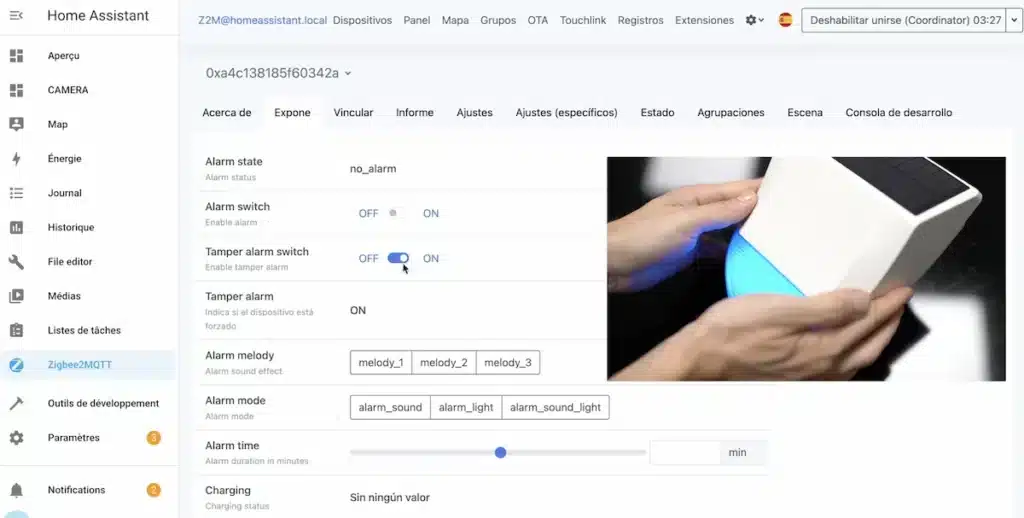
“Alarm melody: allows you to choose between three types of alarm sound.
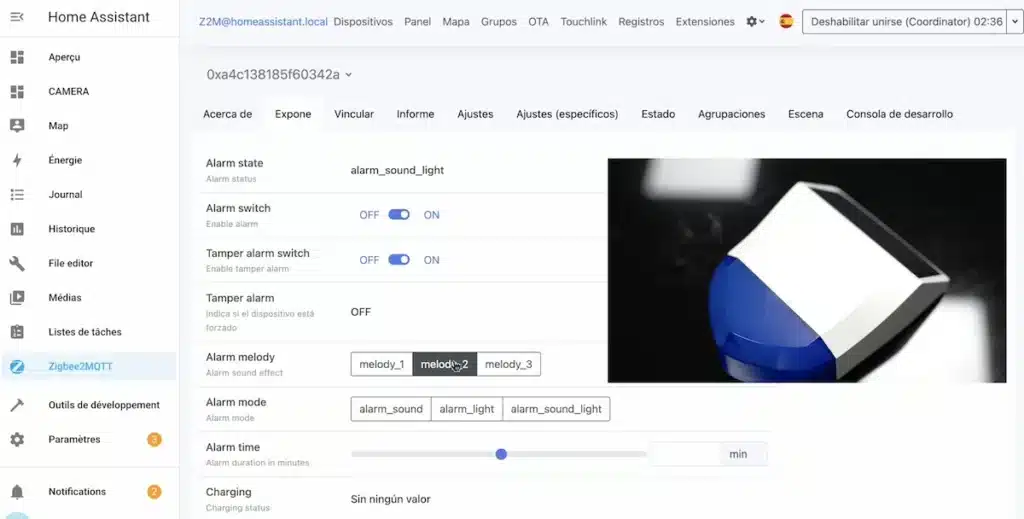
“Alarm mode”: allows you to choose the type of alarm. An audible alarm only, or only with an LED indicator, or both alarms at the same time.
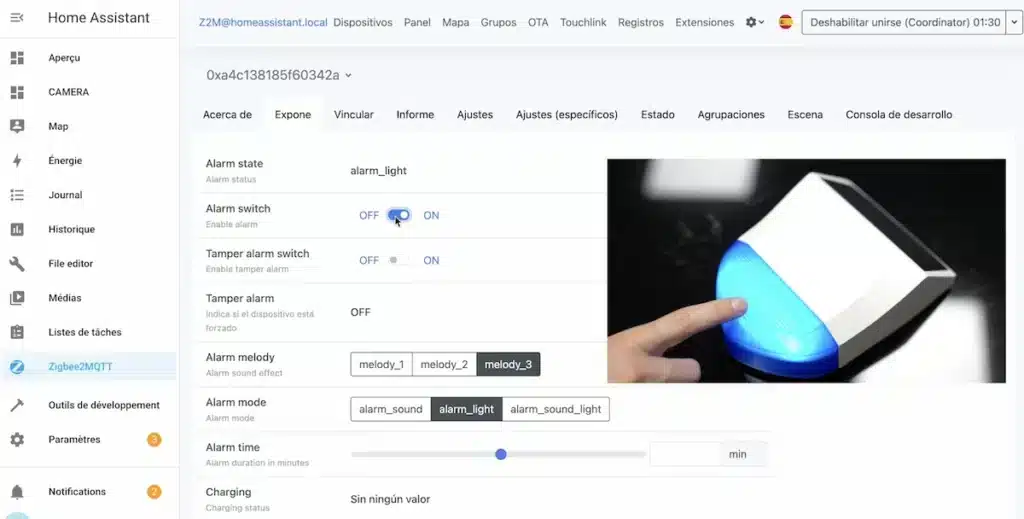
“Alarm time”: allows you to set an alarm activation time in minutes. You can customise this time to suit your needs, from 1 to 60 minutes.
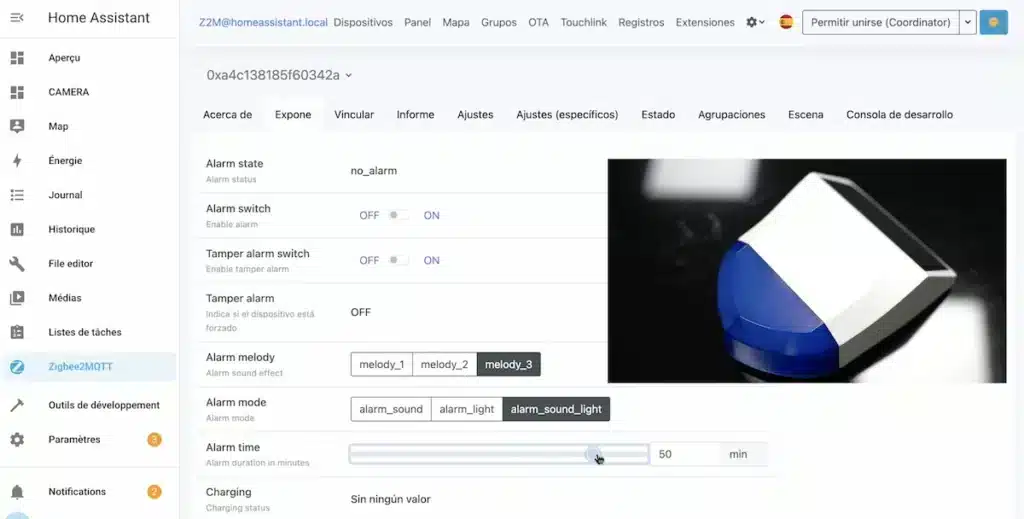
“Charging”: shows the siren’s charging status, i.e. whether it is charging or not.
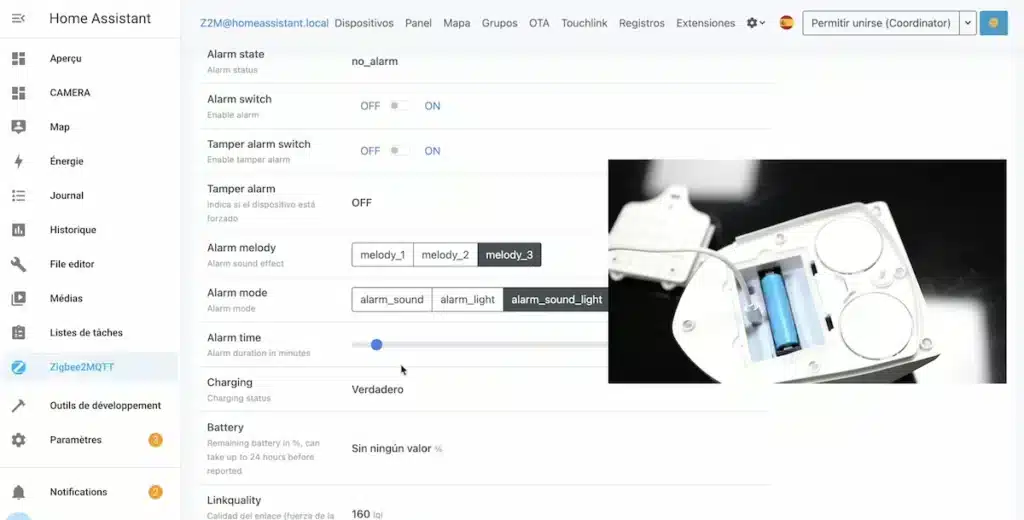
“Battery”: corresponds to the battery level in %, which can take up to 24 hours to be reported.
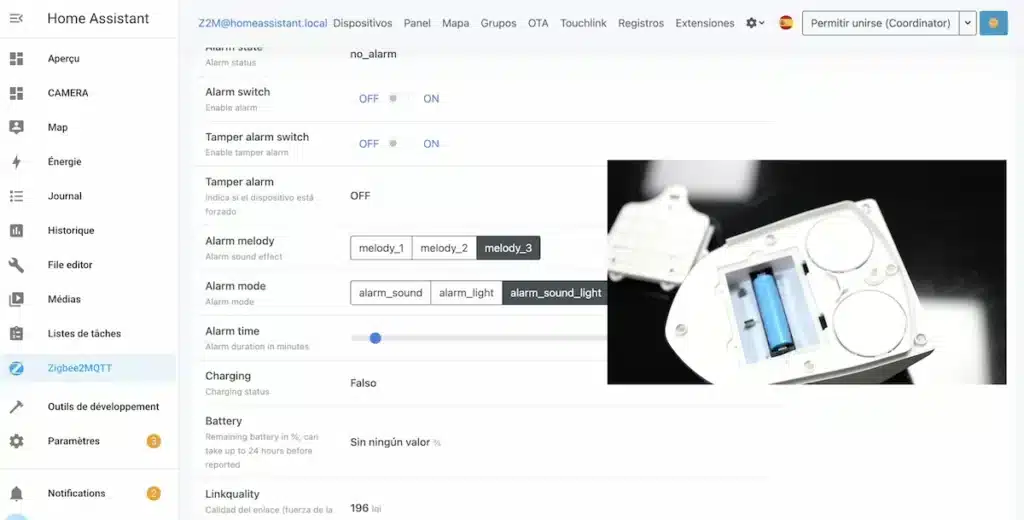
“Linkquality”: This is the quality of the link, which tells you whether your siren has sufficient range with your Zigbee home automation hub. If this is not the case, you can buy Zigbee signal repeaters.

Of course, to get the full smart home experience, you can use other devices such as outdoor motion detectors in strategic areas of your garden, so that while you’re away, if motion is detected, the NEO siren is automatically activated to scare off a potential burglar trying to break into your home.

This is an example of automation, but as I often say: your imagination is your limit.
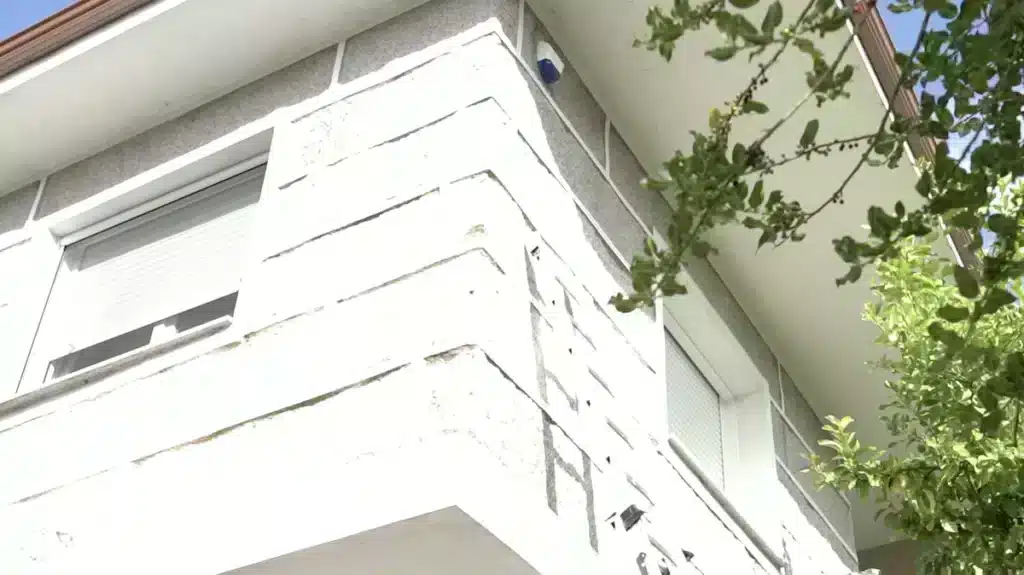
In short, there aren’t many smart sirens of this style, i.e. outdoor, with Zigbee technology, a solar panel and various functions, all at a very attractive price. NAS-AB06B2 could therefore be a good option for unifying your smart home, adding an extra touch of security and acting as a deterrent to potential burglars.

Generally purchased together


Buy Neo NAS-AB06B2 siren now

Graduated with a Higher Technician’s Certificate in Home Automation, a Professional Bachelor’s degree in E-commerce and Digital Marketing, and a Master’s degree in SEO, I have been working since 2013 in a home automation e-commerce company called Domadoo, where I have the opportunity to test a large number of the popular Smart Home products on the market.