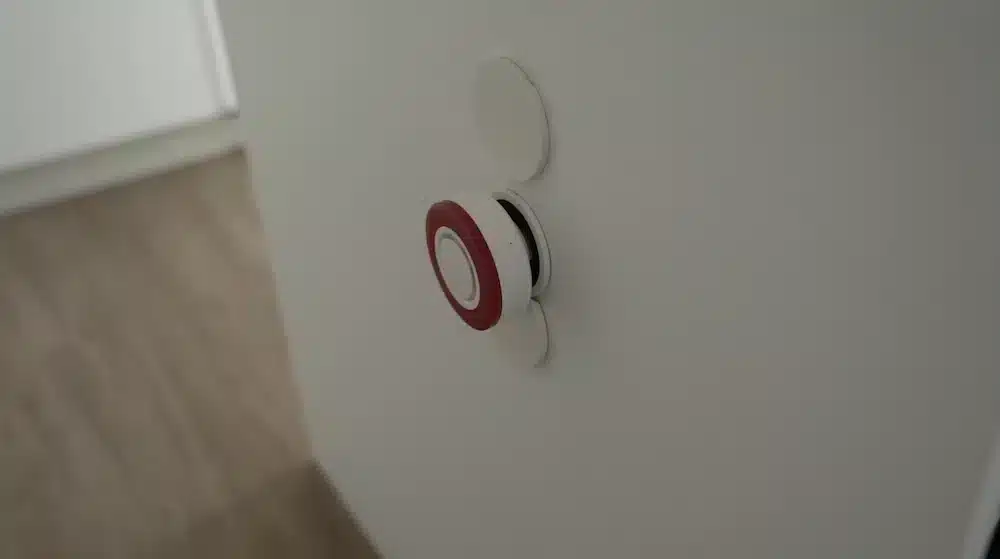
A carbon monoxide (CO) detector, such as the ZC-HM Zigbee CO detector from MOES, must be installed in a dwelling where there is an appliance or system that uses fossil fuels such as gas, oil, coal or wood to produce heat or energy, such as a gas, oil or coal-fired boiler, a wood or gas-fired chimney or cooker, a garage or carport adjacent to the dwelling, a gas-fired water heater or boiler, or any other appliance likely to generate carbon monoxide.
Why has the MOES ZC-HM got this price?
The MOES ZC-HM is more expensive than a traditional CO detector because it incorporates Zigbee technology, so you can receive alerts on your phone anywhere in the world.
Advantages and disadvantages of the Zigbee ZC-HM CO sensor
Benefits
- Zigbee technology: Having a Zigbee CO detector means you can find out the CO level in real time on your phone from anywhere in the world and create different security automations with other smart devices.
- Compatible with Tuya and Zigbee2MQTT: This Zigbee CO detector is compatible with the Tuya ecosystem as well as with Zigbee2MQTT, which you can use with Home Assistant or Jeedom.
- Built-in alarms: As well as alerts using Zigbee technology, this detector also has audible and visual alarms so you can know in real time when there is an abnormal level of CO in your home.
- Test button: The CO detector has a built-in test button so you can test the alarm at any time.
- Long battery life: the manufacturer states that the sensor has a useful life of up to 10 years.
Disadvantages
- You need a Zigbee hub: To use your Moes CO detector, you need a compatible Zigbee hub.
Zigbee ZC-HM CO sensor tutorial
Carbon monoxide is colourless, odourless and deadly. A CO detector is therefore vital protection in these cases, providing accurate detection and early warning to prevent the dangers associated with exposure to dangerous levels of carbon monoxide.

And for a more complete experience, there’s a CO detector from MOES that uses Zigbee technology, so you can receive alerts in real time on your phone, wherever you are in the world, and create different automations in your home with other smart devices.
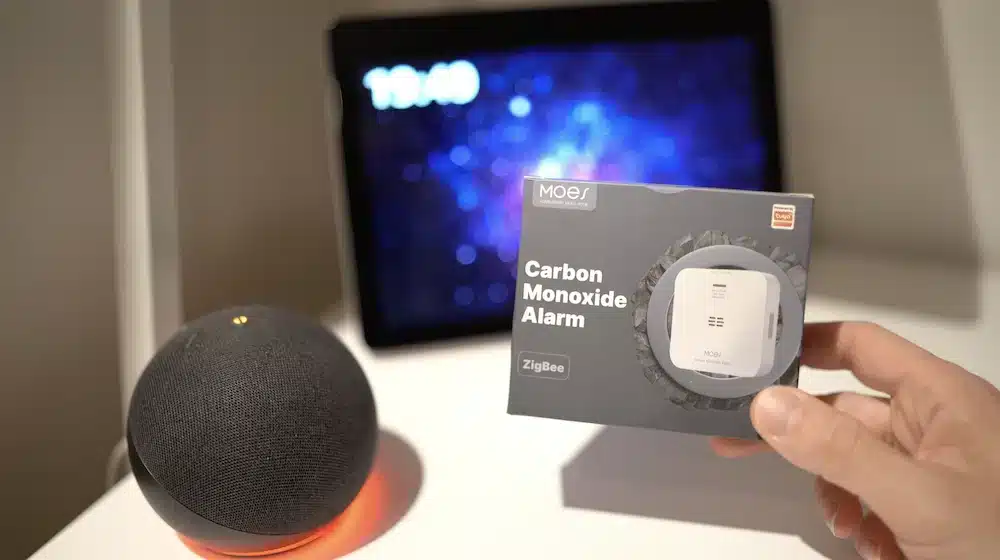
General characteristics of the Moes Zigbee CO detector
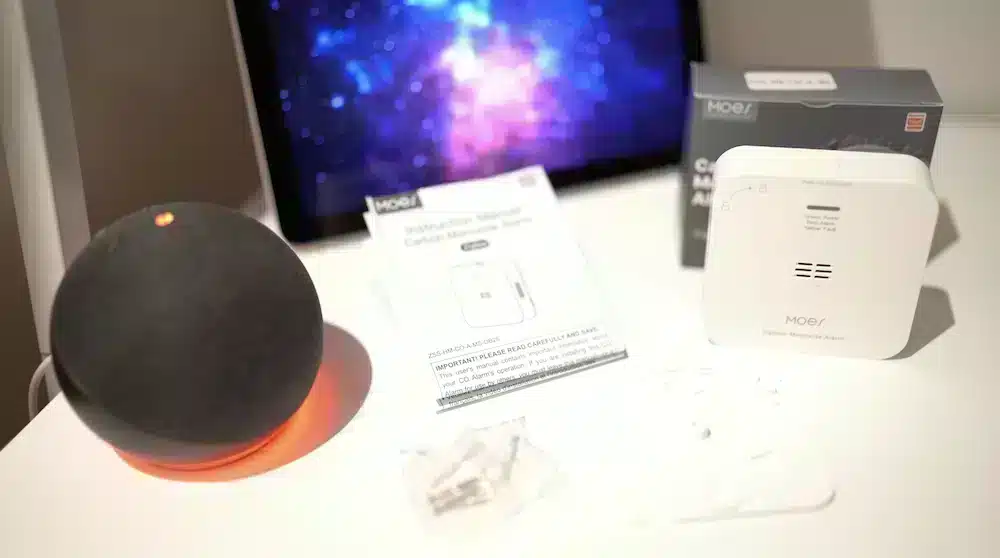
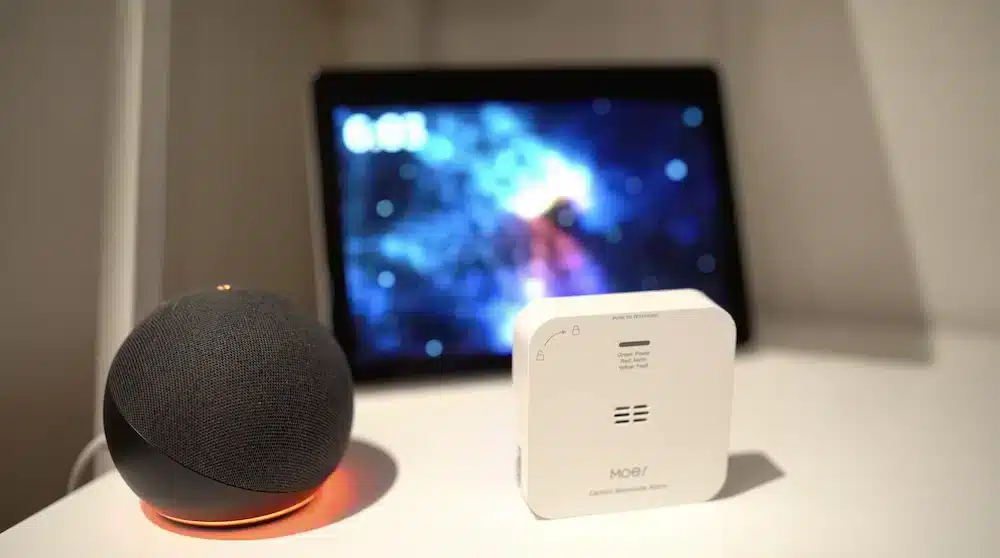
If we open the packaging, we see an instruction manual, the Zigbee carbon monoxide detector, a plate with 2 plugs and screws for fixing the detector to the wall.
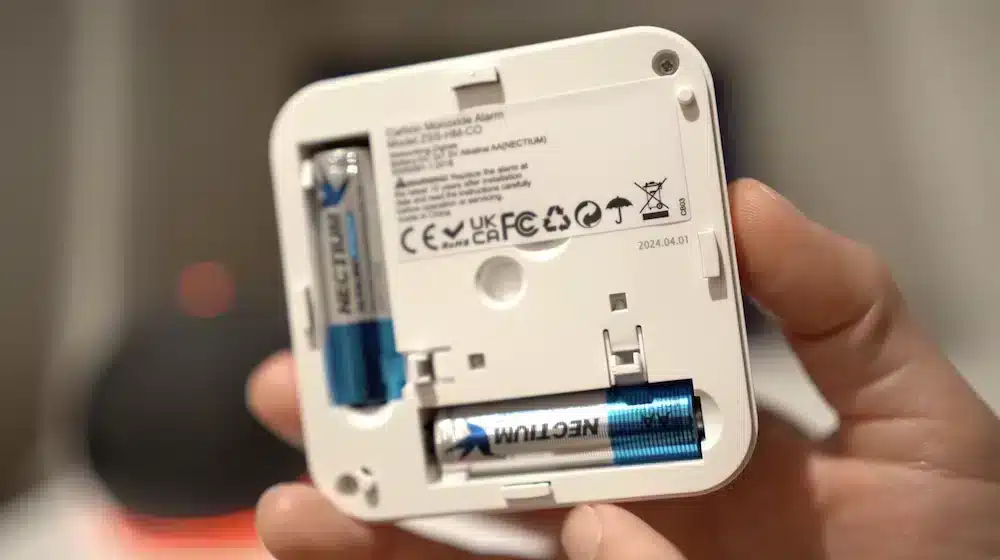
On the back, 2 AA batteries are included, and the manufacturer gives an average battery life of 5 years.
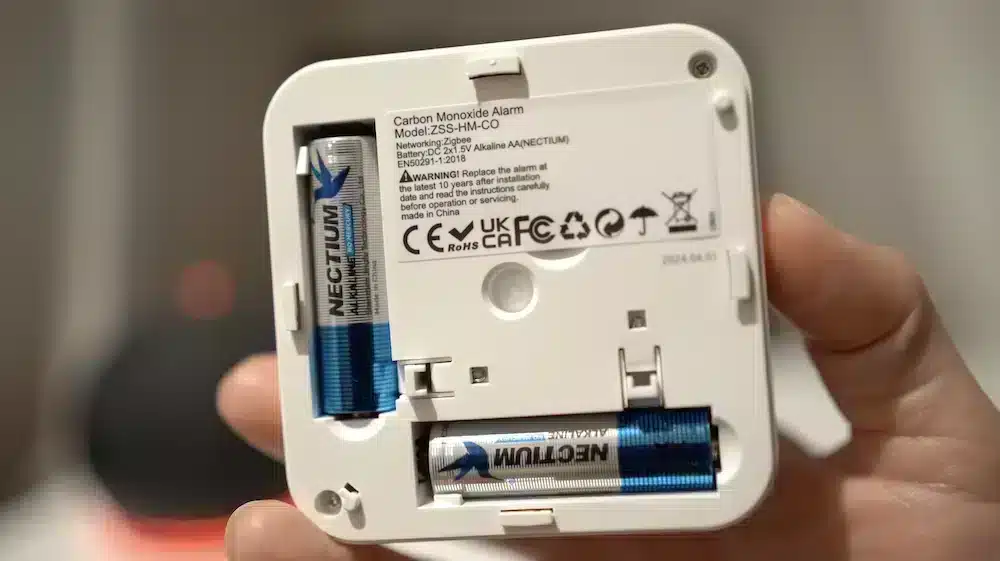
We have an indication that this CO detector complies with the European standard EN50291-1:2018 for sensitivity, durability, reliability, functionality testing and resistance to adverse environmental conditions such as humidity and temperature.
We also note that this detector must be replaced after 10 years of installation.

On this rear face, we have connectors for attaching the support plate, as we will see below.
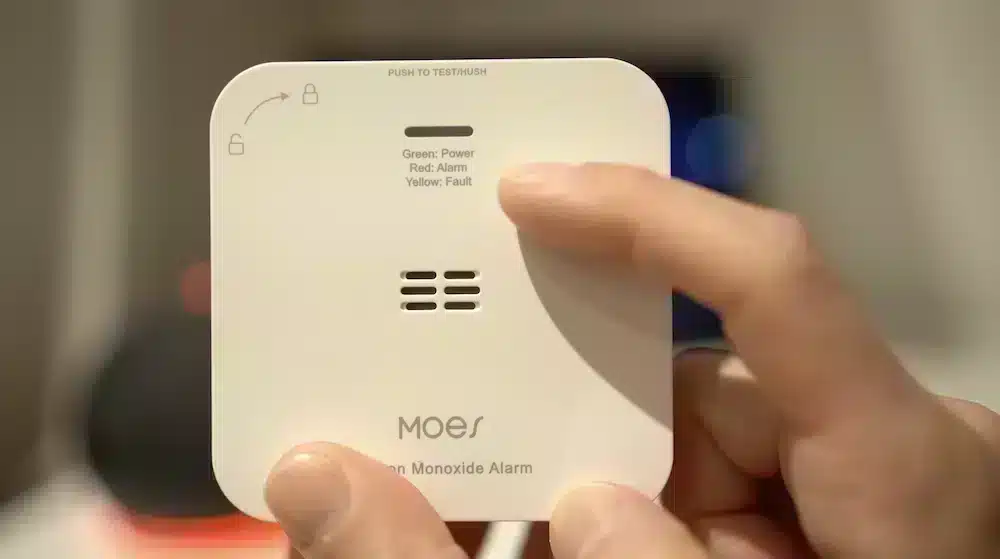
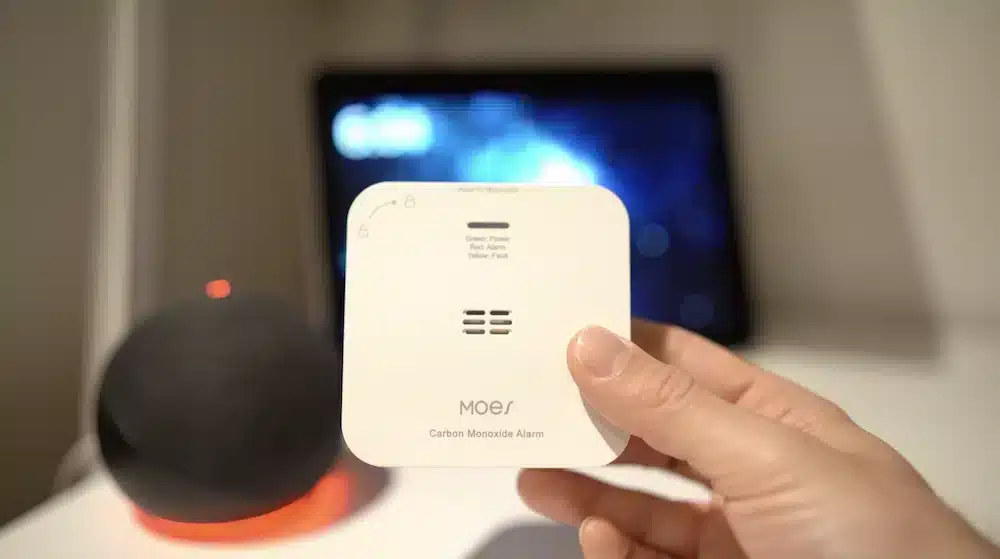
At the top, a test button lets you check the status of this CO detector. By pressing this button, you’ll immediately know whether it’s working properly, i.e. whether it still has a battery and whether the siren is activated.
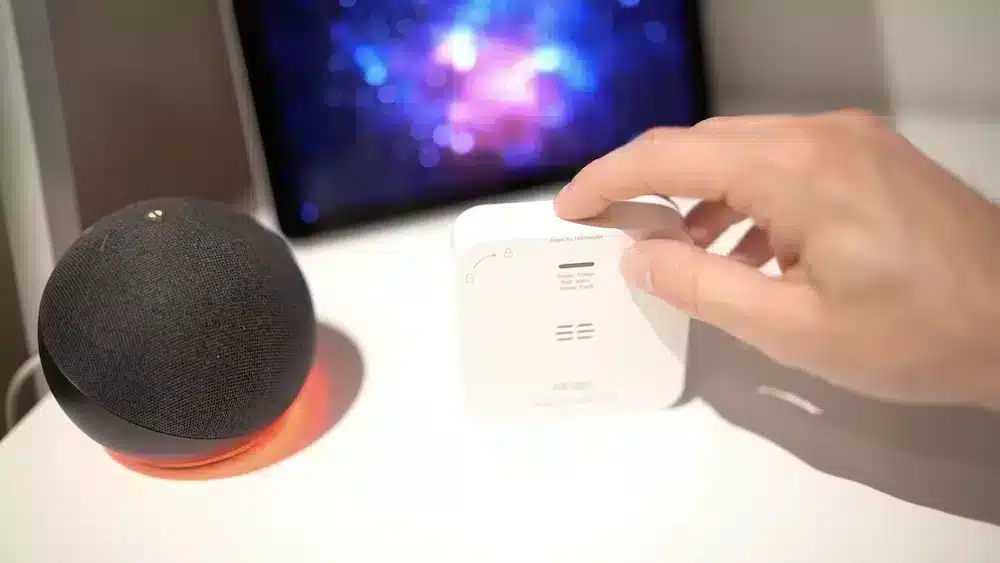
This siren emits a powerful sound of 85 dB at 3 m and must be triggered automatically in the event of an abnormal level of CO.
The detector also emits a red light when it detects an abnormal level of CO.

Green means that the CO detector is operating normally, without warning, in which case the LED flashes green every 30 seconds.
The yellow colour of the LED means that there is a fault, such as a fault in the detector or when the battery is low and needs replacing.
As the manufacturer states in its instruction manual, the higher the concentration of CO in the air in PPM, the less time we have to be exposed to it before we experience symptoms such as headaches, dizziness, nausea and even death.
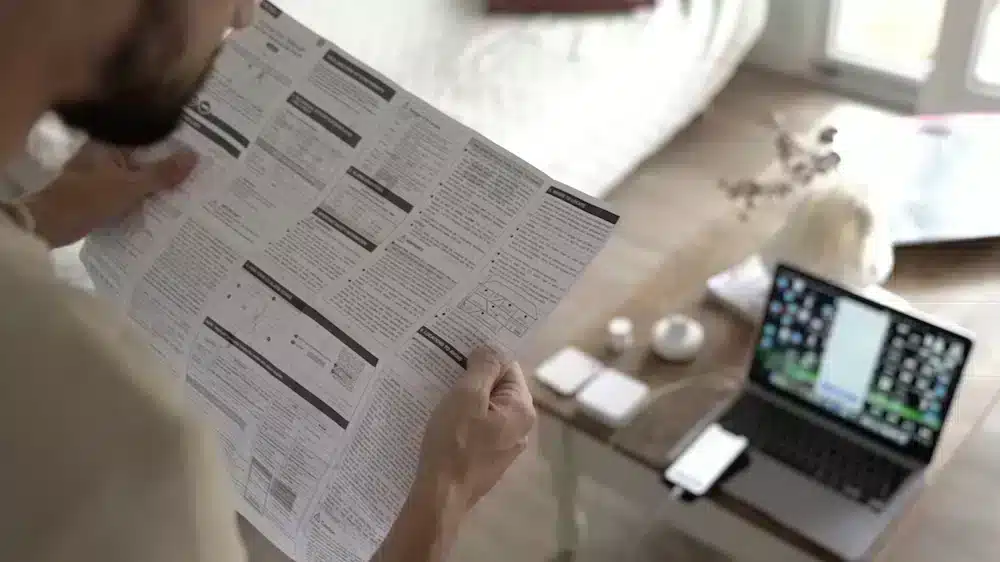
This CO detector should therefore give the alarm after 60 minutes and up to 90 minutes if the CO concentration is 50 PPM, after 10 minutes and up to 40 minutes if the CO concentration is 100 PPM and up to 3 minutes if the CO concentration is over 300 PPM.
An audible and visual alarm is triggered when the CO concentration reaches these dangerous levels, and once the level returns to a safe level, the alarm is deactivated.
The operating temperature of this CO detector is between -10 ℃ and +40 ℃ and the humidity is between 0% and 95% RH non-condensing.
The manufacturer states that this detector covers a detection zone of up to 6 metres. If the corridor is more than 12 metres long, we recommend installing a detector at each end.
And the ZC-HM is more than just a CO detector, because it incorporates Zigbee technology.
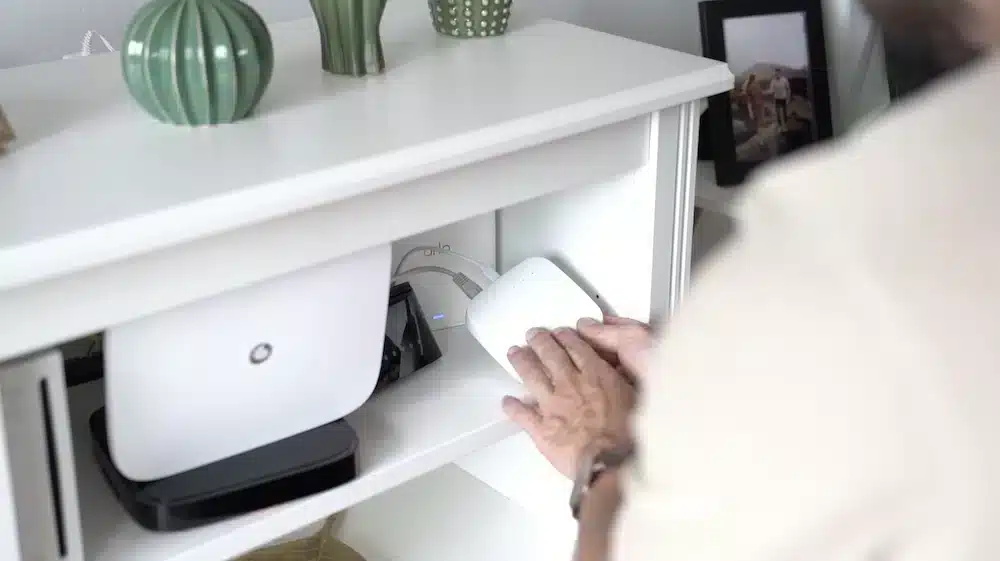
So you can connect it to a compatible Zigbee hub, such as the one from the Tuya ecosystem, which you can buy in LIDL shops.

Or in any online shop, as long as it is part of the Tuya ecosystem and incorporates Zigbee technology.

The user has access to Moes’ Zigbee hub, which is also used to manage other aspects of the home, such as irrigation, the siren and much more.
What’s more, this CO detector is compatible with Jeedom.

And Home Assistant thanks to the Zigbee2MQTT platform.

You’ll be able to receive real-time alerts on your phone about CO levels, and you’ll have a history of these levels over time.
How do I connect the ZC-HM to a compatible Zigbee hub?
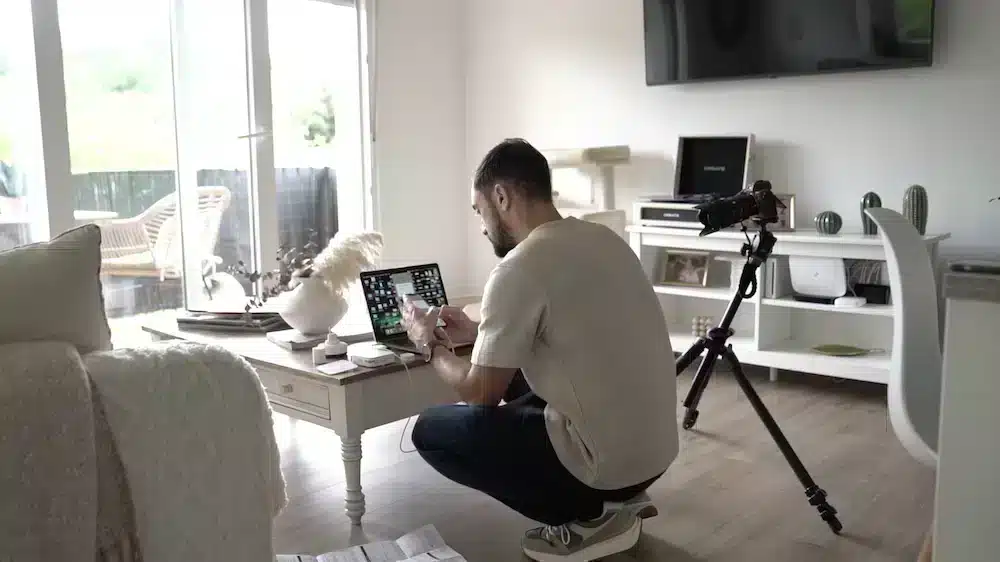
We’re going to look at how to link this CO detector to Smart Life using a hub from the Tuya ecosystem and to Jeedom or Home Assistant using Zigbee2MQTT.

How do I link the ZC-HM to Smart Life?
If you are using a Tuya hub, from the Smart Life application.
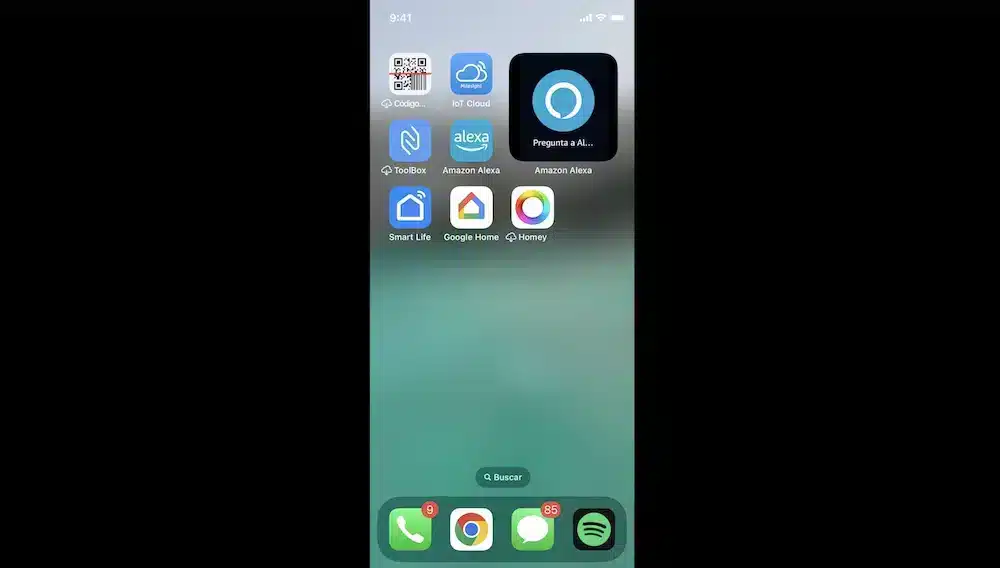
Click on add a new device.

And you can search for the profile corresponding to the Zigbee CO detector.
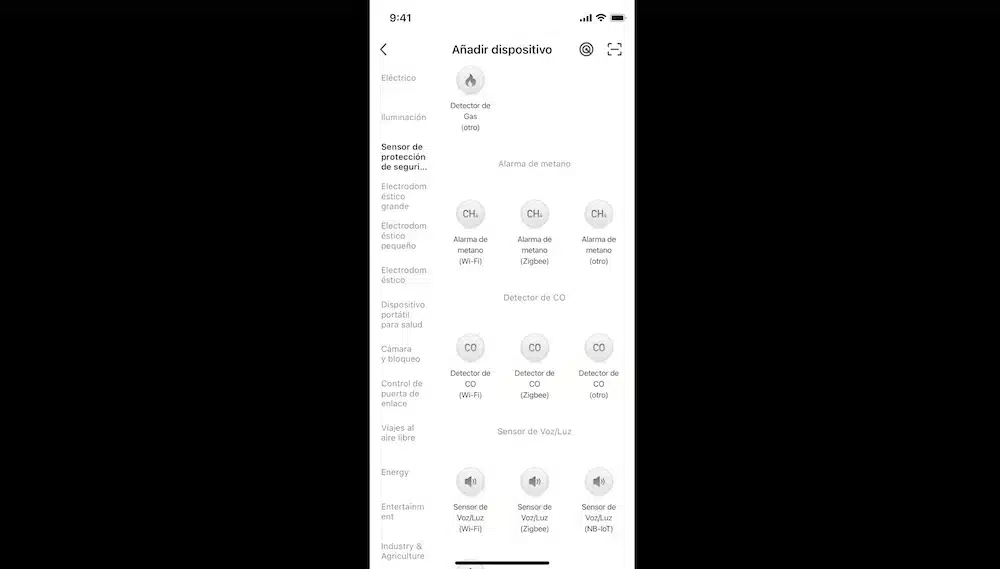
At this stage, you can include your ZC-HM CO detector.
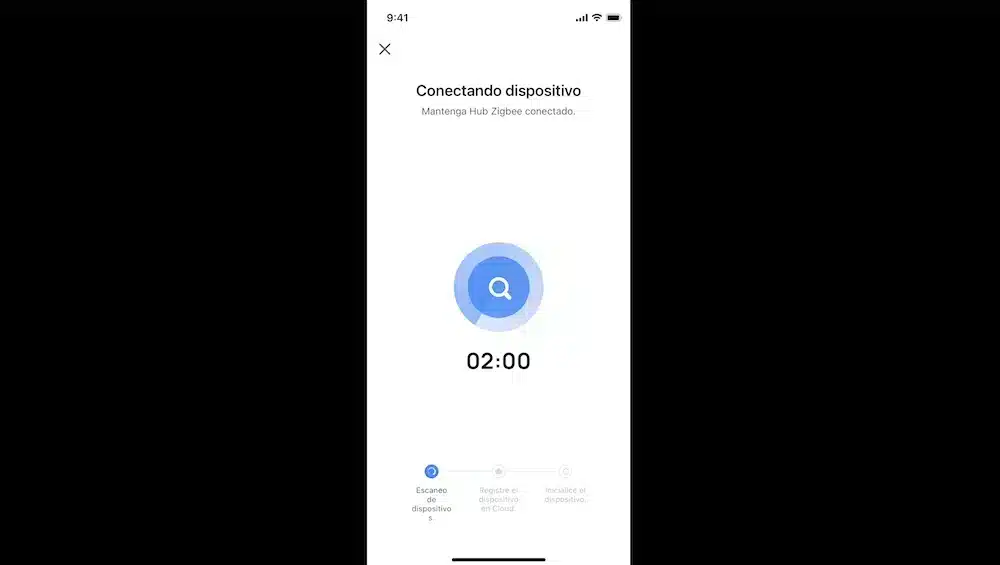
To do this, you need to remove the battery cover and press the physical button on the device 3 times.

The LED indicator starts flashing.
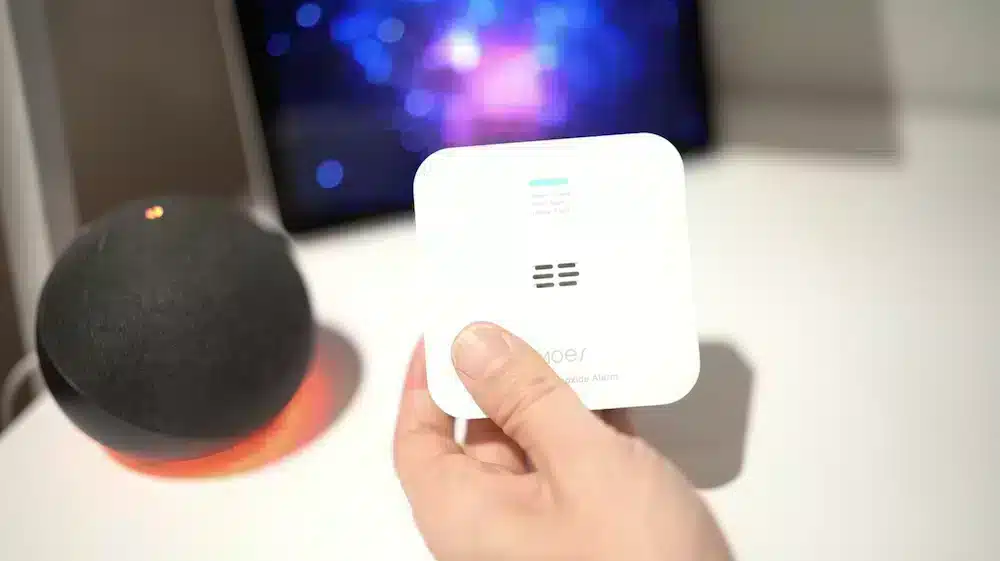
You should now see your Zigbee CO detector in the Smart Life application.

How to connect ZC-HM to Zigbee2MQTT
In Zigbee2mqtt, which you can use with Home Assistant or Jeedom, the process is similar: you need to launch include mode.
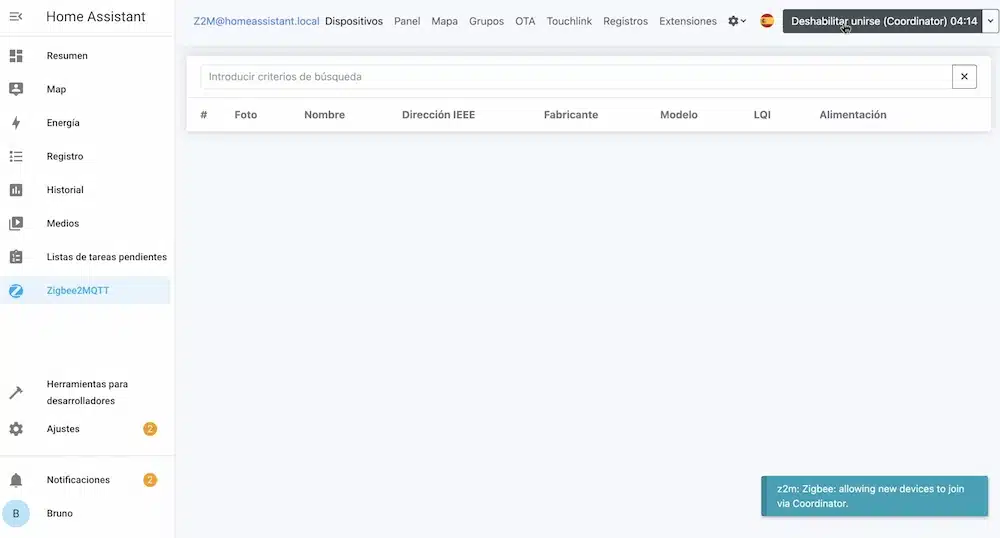
At this point, you can include your CO detector by removing the battery cover and pressing the physical button three times; the LED should then flash.

Now you’ve got your CO detector included.

How to install the Moes Zigbee carbon monoxide detector
Given that the homeowner has a Roca NGO 50 boiler, which uses fossil fuel to produce heat, it is necessary and highly recommended to install a carbon monoxide (CO) detector.
This type of fuel boiler can produce carbon monoxide if combustion is not complete or if there is a fault in the system, such as poor ventilation or a leak.
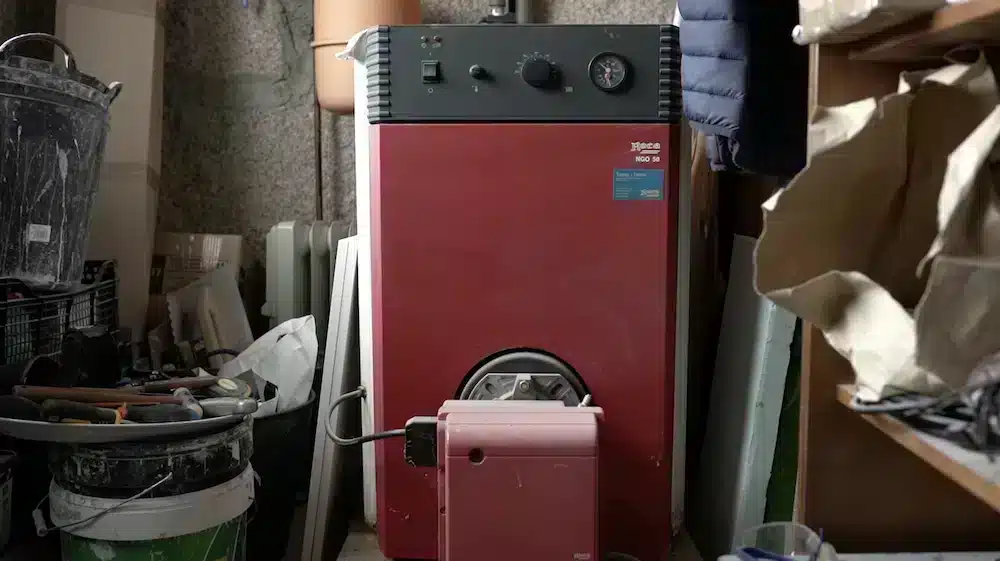
This Moes CO detector issues an alert if CO levels reach dangerous levels, giving you time to ventilate the area and take the necessary measures to avoid poisoning.
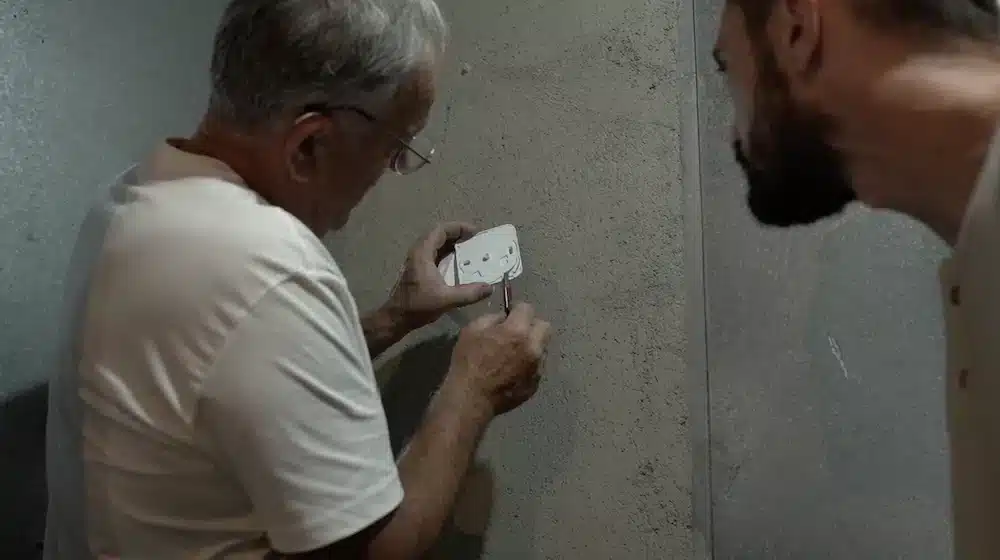
And as I mentioned, since CO is odourless, colourless and deadly, it’s essential to have a detector near the boiler to ensure safety in your home.
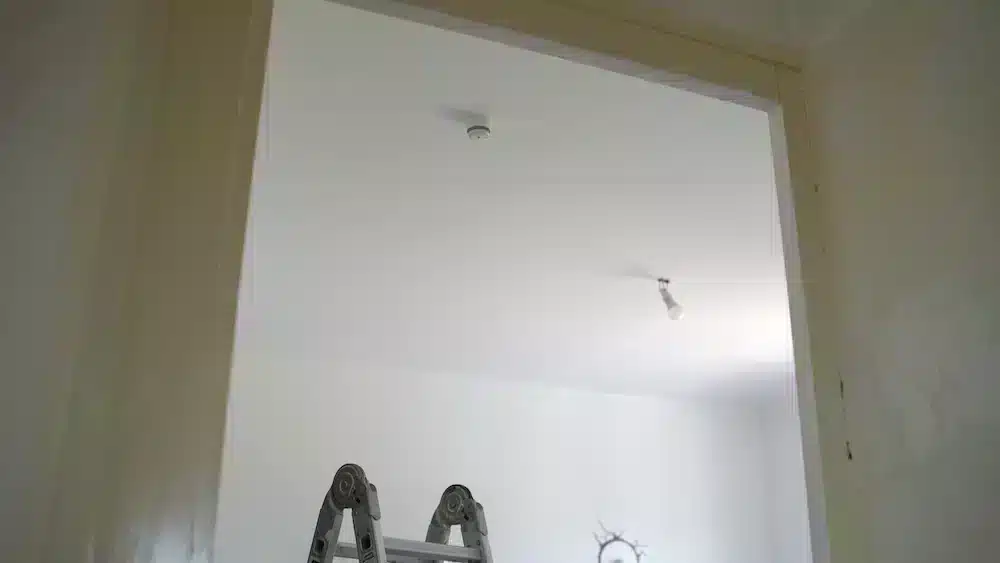
A smoke detector is installed on the ceiling, as the smoke rises.
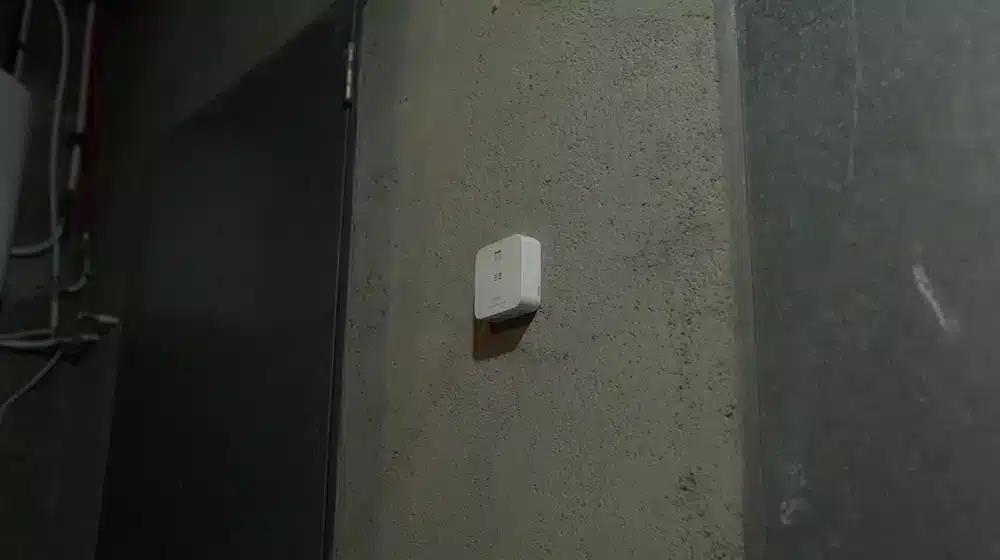
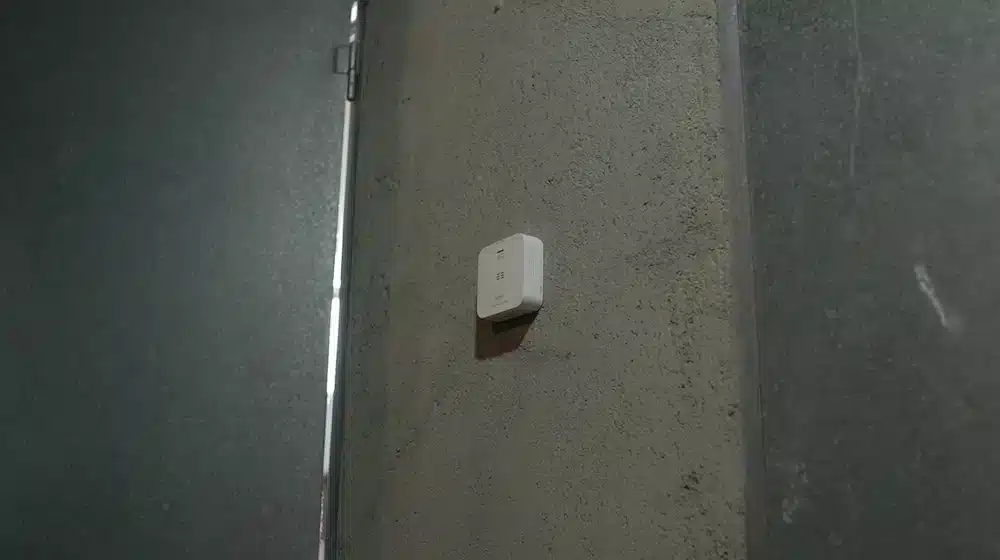
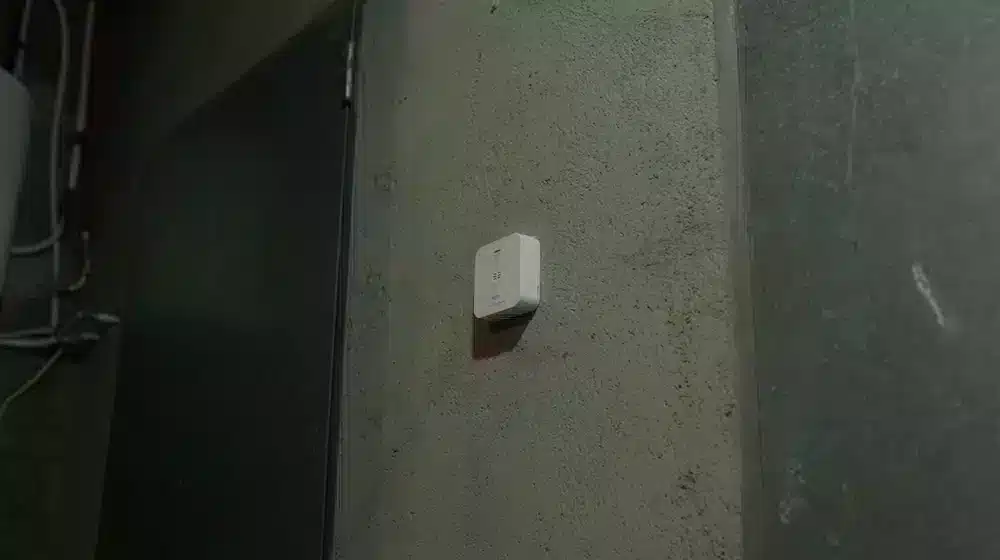
Carbon monoxide has approximately the same weight as air, so it is recommended that, following the manufacturer’s instructions, it is installed on the wall, 1.5 m from the floor or ceiling.
It is also recommended to install it close to potential sources of CO such as kitchens, garages, water heaters or boilers, but not too close to avoid false alarms, for example at a distance of 3 to 5 metres from these sources.
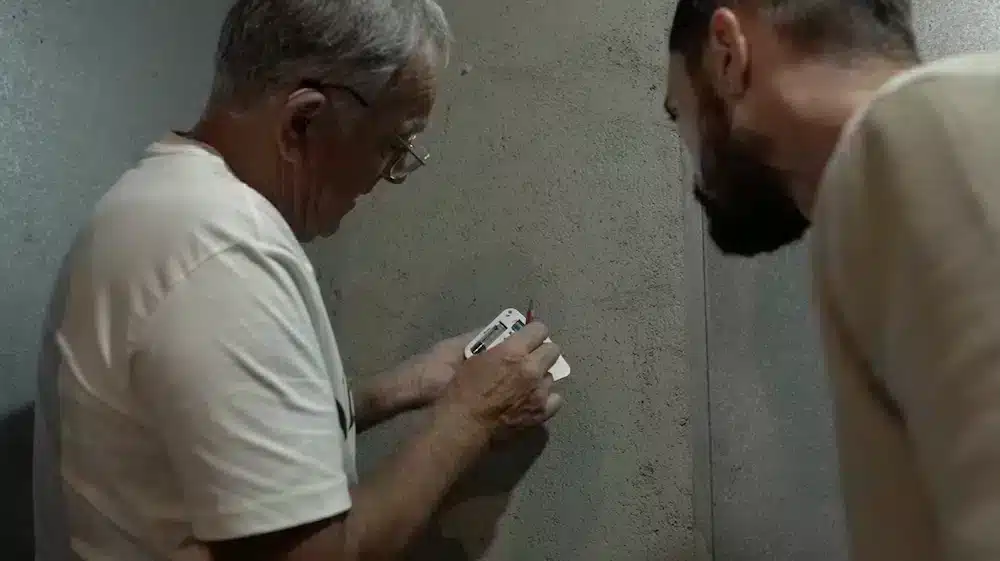
It is also recommended NOT to place the CO detector in enclosed or draughty areas, for example next to windows or doors, as this could interfere with CO detection.
It is also not advisable to install it in damp areas such as bathrooms or laundry rooms, as water vapour can affect its operation.

To install the CO detector, the user uses the mounting plate to mark the installation location on the wall with a pencil.

You can now drill the holes with the drill bit of the same diameter as the plugs.
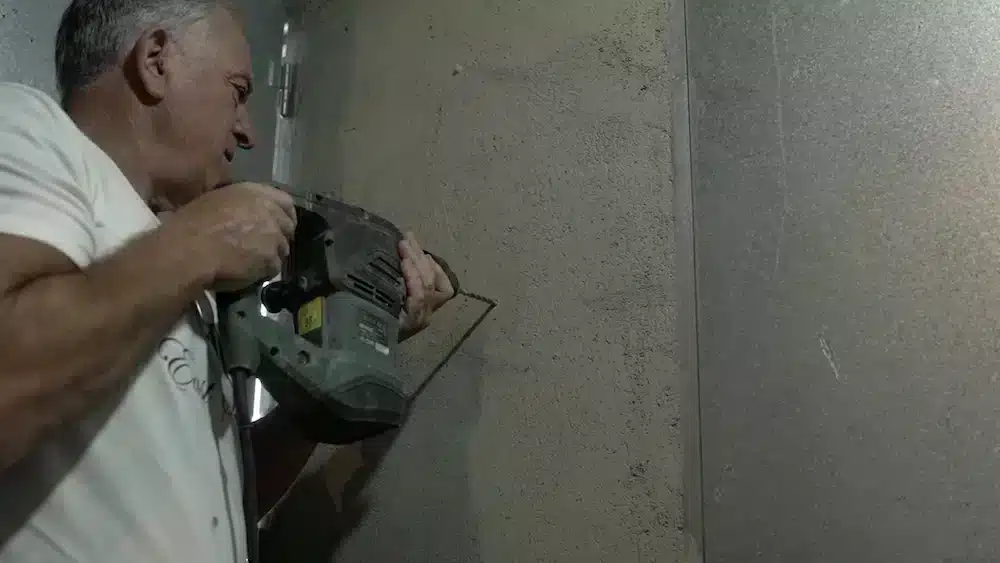
After drilling, you can place the wall plugs in the wall.
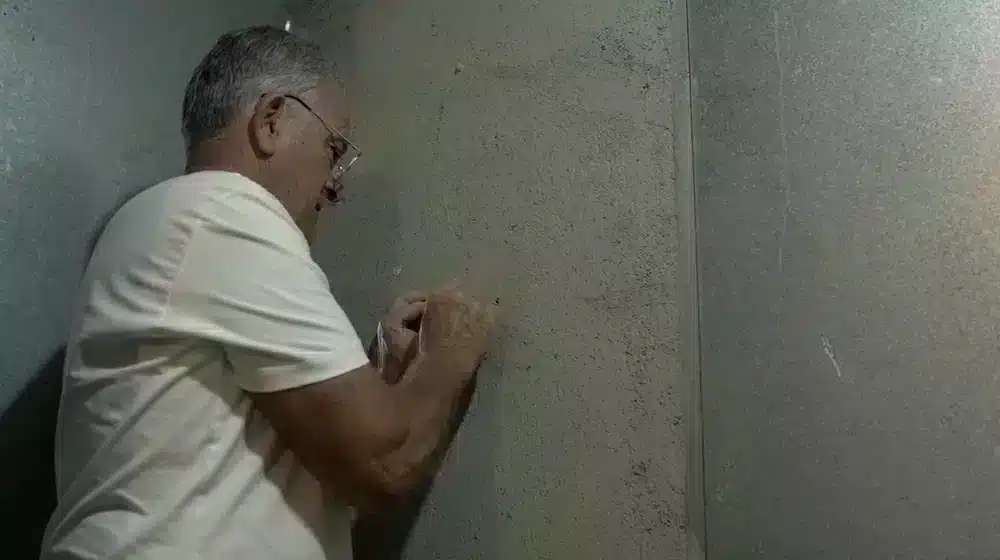
You can now put away the support plate and screws included in the detector packaging.

Finally, you can install the Zigbee CO detector, which you need to rotate a little clockwise to secure to the bracket.

As the padlock logos indicate.
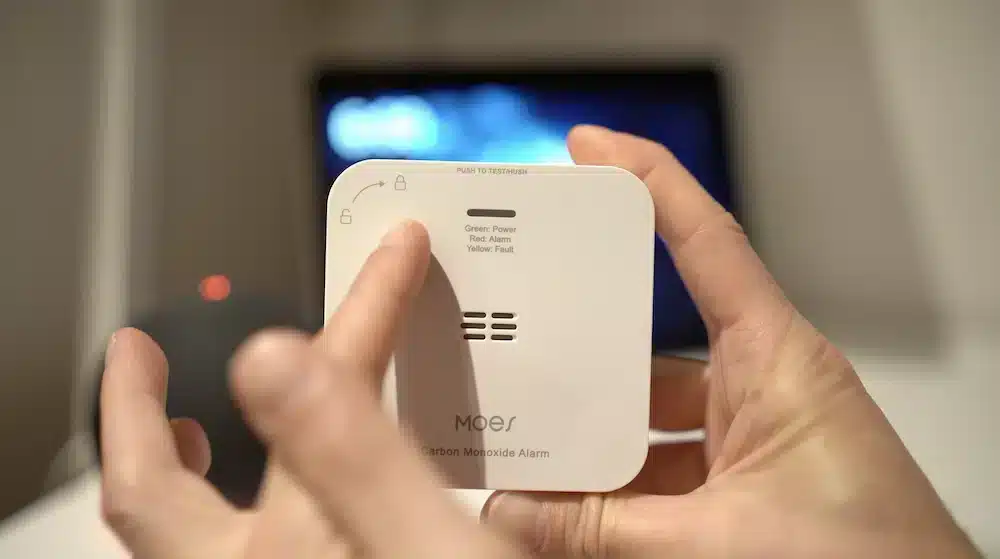
You have now installed your CO detector. For maintenance, the manufacturer recommends testing the detector’s test button once a week and cleaning it once a month.

You must not clean it with detergents or solvents to avoid damaging it, and you must also avoid using air fresheners, hairspray or aerosols near the detector, and you must not paint the device to avoid false alarms.
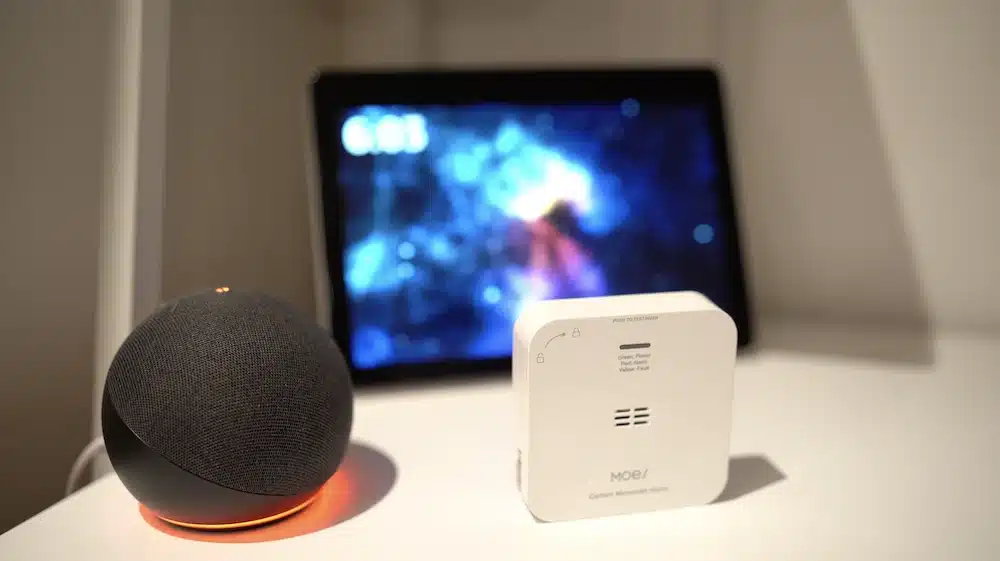
Detailed characteristics of the MOES Zigbee CO detector
Now let’s find out what functions are available for this Moes CO detector in Smart Life and Zigbee2Mqtt.

How to use ZC-HM with Smart Life
Firstly, in Smart Life, we can see the current level of CO measured in PPM and we can also see the status of the alarm, whether it is activated or deactivated.
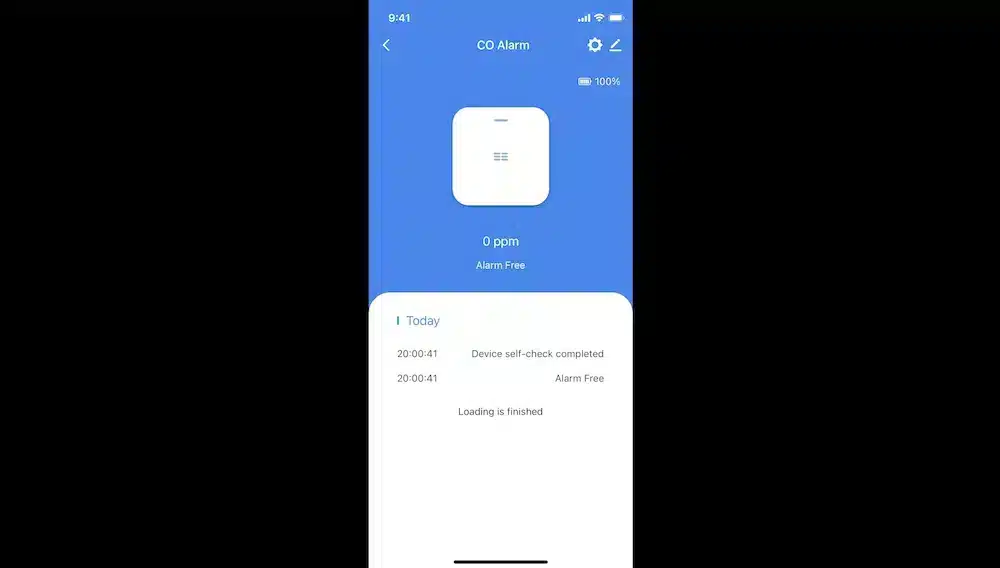
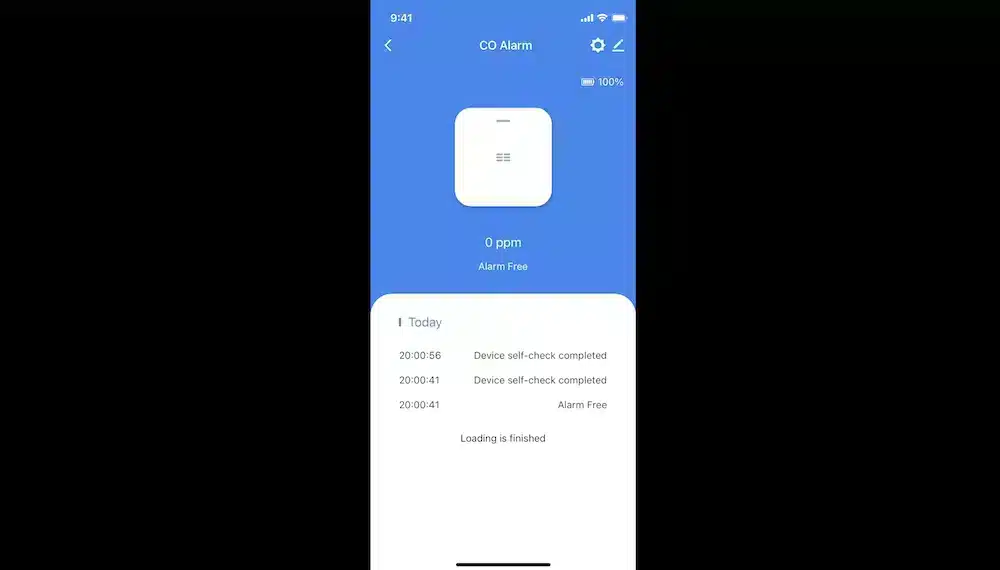
Below, we have a history of the CO detector’s activities and each time we press the Test button, this information is reported in the Smart Life application.
By accessing the settings, you can enable or disable the CO, low battery and CO recovery alarms.

How to use ZC-HM with Zigbee2MQTT
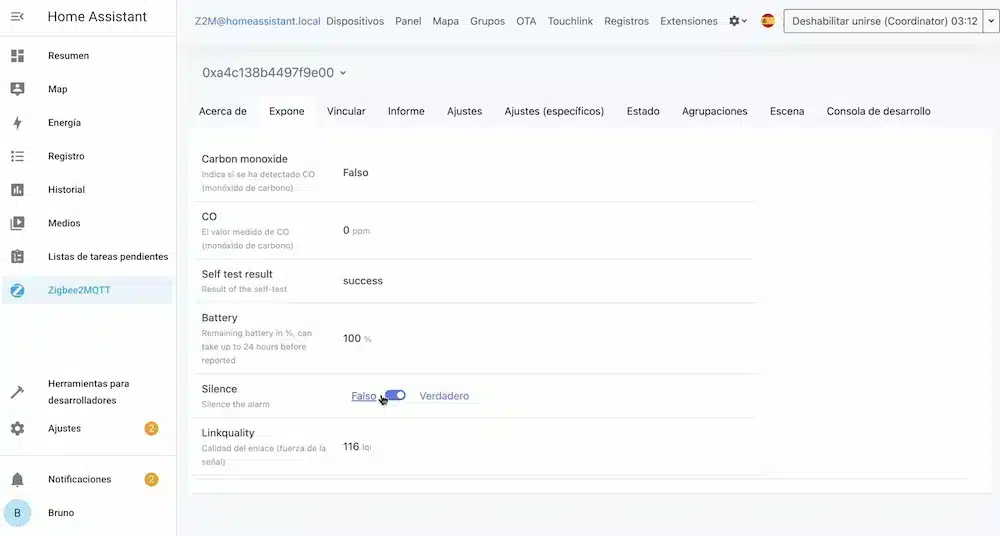
In Zigbee2MQTT, we can see the status of the CO detector, i.e. whether it is detecting carbon monoxide or not. We can see the measured value of CO in PPM in real time.
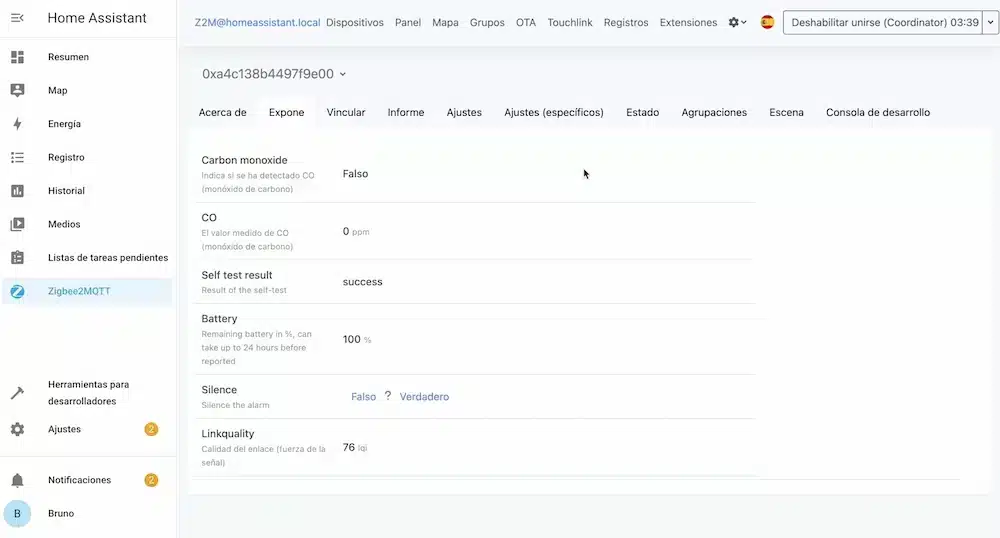
“Self-test result” shows the status of the self-test. “Battery” indicates the battery status from 0 to 100% and can take up to 24 hours to be reported.
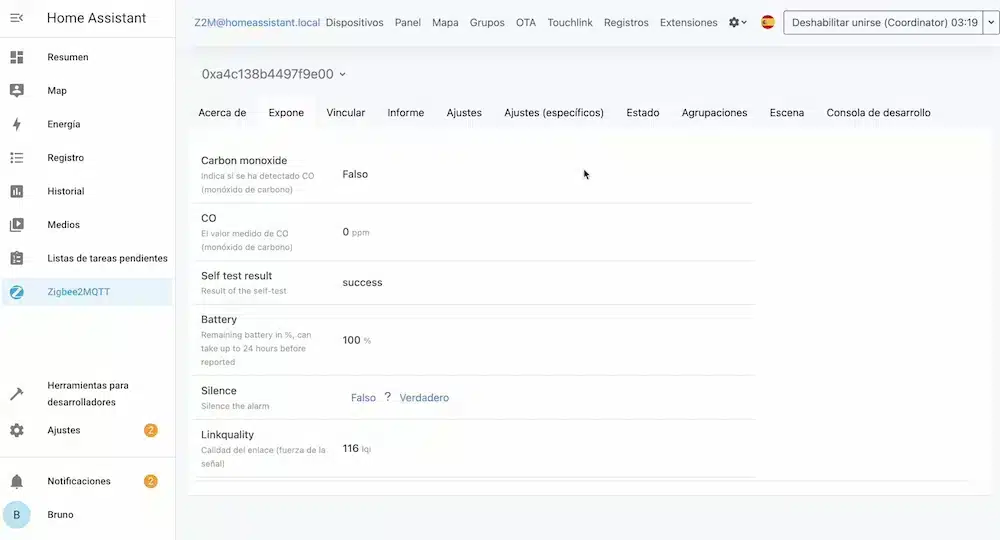
The “Silence” option allows you to silence the alarm or not. And “Link quality” lets you know the quality of the link, i.e. whether you have a good communication range with your home automation concentrator.
Of course, if you don’t have enough range, as this CO sensor uses Zigbee technology, you can add Zigbee signal repeaters to your home to improve communications.
For example, if the carbon monoxide detector is activated, it automatically triggers other alarms that you have set up in your home so that you have alerts throughout your home.
